

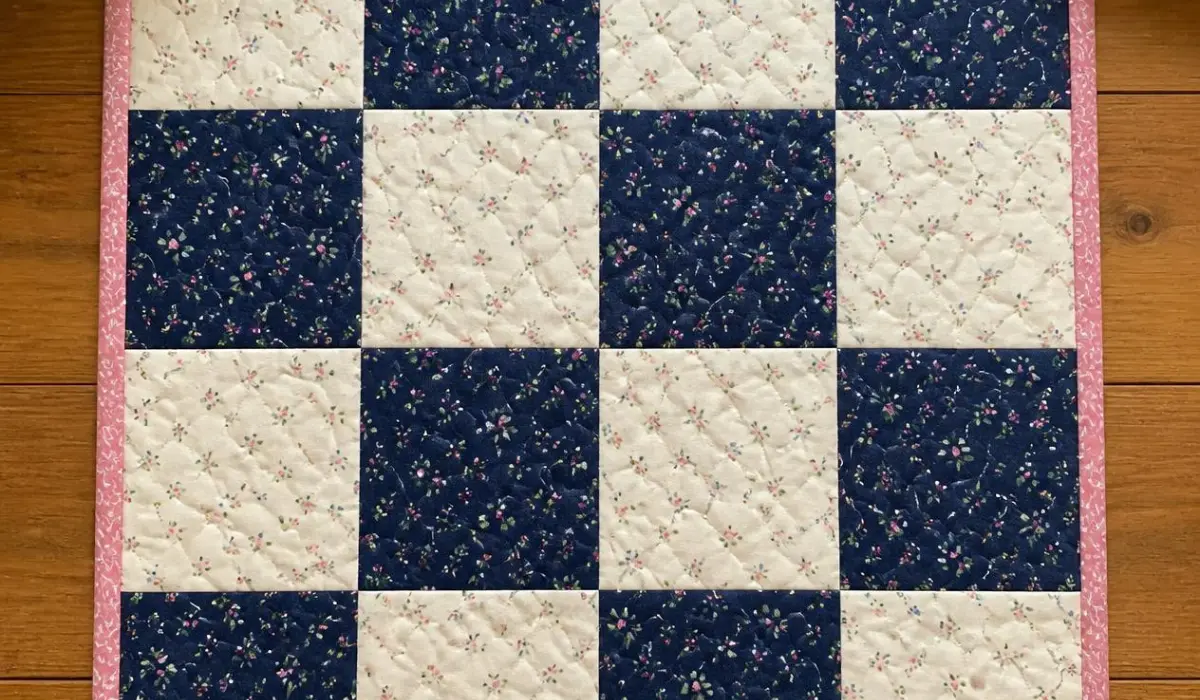
A 16 patch quilt is a checkerboard-style quilt made from a block that is divided into 16 small, equal squares — usually arranged in a 4×4 grid of alternating light and dark fabrics. It’s one of the oldest and most beginner-friendly quilt blocks around, which is exactly why it keeps showing up in scrap quilts, sampler quilts, and heirloom patterns like the St Louis 16 patch quilt. If you can sew a straight line and cut a strip of fabric, you can make one.
In this guide, I’ll walk you through what a 16 patch quilt block actually is, how the classic St Louis 16 patch quilt variation came to be, and the fastest strip-piecing method for turning a stack of fabric into a finished quilt top — no fussy templates required.
Table of Contents
What Is a 16 Patch Quilt Block?
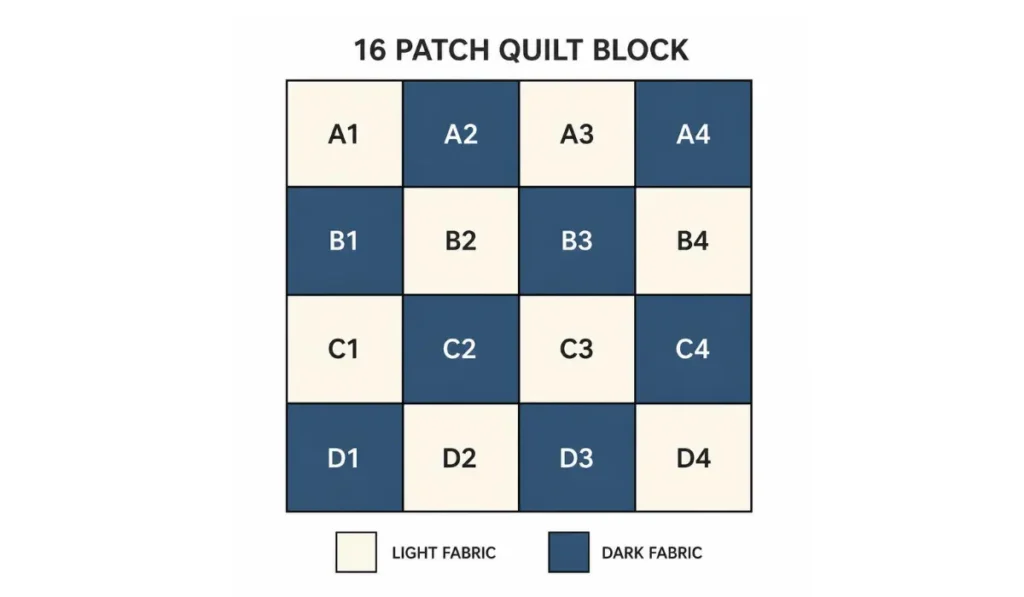
A 16 patch quilt block is simply a square block split into 16 smaller squares, arranged four rows across and four rows down. Traditionally, the squares alternate between a light fabric and a dark fabric in a checkerboard pattern, though scrappy versions mix in many different prints for a more improvisational look.
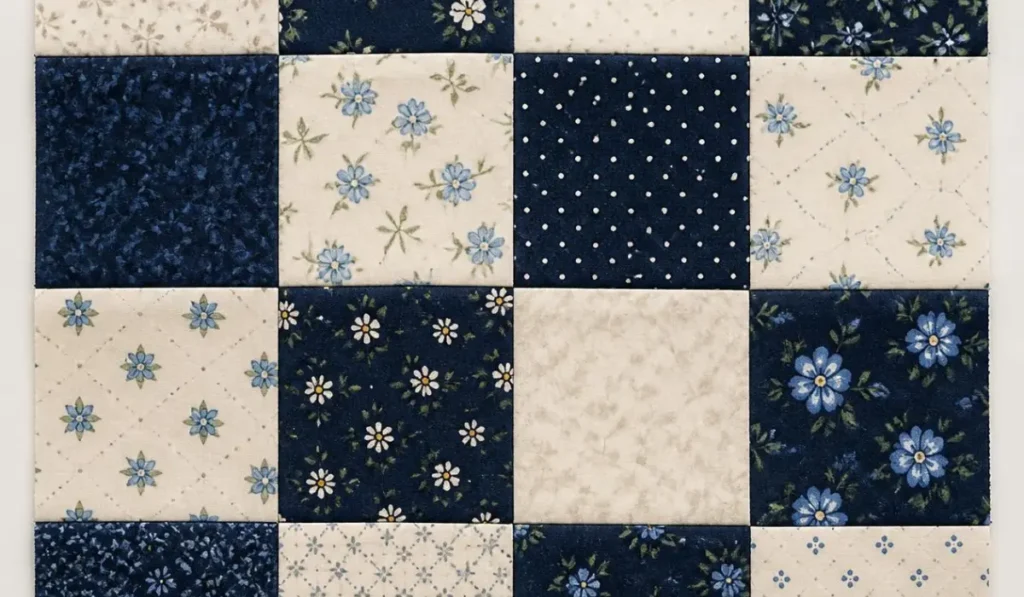
It belongs to a family of patchwork blocks built on a grid — the 4-patch, 9-patch, and 16-patch are the most common — and it’s considered one of the easiest blocks for new quilters because every piece is the same size and every seam is a straight 90-degree line.
Key facts about the 16 patch block:
- Made from 16 equal squares arranged in a 4×4 grid
- Usually pieced in two alternating colors (light/dark), though scrappy versions use many fabrics
- Finished block sizes commonly range from 8″ to 16″, depending on the size of the individual squares
- Can be sewn square-by-square or, faster, using strip piecing
A Quick Word on the St Louis 16 Patch Quilt
If you’ve searched around for this pattern, you’ve probably come across the name “St Louis 16 patch quilt.” This is a specific, well-loved take on the traditional 16-patch block, pieced from strip sets rather than individual squares. It’s popular because it’s fast, uses fabric efficiently, and is friendly to fat quarters, making it a favorite for scrap-quilt lovers and quilters working through a fabric stash.
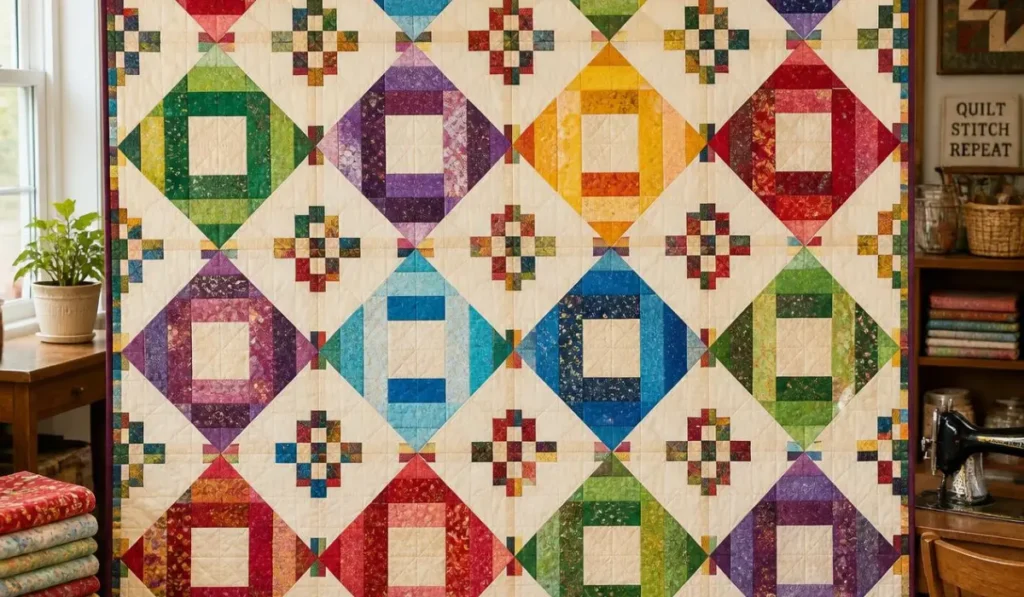
The name has stuck around quilting blogs and pattern shops for years, and it’s essentially the same block construction as a standard 16-patch — just pieced with the strip method described below, which speeds things up considerably.
Materials You’ll Need
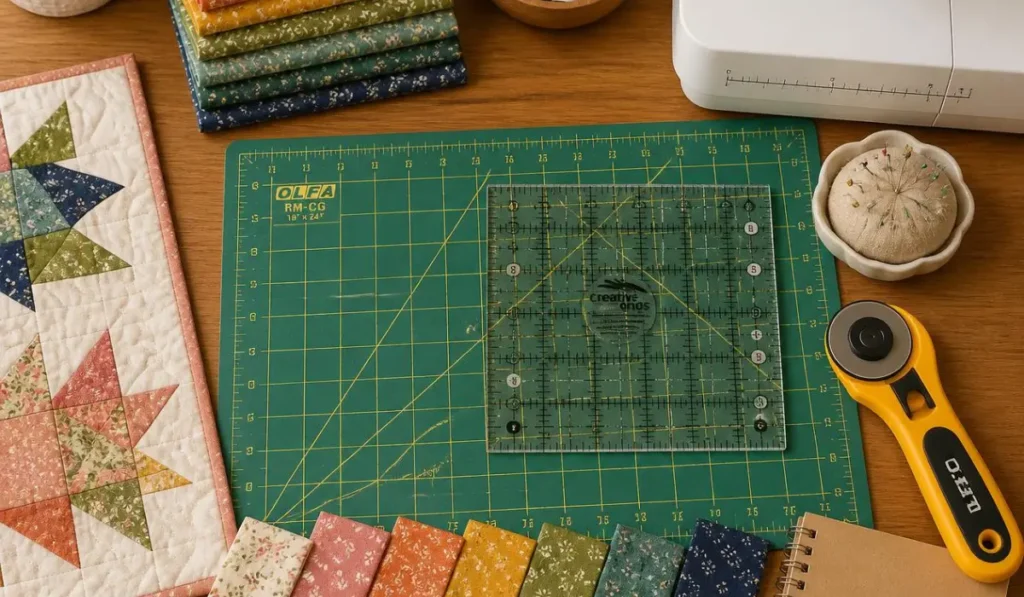
- Light and dark quilting cotton (fat quarters or yardage — 8 fat quarters of each work well for a lap-sized quilt)
- Rotary cutter, cutting mat, and quilting ruler
- Sewing machine with a 1/4″ foot
- Coordinating thread
- Iron and pressing surface
- Pins or fabric clips
How to Make a 16 Patch Quilt Block (Strip-Piecing Method)
This is the fastest way to make a sixteen patch quilt block, and it’s the method behind most 16 patch quilt block patterns you’ll find in shops and tutorials today.
Step 1: Cut Your Strips
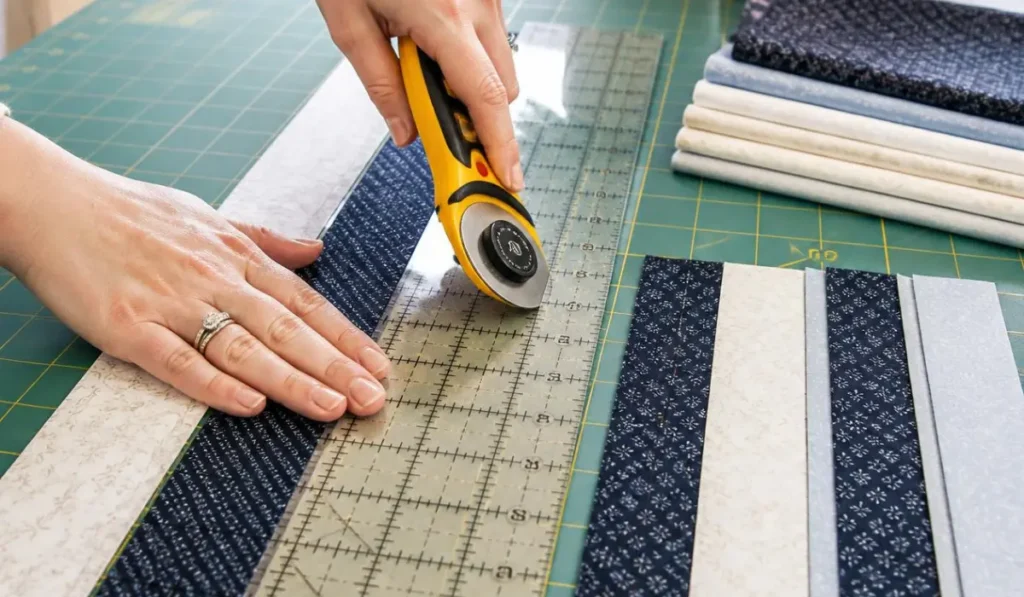
Cut strips of light and dark fabric to the same width. Your strip width determines your finished block size:
- 2.5″ strips → 8″ finished block
- 3″ strips → 10″ finished block
- 3.5″ strips → 12″ finished block
- 4″ strips → 14″ finished block
For one block, you’ll need two light strips and two dark strips, each about 18–21″ long (a fat quarter’s width works perfectly).
Step 2: Sew Strip Sets
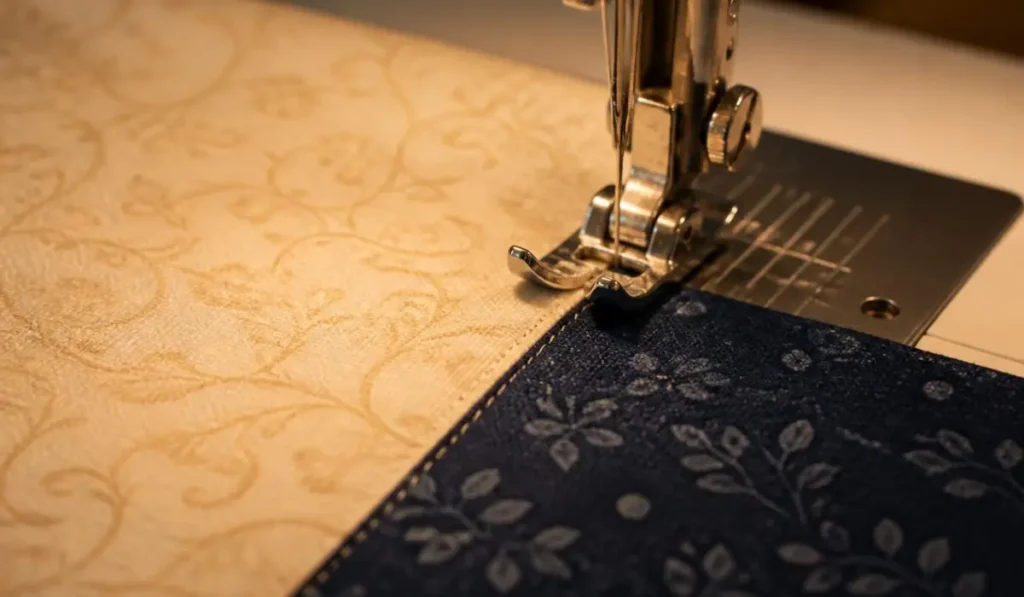
Sew a light strip to a dark strip along the long edge, using a 1/4″ seam allowance. Repeat with your second light and dark strip. Press seams toward the darker fabric — this helps seams “nest” together neatly in the next step. You should now have two light/dark strip sets.
Step 3: Sub-Cut the Strip Sets
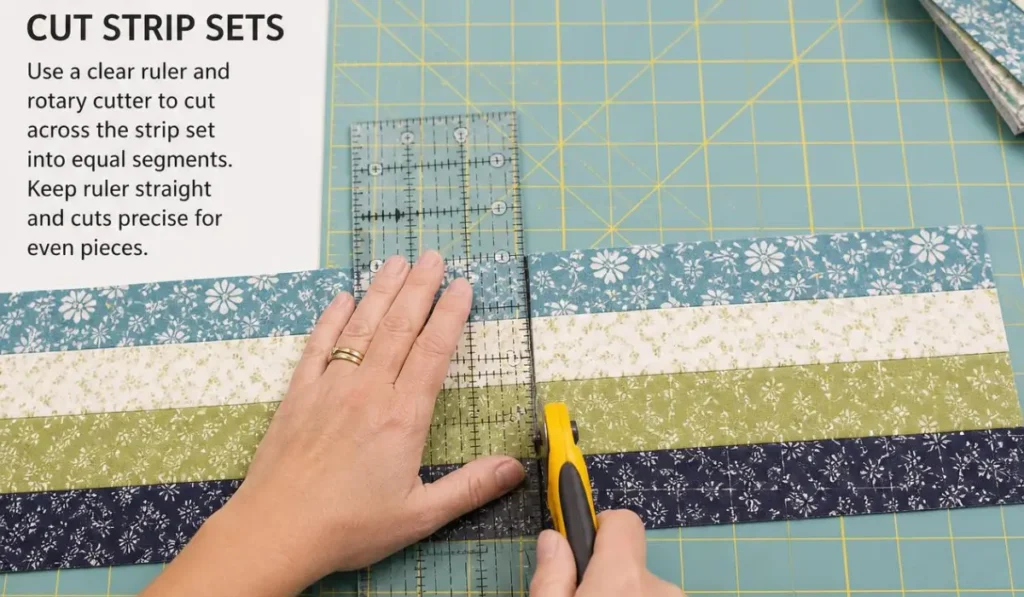
Using your ruler, cut each strip set into segments the same width as your original strips (for example, 2.5″ segments if you cut 2.5″ strips). Each strip set will yield several two-square units.
Step 4: Arrange in a Checkerboard
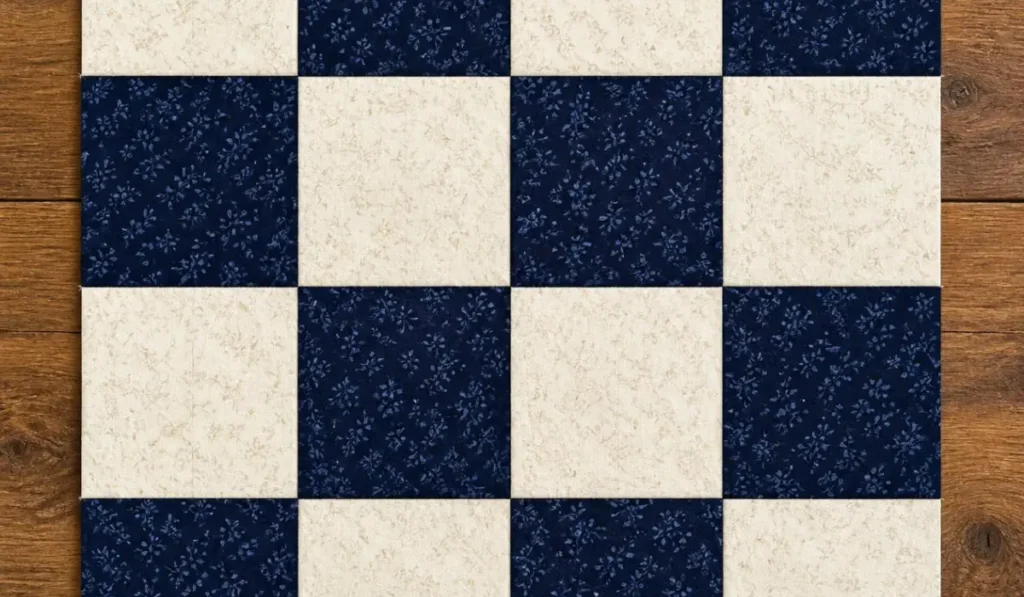
Take four segments and lay them out so the colors alternate — light/dark on top, dark/light below, and so on — creating a checkerboard pattern across the 4×4 grid.
Step 5: Sew the Rows, Then the Block
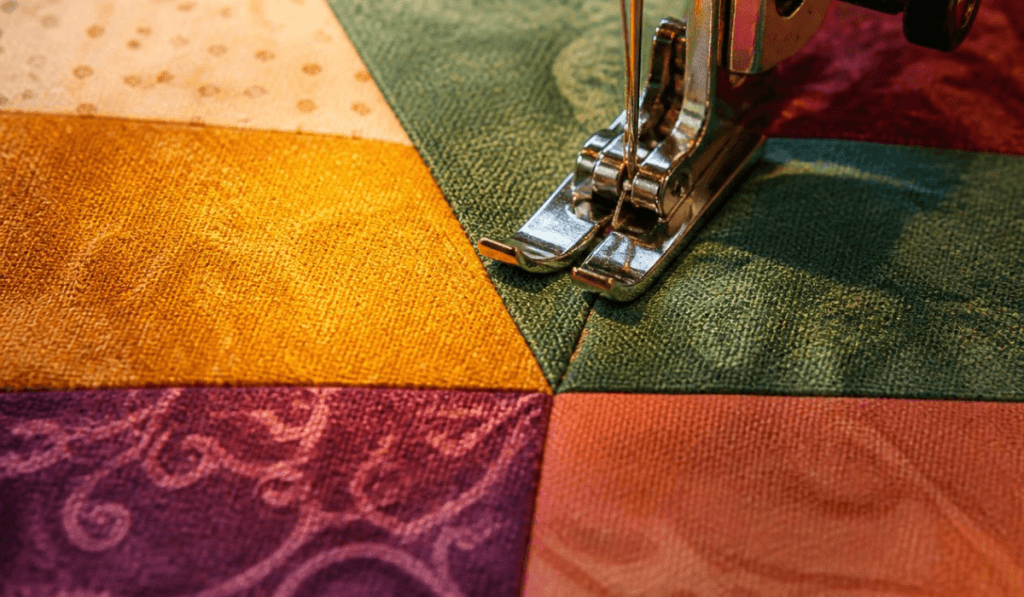
Sew the segments together in pairs, then join the pairs to complete each row. Because you pressed seams toward the dark fabric earlier, the seams should nest into each other for perfectly matched intersections. Finally, sew the rows together to complete your 16-patch block.
Step 6: Repeat and Assemble
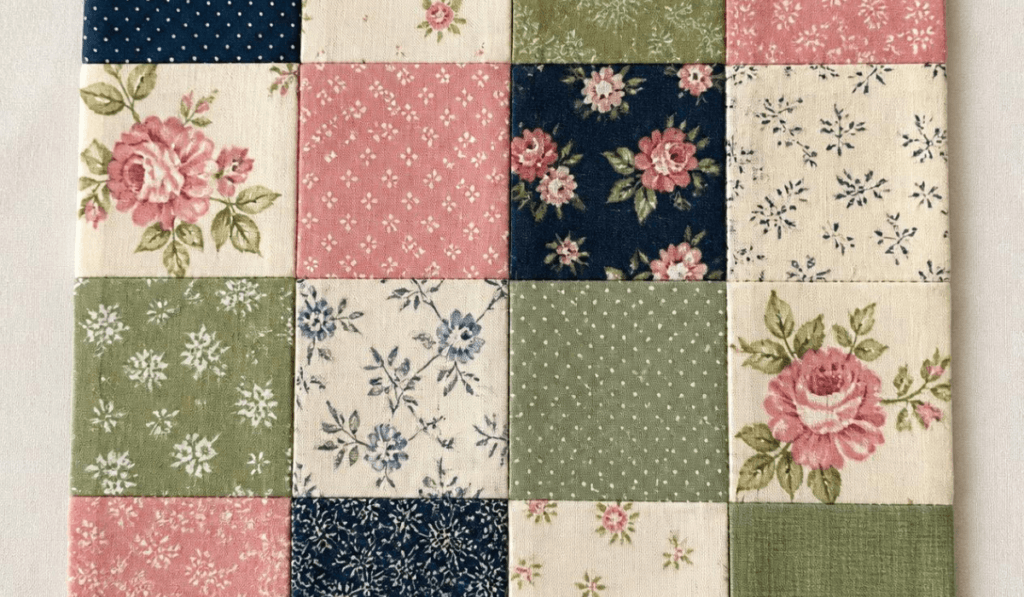
Repeat this process to make as many blocks as your quilt size requires, then arrange and sew the blocks together into rows, and the rows into a finished quilt top.
Popular 16 Patch Quilt Block Patterns and Layout Ideas
One of the best things about 16 patch quilt patterns is how flexible they are. A few popular variations:
- Classic checkerboard — strict alternating light/dark, like the traditional St Louis version
- Scrappy 16-patch — every square is a different print, unified by a consistent light or dark background
- Color-graded 16-patch — squares move gradually from light to dark across the block for an ombré effect
- Stretched or rectangular 16-patch — the squares are elongated into rectangles rather than perfect squares, giving the block a more modern, elongated look
Any of these can be set straight (blocks placed edge to edge) or on point (rotated 45 degrees) for a completely different finished look.
Common Mistakes Beginners Make
- Inconsistent seam allowances. Even a small variation adds up across 16 squares and can throw off your block size. Use a scant 1/4″ seam and check it with a test block first.
- Skipping the pressing step. Pressing seams toward the dark fabric (not just finger-pressing) is what makes seams nest and match up cleanly.
- Cutting strips slightly off-width. Use a rotary cutter and ruler rather than scissors for straight, accurate strips.
- Not squaring up blocks before joining. Trim each finished block to the same exact size before sewing them together so your quilt top lies flat.
Frequently Asked Questions
What is a 16 patch quilt block?
A 16 patch quilt block is a patchwork block made of 16 equal squares arranged in a 4×4 grid, usually alternating light and dark fabrics in a checkerboard layout.
What’s the difference between a 16 patch and a St Louis 16 patch quilt?
They use the same basic checkerboard layout. “St Louis 16 patch” refers to a specific, popularized version of the block that’s pieced using strip sets rather than individual squares, making it faster to sew.
What size squares should I cut for a 16 patch quilt?
It depends on your desired finished block size. A common starting point is 2.5″ strips (finishing at 2″ per square), which produces an 8″ finished block — a good balance of speed and detail for a first project.
Can I make a 16 patch quilt with scraps?
Yes. The 16-patch is one of the most popular blocks for scrap quilts because each square is small and uses very little fabric, making it perfect for using up leftover strips and fat quarter scraps.
How much fabric do I need for a 16 patch quilt?
This depends on your finished quilt size. As a rough guide, a lap-sized quilt (around 48″x64″) typically needs about 8 fat quarters each of light and dark fabric, plus backing and binding fabric.
A Note From Experience
Strip-pieced 16-patch blocks are usually one of the first “real” quilt blocks new sewists complete, because the math is simple and the payoff is fast — you can finish several blocks in an evening. If you’re just starting out, sew one test block first, measure it, and adjust your seam allowance before cutting a full set of strips. It saves fabric and frustration later on.