

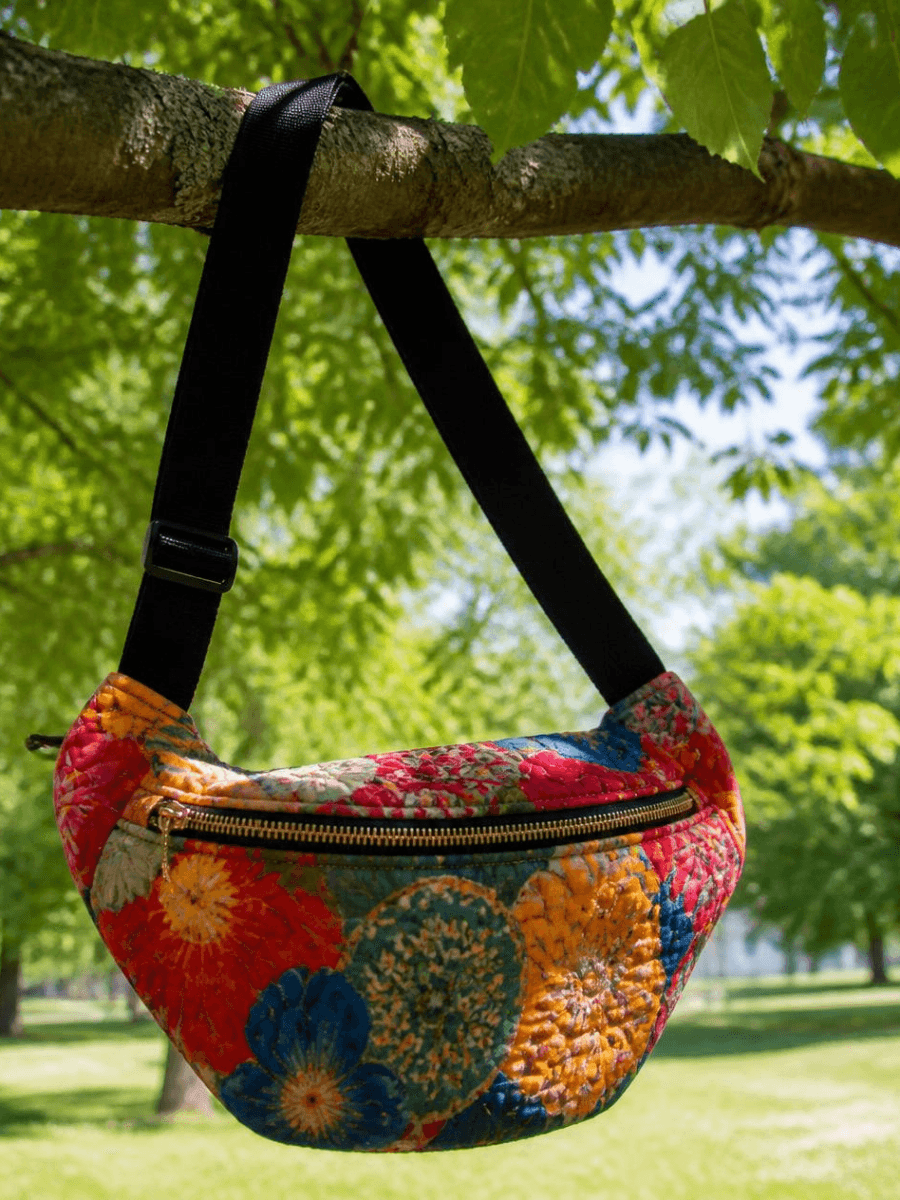
This free bum bag pattern makes a beginner-friendly, 9″ x 6″ x 3″ bag with a front zip pocket and an adjustable strap — no printing or taping pattern sheets together, just a ruler and your fabric. Grab the free PDF pattern below, then follow the step-by-step guide to sew it start to finish.
⬇ Download the Free Bum Bag Pattern (PDF)
I designed this pattern to skip the most frustrating part of home sewing patterns — taping together a dozen printed pages just to cut one bag. Every piece here is a simple rectangle or gently curved panel you can cut straight from your fabric using the measurements in the chart below.
Table of Contents
What You’ll Need
Fabric & Notions
- 1/2 yard outer fabric (canvas, denim, or cork hold up well for everyday use)
- 1/2 yard lining fabric (quilting cotton is fine)
- 1/2 yard medium-weight fusible interfacing
- 1 zipper, 9″ long
- 1.5 yards of 1″ wide webbing (for the strap)
- 1 strap adjuster slider + 1 side-release buckle (1″)
- 2 D-rings, 1″ size (optional — for attaching the strap)
- Matching all-purpose thread
Tools
- Rotary cutter or fabric scissors
- Clear ruler
- Pins or sewing clips
- Iron
Finished Size
The finished bag measures approximately 9″ wide x 6″ tall x 3″ deep — enough room for a phone, cards, keys, and a few small essentials. All the cut measurements below already include a 3/8″ seam allowance, so you can cut and sew without doing extra math.
Cutting Guide
| Piece | Cut Size | Fabric / Quantity |
|---|---|---|
| Main Panel (front & back) | 10″ x 7″, rounded bottom corners (1.5″ radius) | Outer x2, Lining x2, Interfacing x2 |
| Side/Bottom Gusset | 3″ x 24″ | Outer x1, Lining x1, Interfacing x1 |
| Front Zip Pocket | 9.5″ x 7″ | Outer x1, Lining x1 |
| Strap | 2″ x 45″ (folds to 1″ wide) | Outer x1 |
| D-ring Tabs | 1.5″ x 3″ | Outer x2 |
Cut your interfacing pieces the same size as the matching outer fabric pieces, then fuse them to the wrong side before you start sewing.
How to Sew a Bum Bag: Step-by-Step
1. Interface Your Pieces
Fuse interfacing to the wrong side of both outer main panels and the outer gusset strip, following your interfacing’s heat setting instructions.
2. Build the Front Zip Pocket
Place the outer and lining pocket pieces right sides together with the zipper sandwiched between the top edges. Stitch, press open, then topstitch close to the zipper for a clean finish. Baste the finished pocket to the front main panel along the remaining three sides.
3. Prepare the Strap
Fold the strap fabric in half lengthwise, right sides together, and stitch down the long raw edge. Turn right-side out, press flat, and topstitch both long edges for durability. Thread one end through the slider and the other through the buckle.
4. Attach D-Ring Tabs (Optional)
Fold each D-ring tab around a D-ring and baste the raw edges closed. Sandwich a tab into each side seam of the main panel before attaching the gusset, with the loop facing outward so the strap has somewhere to clip on later.
5. Attach the Gusset
Pin the gusset strip to the sides and bottom of the front panel, right sides together, easing it gently around the curved corners. Stitch with a 3/8″ seam allowance. Repeat to attach the back panel to the other side of the gusset, leaving the top zipper opening unsewn.
6. Insert the Main Zipper
Pin your zipper along the top opening between the front and back panels, right sides together, and stitch in place. Repeat with the lining panels, sandwiching the zipper between the outer shell and the lining.
7. Assemble the Lining
Repeat the gusset and zipper steps for your two lining panels and lining gusset — but this time, leave a 4″ gap in the bottom seam so you have room to turn the bag right-side out later.
8. Turn and Finish
With right sides still together, tuck the outer bag inside the lining bag so they’re right sides facing, matching up the zipper. Turn the whole bag right-side out through the gap you left in the lining, then hand-stitch that gap closed. Push the lining down inside the outer bag and press the top edge flat.
9. Attach the Strap
Clip the strap’s slider and buckle ends onto the D-rings — or, if you skipped the D-rings, stitch the strap ends directly into the side seams instead. Adjust the strap to fit, and your bum bag is ready to wear.
Tips for a Cleaner Finish
- Press every seam as you go — it makes the curved corners on the main panel sit much flatter.
- If your fabric is lightweight, go up to a heavier interfacing so the bag holds its shape when it’s not stuffed full.
- Topstitching around the zipper opening after assembly not only looks tidier, it also keeps the lining from creeping out over time.
- Test your zipper length against your cut panels before sewing — a zipper that’s even 1/2″ too long will leave a gap at the seam.
Common Mistakes to Avoid
- Skipping interfacing — without it, the bag will feel floppy and won’t hold its shape once you start using it.
- Forgetting the turning gap in the lining — without it, you won’t be able to turn the bag right-side out at all.
- Rushing the curved corners — clip small notches into the seam allowance around the curves before turning, so they lie flat instead of puckering.
- Mismatched zipper length — always measure your zipper against the top opening before stitching it in.
FAQ
Is this bum bag pattern really free?
Yes. The PDF pattern is free to download for personal use — just click the download link above.
What size is the finished bag?
The finished bag measures about 9″ wide x 6″ tall x 3″ deep, which comfortably fits a phone, cards, and small essentials.
Do I need a printer to use this pattern?
No. This is a measurement-based pattern — you cut each piece directly from the size chart using a ruler, so there’s nothing to print or tape together.
Can I make this pattern bigger or smaller?
Yes. Scale the main panel and gusset measurements up or down proportionally, keeping the 3/8″ seam allowance in mind, and adjust your zipper length to match the new top opening.
What fabric works best for a bum bag?
Generating…
Conclusion:
This free bum bag pattern is a simple, beginner-friendly project you can sew in just a few hours. With easy measurements and no complicated templates, it’s a great way to build confidence and create something you’ll actually use.