

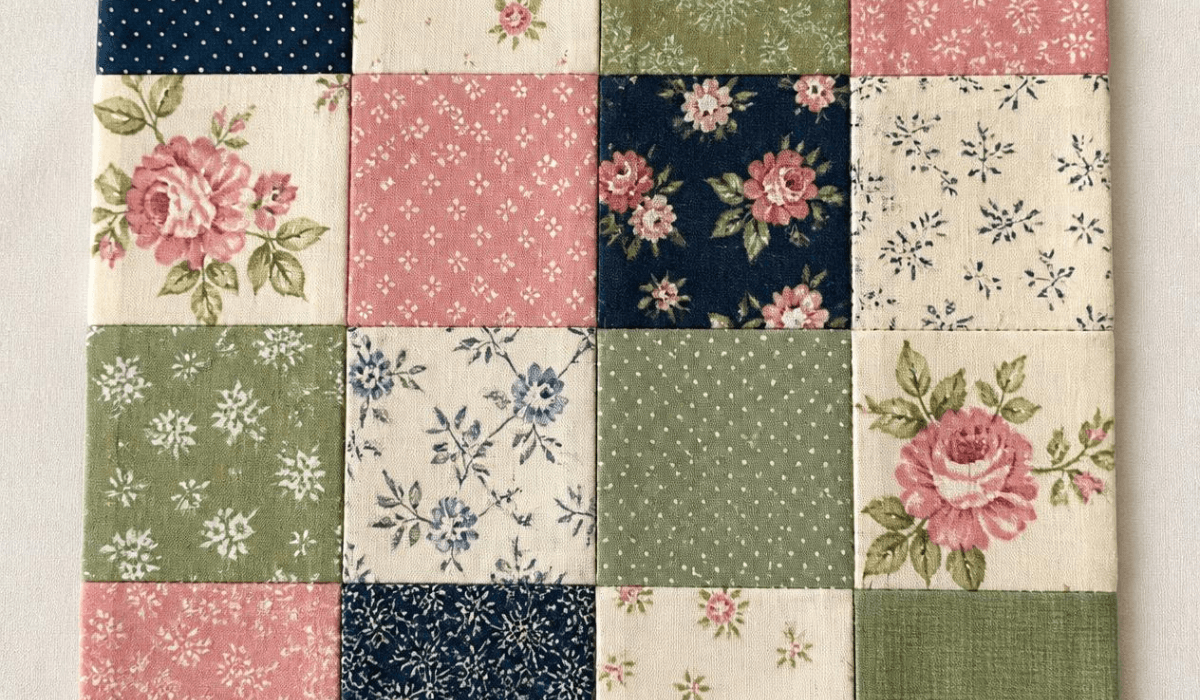
“A quilt with batting is made of three layers — the quilt top, the batting (the soft middle layer), and the backing fabric — pinned or basted together into a “quilt sandwich” before quilting. Getting these three layers right is the difference between a quilt that lies flat and lasts for decades, and one that puckers, shifts, or wears out in a year.”
I’ve made this mistake myself: my first quilt sandwich had a backing that was cut too small, and I didn’t realize it until I was halfway through machine quilting and ran out of fabric at the edge. I had to unpick two hours of stitching. Every tip in this guide comes from lessons like that one — the kind you only learn by actually doing it, unpicking it, and doing it again.
Table of Contents
What Is a Quilt Sandwich?
A “quilt sandwich” is the industry term for the three stacked layers that make up a finished quilt:
- Backing — the bottom fabric layer
- Batting — the middle, insulating layer (also called quilt filling or quilt filler)
- Quilt top — the pieced or appliquéd design on top
These three layers are basted together temporarily, then permanently joined through quilting stitches (by hand, machine, or long-arm). If any layer shifts before quilting, you’ll see it in the finished piece as puckers or drag lines — so basting well matters as much as piecing well.
What Is Batting for Sewing?
Batting is the insulating layer inside a quilt that gives it loft, warmth, and structure. Without it, a “quilt” is really just two layers of fabric sewn together, like a flat bedspread.
Types of Batting
- Cotton — breathable, low-loft, classic look, shrinks slightly for a crinkled vintage finish after washing
- Polyester — lightweight, high-loft, doesn’t shrink, good for tied quilts or wall hangings
- Wool — very warm, lightweight for its warmth, drapes beautifully, but pricier
- Bamboo/blend battings — eco-friendly, soft drape, a middle ground between cotton and poly
How to Choose Batting Weight and Loft
As a rule I use in my own projects: low-loft batting (thin) for anything that will be machine quilted with detailed stitching, and higher-loft batting for tied quilts or cozy throws where you want visible puffiness. Check the batting’s recommended “quilting distance” on the packaging — this tells you how far apart your stitching lines can be before the batting shifts or bunches inside the quilt over time.
Batting in Quilting: How It Affects the Final Look
Thicker batting makes your quilting stitches stand out more (great for showing off a fancy quilting pattern), while thinner batting lets your pieced design stay the visual focus. This is one of the most overlooked decisions beginners make — the batting you pick shapes the whole personality of the finished quilt.
How to Join Batting Pieces
If your quilt is larger than the batting roll you bought, you’ll need to join two batting pieces together instead of buying an oversized (and expensive) piece.
Step-by-step:
- Lay the two batting pieces flat, edges overlapping slightly (do not just butt them edge-to-edge — this leaves a weak, visible seam).
- Trim the overlapping edges so they meet in a clean, straight line, with about a 1/4″ overlap.
- Use a wide zigzag stitch on your machine, or hand-stitch with a loose whipstitch, directly along the seam.
- Alternatively, use batting fusible tape (sold specifically for this) and press with a warm iron per the tape’s instructions.
Tip from experience: Never overlap and stack the batting edges on top of each other without trimming first — this creates a visible ridge line under your quilting once it’s finished. Trim first, then join.
Preparing Your Quilt Backing
How Much Backing Fabric Do I Need?
As a general formula, add 8–10 inches to both the length and width of your quilt top to allow for shifting during basting and quilting.
Quick reference:
- Crib quilt (36″ x 52″) → about 1.5 yards
- Twin quilt (70″ x 90″) → about 5.5–6 yards (usually pieced)
- Queen quilt (90″ x 108″) → about 8–9 yards (pieced)
- King quilt (108″ x 108″) → about 9–10 yards (pieced)
Standard quilting cotton is 42–44″ wide, so for anything wider than your fabric bolt, you’ll need to piece your backing.
How to Piece Quilt Backing
- Cut your fabric into two or three panels based on your quilt’s finished size.
- Trim off the selvage edges (they don’t stretch the same as the rest of the fabric and can cause puckering).
- Sew panels together with a 1/2″ seam allowance (wider than a standard 1/4″ — backing seams take more stress).
- Press the seam open, not to the side, to reduce bulk under your quilting stitches.
How to Sew Batting to Fabric for Beginners (How to Attach Batting to Fabric)
If your project is smaller — like a placemat, table runner, or appliqué wall hanging — you may be attaching batting directly to a single layer of fabric rather than full quilt-basting. Here’s the simplest beginner method:
- Lay your backing fabric right-side down.
- Lay the batting on top, smoothing out any wrinkles.
- Lay your top fabric right-side up on top of the batting.
- Pin all three layers together every 4–6 inches, working from the center outward.
- Stitch around the edge with a 1/4″ seam, leaving a 4–6″ gap for turning if you’re making the project inside-out (see below).
Beginner tip: Use curved safety pins instead of straight pins if you’re basting by hand — they’re much easier to open and close without shifting the layers underneath.
How to Make an Inside-Out Quilt with Batting (The Pillowcase Method)
This is a favorite beginner technique for small quilted projects like baby quilts, table runners, or mini wall hangings — sometimes called the “quilt-as-you-go” or “pillowcase” method, because you sew it like a pillowcase and turn it right-side out.
- Lay your backing fabric right side up.
- Lay the batting on top of the backing.
- Lay your quilt top right side down on top of the batting (right sides of fabric facing each other).
- Pin all three layers together around the edges.
- Sew around the perimeter with a 1/4″ seam, leaving a 5–6″ opening on one side.
- Trim the corners diagonally to reduce bulk, then carefully turn the whole thing right-side out through the opening.
- Push the corners out fully with a blunt tool (a chopstick works well), press flat, and hand-stitch the opening closed.
This method skips binding entirely, which makes it a great confidence-building project if you’re not ready to bind a quilt yet.
How to Sandwich a Quilt (Traditional Method, Step-by-Step)
- Lay your backing fabric right-side down on a flat surface (floor or large table), and tape or clip the edges taut so there’s no slack.
- Lay the batting on top, smoothing outward from the center to remove air pockets and wrinkles.
- Lay your quilt top right-side up on top of the batting, centering it carefully.
- Smooth from the center outward again, checking that all three layers are flat and square.
- Trim excess batting and backing to about 2–4 inches beyond the quilt top’s edge (don’t trim flush yet — you need the margin for basting and quilting).
Table Basting vs. Floor Basting
Floor Basting
Best for large quilts (queen/king size).
- Pros: More room to smooth out the whole quilt at once; no need to reposition sections
- Cons: Hard on your knees and back; harder to keep pets and dust off the fabric
Table Basting
Best for smaller quilts, baby quilts, and wall hangings.
- Pros: Easier on your body; you can work at a comfortable height
- Cons: You’ll need to reposition the quilt as you baste each section if it’s larger than your table
From my own workroom: I switched from floor basting to a large folding table years ago, and it cut my basting time nearly in half — mostly because I wasn’t constantly getting up and down to check for wrinkles from a standing angle.
Basting Methods Compared
| Method | Best For | Notes |
|---|---|---|
| Pin-basting | Hand or machine quilting | Removable curved safety pins every 4″ |
| Spray-basting | Machine quilting | Fast, but use in a ventilated space |
| Thread-basting | Hand quilting, heirloom pieces | Long, loose stitches in a grid pattern |
How to Attach Backing to a Quilt by Hand
For hand-finishing (common with the pillowcase method or hand-binding), attach backing with a blind hem stitch:
- Fold the raw edge of the backing under by 1/4″, pressing it flat.
- Pin it in place, overlapping the quilt top’s edge slightly.
- Using a hand needle and matching thread, take small, hidden stitches through the fold and into the quilt top, catching only a thread or two of the top fabric each time.
- Knot off every 12–18 inches, rather than using one continuous thread the whole way around, so a single break doesn’t unravel the whole seam.
How to Add a Border to a Quilt with Batting
If you want a wide fabric border with visible quilting on it (rather than just piecing the border before basting), add it after your center is quilted:
- Quilt your center section first, and trim the batting/backing flush with the quilted top.
- Cut your border strips to size (measure through the center of your quilted top, not the edges, since edges can stretch slightly).
- Sew the border strips to the quilt top only, mitering or squaring the corners as your pattern calls for.
- Cut new batting and backing strips slightly larger than the border.
- Baste the new border sandwich in place, then quilt the border separately.
This “quilt-as-you-go border” method is especially useful for large quilts, since it keeps you from having to manage the full quilt’s bulk under your machine all at once.
How to Finish a Quilt with Batting and Backing
Once your quilt is fully quilted:
- Trim the excess batting and backing flush with the quilt top’s raw edge (or leave a slight overhang if you’re using a “self-binding” technique).
- Square up all four corners using a large ruler.
- Attach binding, or use the backing-as-binding method: fold the backing’s excess over the front edge and stitch down.
- Give the finished quilt a final press and a light lint-roll to remove loose threads before use or gifting.
Padding for Quilts: Batting Information to Enhance Your Quilt
- Match your batting to your quilting method: hand quilters often prefer low-loft cotton or wool for easier needle movement; machine quilters have more flexibility with loft.
- For wall hangings, choose a stiffer, higher-loft batting so the quilt holds its shape when displayed.
- For bed quilts, choose a batting with good drape so it falls naturally over the sides of the mattress.
- Always check the batting’s washing instructions before combining it with fabrics that have different shrink rates — mismatched shrinkage is one of the most common causes of quilt puckering after the first wash.
Tools and Materials You’ll Need
- Batting (cut to size, or a full roll for larger projects)
- Backing fabric (pieced if needed)
- Curved safety pins or basting spray
- Painter’s tape or large clips (for floor/table basting)
- Long ruler and rotary cutter
- Hand-sewing needle and thread (for hand-finishing)
- Iron and pressing surface
Common Mistakes Beginners Make
- Cutting backing and batting too small — always leave a few extra inches on all sides.
- Skipping pre-wash checks — mismatched shrink rates between fabric and batting cause puckering later.
- Basting on an uneven or soft surface — this traps wrinkles into the sandwich before you even start quilting.
- Trimming batting flush too early — wait until after quilting is complete.
- Ignoring the batting’s recommended quilting distance — skipping this can cause the batting to shift or bunch inside the quilt over time, especially after washing.
FAQ
What is batting for sewing?
Batting is the soft, insulating middle layer of a quilt sandwich, placed between the quilt top and backing fabric to add warmth, loft, and structure.
How much backing fabric do I need for a queen quilt?
For a queen-size quilt (90″ x 108″), plan for roughly 8–9 yards of pieced backing fabric, allowing extra for seams and shifting during basting.
Can I piece batting together instead of buying one large piece?
Yes. Overlap the edges slightly, trim them into a clean straight seam, then join with a zigzag stitch or batting fusible tape.
Do I need to baste before machine quilting?
Yes. Basting holds the three layers in place so they don’t shift or shift under the machine’s presser foot, which prevents puckers and drag lines in the finished quilt.
What’s the difference between quilt batting and quilt filler?
“Batting” and “filler” are generally used interchangeably in quilting — both refer to the middle insulating layer of the quilt sandwich.