

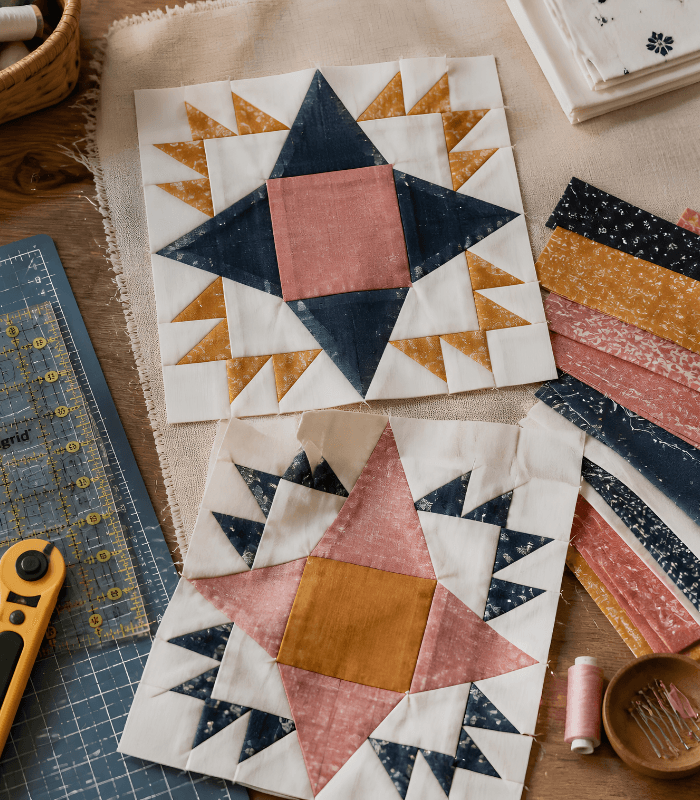
I’ve used the sawtooth star as a teaching block more times than I can count, and I’ve made full quilts from it for sampler swaps and guild challenges too. Every block is built the same way — half-square triangles arranged around a center square — so once a student understands one star point, they understand all four. It’s the pattern I reach for whenever someone’s ready to move past plain patchwork but isn’t ready for a bias diamond yet.
Table of Contents
What You’ll Need
- Fabric for the star points and center square
- Background fabric for the corners
- A rotary cutter, ruler, and mat
- A design wall or clear floor space
- Batting
- Backing fabric
- Quilting thread
How I Piece Mine Together
- Cut your half-square triangle pairs for the star points, sizing them slightly larger than needed for trimming.
- Sew each triangle pair together along the diagonal, then press the seam toward the darker fabric.
- Trim every half-square triangle unit to the exact same size before assembling anything further.
- Arrange your center square, corner squares, and star-point units into a three-by-three grid.
- Sew the units into three rows, matching seams at the star points carefully.
- Join the three rows together to complete the block.
- Press seams away from the triangle points to avoid bulk at the tips.
- Repeat to make all your blocks, then lay them out before sewing anything together.
- Sew the blocks into rows, then join the rows to form your quilt top.
- Layer, baste, quilt, and bind to finish.
A Few Lessons From My Quilting Table
- Trimming every half-square triangle unit to the same size before assembly is the single biggest fix for blunt or uneven star points.
- Pressing seams away from the triangle tips keeps the points crisp instead of bulky.
- Pre-cut half-square triangle packs speed this block up considerably if you’d rather skip the bias-matching step.
- Laying blocks out on a design wall works especially well here, since this block plays nicely next to almost any other simple pieced pattern.
Mistakes I’ve Made Along the Way
- I skipped trimming my triangle units early on, and even a sixteenth of an inch of drift showed up clearly at the points.
- Pressing seams toward the points instead of away from them made a few of my early blocks noticeably bulky at the tips.
- I once mismatched my corner and background fabrics between blocks, and it was more noticeable across a full quilt than I expected.
Questions I Get Asked
What size should a sawtooth star block be?
I most often teach this at 12″ finished, though a small 6″ version works nicely repeated across a larger quilt for a busier texture.
Is this a good first star pattern for beginners?
Yes, genuinely. It’s the star pattern I recommend most often to students moving past their first nine-patch, since there’s no bias diamond involved.
Why do my star points look blunt instead of sharp?
This is almost always a trimming issue. Trim every half-square triangle unit to the same exact size before assembling the block.
Can I mix this block into a sampler quilt with other patterns?
Yes, and it’s one of the best blocks for that purpose, since its nine-patch grid sits comfortably next to most other simple pieced blocks.
How much fabric do I need for a sawtooth star lap quilt?
For a lap quilt around 50″ x 60″, I’d plan on roughly 3 to 4 yards total across your star, background, and setting fabrics.
By Sara McLean