

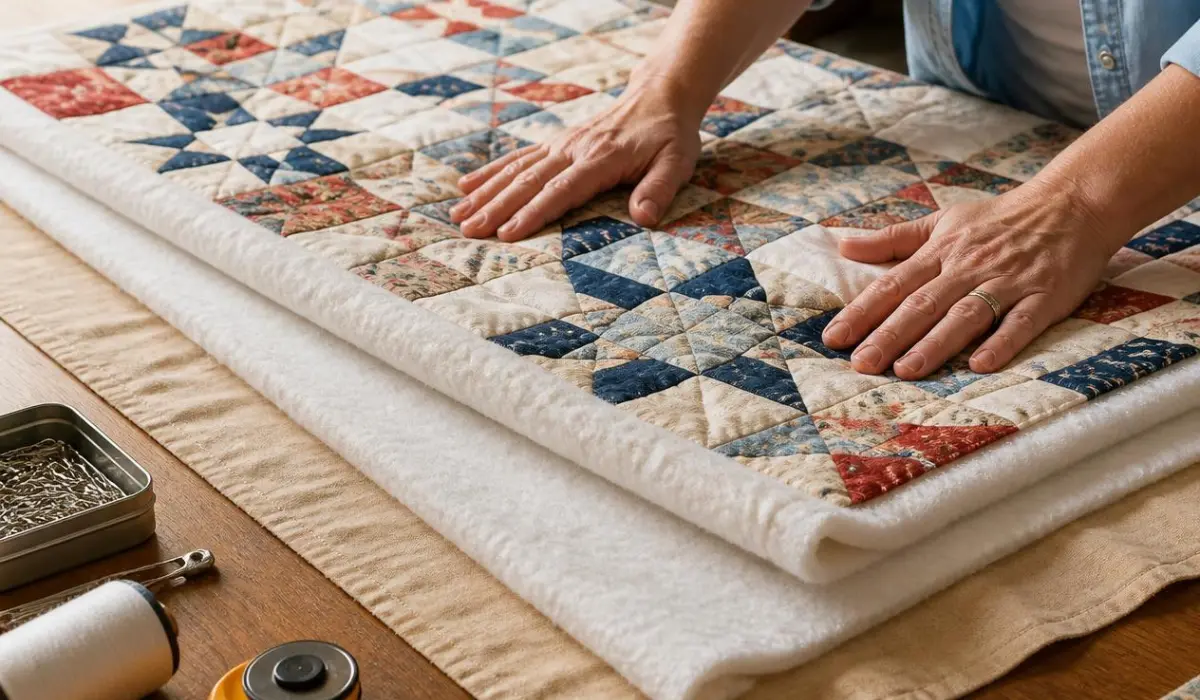
Finishing a quilt with batting and backing means layering your finished quilt top with a middle layer of batting and a bottom layer of backing fabric, quilting the three layers together, then binding the raw edges to complete the piece. It’s the stage where a flat pieced top actually becomes a quilt — warm, layered, and ready to use.
Table of Contents
Somewhere Between “Pieced Top” and “Finished Quilt”
There’s a strange, in-between stage every quilter knows. Your top is done. It’s pinned to a design wall or folded over the back of a chair, and it looks finished — until you pick it up and realize it’s just one thin layer of fabric. No warmth. No weight. Nothing to actually wrap around anyone.
I sat with a finished top like that for almost two months once, genuinely unsure what came next. I’d pieced the whole thing with confidence and then completely stalled at the layering stage, worried I’d ruin it by rushing the part I didn’t fully understand. What finally got me moving wasn’t a video or a pattern — it was a much more experienced quilter telling me, plainly, that finishing a quilt is really just four honest stages done in order: layer it, baste it, quilt it, bind it. Nothing more mysterious than that.
That’s the shape this guide follows.
Stage One: Choosing Your Batting and Backing
Before you layer anything, it helps to know what you’re layering.
Batting is the middle layer that gives your quilt warmth and loft. Cotton batting lies flatter and is easy to hand-quilt. Polyester batting is lofty and low-maintenance. Wool batting is warm and springy but needs a little more care. For a first quilt, a low-loft cotton or cotton-poly blend is the most forgiving choice.
Backing is your bottom fabric layer — the side that won’t be seen as often, but still matters. It should be:
- Cut at least 4 inches larger than your quilt top on all sides
- Pressed flat and free of major wrinkles before layering
- Pieced together in advance if your quilt top is wider than standard fabric width
Get both cut and ready before you move to the next stage. Trying to cut batting or backing while mid-layering is how corners get uneven and tempers get short.
Stage Two: Layering the Quilt Sandwich
This is the part that stalled me for two months, and it turns out to be the simplest stage of the whole process once you actually do it.
- Lay your backing fabric right side down on a clean, flat surface — a large table or clean floor both work.
- Smooth it out fully, taping or clipping the edges down if you’re working on a hard surface, so it stays taut and wrinkle-free.
- Center your batting on top of the backing, smoothing out any folds or lumps.
- Center your quilt top, right side up, over the batting.
- Smooth every layer outward from the center, checking that nothing is bunched or shifted before you move on.
Stage Three: Basting to Hold Everything in Place
Basting is simply the step that keeps your three layers from shifting once you start quilting. You have a few options:
- Pin basting — safety pins placed every 4–6 inches across the whole quilt, a slow but reliable method
- Spray basting — a temporary adhesive spray applied between layers, faster but needs good ventilation
- Thread basting — long hand-stitched lines through all three layers, an older method still favored for hand-quilting
Whichever method you choose, baste generously. Skimping here is the single most common reason quilts pucker or shift once they’re on the machine.
Stage Four: Quilting the Layers Together
With everything basted, you’re ready to actually quilt stitching through all three layers to hold them together permanently and add texture to the finished piece. This can be:
- Straight-line quilting, simple rows or a grid, forgiving for beginners
- Free-motion quilting, looser, more decorative stitching guided by hand rather than straight lines
- Hand-quilting, slower but with a soft, traditional texture machine quilting can’t quite replicate
Work from the center of the quilt outward in each direction, rather than starting at one edge and moving straight across. This keeps fabric from shifting unevenly as you go.
Stage Five: Trimming and Squaring Up
Once quilting is complete, trim the excess batting and backing flush with the edge of your quilt top, using a rotary cutter and a long ruler to keep your lines straight. Square up all four corners at true right angles — this step matters more than it seems, since an unsquare quilt will show in the binding no matter how neatly it’s sewn.
Stage Six: Binding to Complete the Quilt
Binding covers the raw edges and gives the quilt its final frame:
- Cut and piece your binding strips, then press them in half lengthwise.
- Sew the binding to the front edge of the quilt, mitering each corner as you go.
- Fold the binding over to the back, covering your stitch line.
- Hand-stitch or machine-stitch the binding down on the back to finish.
Once the last stitch is in, press the whole binding flat — and that’s it. What was a flat pieced top two stages ago is now, finally, a finished quilt.
A Few Honest Lessons Along the Way
- Layering goes faster on the floor than a table, if you have the space and don’t mind kneeling — you get more room to smooth things out evenly.
- Basting feels tedious in the moment and saves real frustration later. Every pucker I’ve ever fought with during quilting traced back to rushed basting.
- Quilting from the center out isn’t optional advice — it’s the difference between a flat quilt and a slightly warped one.
- A walking foot earns its cost back on the very first quilt you finish with one, especially through thicker battings.
- Don’t judge the binding until it’s pressed. A slightly wavy binding often flattens out beautifully with one good press.
FAQ
Do I need to baste a quilt if I’m having it professionally longarm quilted?
Usually not — longarm quilters typically load and baste the layers on their own frame. Ask your longarm quilter directly, since some prefer you to send layers unbasted.
How much extra backing fabric do I actually need?
At least 4 inches larger than your quilt top on all sides is standard, though some quilters prefer 6–8 inches of margin for extra security during quilting.
Can I mix batting types in one quilt?
It’s possible but not recommended for beginners — different battings compress and quilt differently, which can create uneven texture across the finished piece.
What’s the fastest way to finish a quilt if I’m short on time?
Straight-line machine quilting with spray basting is typically the quickest path from pieced top to finished quilt, without sacrificing durability.
 Minty Mellon