

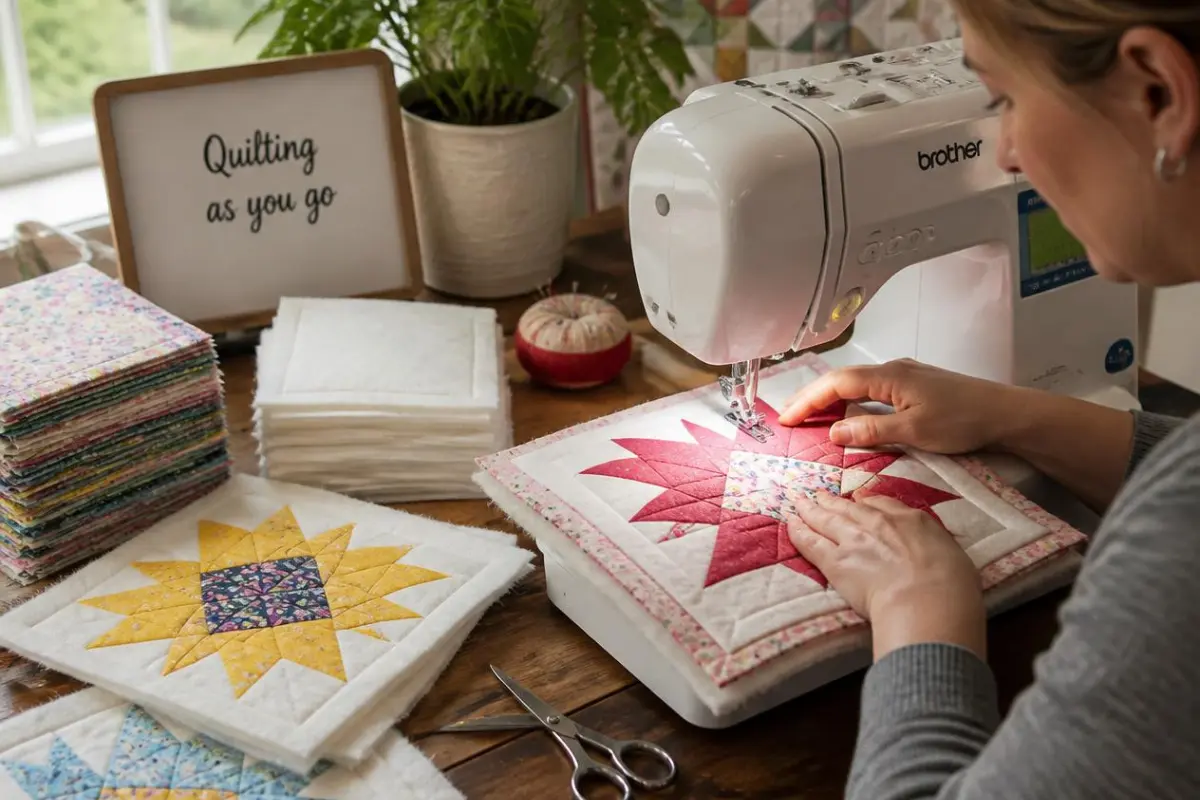
Quilting as you go (often shortened to QAYG) with batting is a technique where you quilt individual blocks or sections — each with its own layer of batting and backing already attached — before joining them into a finished quilt top. Instead of wrestling one giant, heavy quilt sandwich through your sewing machine at the end, you handle small, manageable pieces the whole way through.
Table of Contents
The Quilt That Wouldn’t Fit Under My Sewing Machine Arm
I found out I needed quilting as you go the hard way — halfway through quilting a queen-size quilt on a machine that clearly was not built for it. I remember fighting the bulk of that thing through the throat of my machine, rolling and unrolling it, pinning my fingers more than once, and swearing under my breath that I’d never make anything bigger than a lap quilt again.
A quilter at my local guild watched me struggle through one meeting and asked, gently, why I wasn’t quilting it in sections. I didn’t even know that was an option. She walked me through quilting as you go — batting and backing attached to each block individually, quilted while the piece was still small enough to actually manage, then joined together after. My next big quilt went together in an afternoon of calm, manageable stitching instead of an entire weekend of fighting fabric. I haven’t quilted a large project any other way since.
Why Quilters Use This Method
Quilting as you go solves a very specific, very common problem: bulk. A full quilt sandwich — top, batting, and backing all layered together — gets heavy and unwieldy fast, especially on a home sewing machine with a small throat space. QAYG breaks that bulk down into pieces small enough to actually control.
Beyond that, it offers a few other real advantages:
- Easier for machine quilters with smaller machines, since you’re never feeding more than one block’s worth of bulk at a time
- More forgiving for beginners, because mistakes on one block don’t threaten the whole quilt
- Portable — individual blocks are easy to carry around and work on in short sessions
- Faster overall for large quilts, since you’re not managing one massive sandwich at the very end
What You’ll Need
- Quilt blocks, pieced and pressed
- Batting, cut slightly larger than each block
- Backing fabric, also cut slightly larger than each block
- Basting spray or pins, to hold each block’s mini-sandwich together
- Sewing machine, ideally with a walking foot for even feeding
- Design wall or large flat surface, to lay out and plan your block arrangement before joining
How to Quilt As You Go With Batting
1. Piece and Press Your Blocks
Complete your individual quilt blocks as you normally would, pressing seams flat before moving on.
2. Cut Batting and Backing for Each Block
Cut a piece of batting and a piece of backing fabric for every block, each about an inch larger than the block on all sides. That extra margin gives you room to trim precisely once everything is quilted.
3. Layer Each Block Into Its Own Sandwich
Lay the backing right side down, batting on top, and your pieced block right side up over that. Baste each layer together with pins or basting spray so nothing shifts while quilting.
4. Quilt Each Block Individually
Quilt each small sandwich on its own — straight lines, a simple grid, or free-motion designs all work well at this scale. Because you’re only handling one block at a time, this step is far easier than quilting a full-size piece.
5. Trim Each Quilted Block to Size
Once quilted, trim each block back down to its exact finished size, squaring up all four sides and trimming away the extra batting and backing margin you added earlier.
6. Join the Blocks Together
This is where methods vary slightly — some quilters join blocks with a plain seam and then cover the seam allowance on the back with a strip of fabric, while others use a flip-and-stitch method that sandwiches the seam allowance neatly between the layers. Either way, you’re now joining finished, quilted blocks rather than joining a raw quilt top before quilting it.
7. Finish the Seams Between Blocks
Cover or stitch down the seam allowances on the back of the quilt where blocks were joined, so no raw batting or backing edges are left exposed.
8. Bind the Outer Edge as Normal
Once all blocks are joined and the seams are finished, bind the entire outer edge of the quilt using your usual binding method — this final step looks just like binding any other finished quilt.
Tips for a Smoother Process
- Keep your block sizes consistent. Even small size differences between blocks become obvious once you’re trying to join a whole row of them.
- Test your seam-joining method on two scrap blocks first. The joining step is the one part of QAYG that feels different from traditional quilting, and it’s worth practicing before committing to your real blocks.
- Use a walking foot for every stage, not just the joining step — it keeps the layers feeding evenly whether you’re quilting a single block or stitching two together.
- Lay all your blocks out before joining anything. It’s much easier to plan your color and pattern layout with a design wall than to rearrange sewn rows.
- Label your blocks if your layout is complex. A quick pin-note or numbering system saves real frustration once you have a stack of similar-looking quilted squares.
Common Mistakes to Avoid
- Cutting batting and backing exactly to block size instead of oversized. Without that extra margin, you lose the ability to square up cleanly after quilting.
- Skipping the basting step on individual blocks. Even small sandwiches can shift under the needle without proper basting.
- Joining blocks before they’re fully trimmed and squared. Uneven blocks compound into a visibly crooked quilt once several rows are joined.
- Leaving raw seam allowances exposed on the back. These need to be finished or covered, or they’ll fray and show through over time.
- Rushing the seam-joining method. This is the step with the steepest learning curve in QAYG — a little extra care here pays off across the whole quilt.
Why This Method Is Worth Learning
Quilting as you go doesn’t just solve a bulk problem — it changes how approachable a big quilt feels from the very first block. Instead of one long, exhausting quilting session at the end of a project, you get dozens of small, satisfying finishes along the way. It’s the difference between wrestling a queen-size quilt through a machine that was never built for it, and actually enjoying every step of getting there — something I wish I’d learned a lot sooner than I did.
 Minty Mellon