

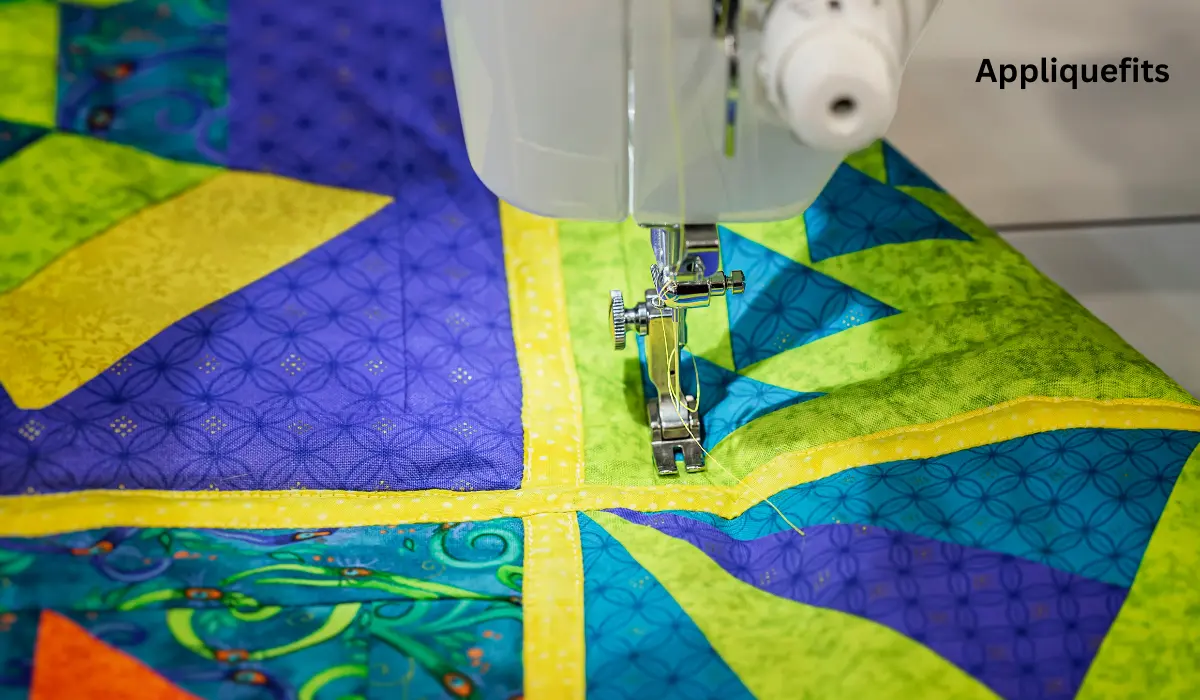
A rag quilt with batting is made by placing a soft layer (batting) between two pieces of fabric, then sewing them together with the seams on the outside instead of hiding them inside. After sewing, you cut small snips along the edges of the seams.
When you wash the quilt, these cut edges open up and become soft and fluffy, giving the quilt its “ragged” look. In this type of quilt, washing is an important step because it helps create the final texture.
Table of Contents
Three Questions I Had Before I Ever Started One
The first time someone showed me a rag quilt, I had more questions than I had confidence. I remember standing in a fabric shop holding a finished sample, running my thumb over one of the frayed seams, and asking the woman behind the counter three things, one after another: Why are the seams on the outside? Won’t it just fall apart? And why does it feel so much thicker than a normal quilt?
She answered all three without missing a beat, the way someone does when they’ve explained it a hundred times before. The seams are on the outside on purpose — that’s what creates the fray. It won’t fall apart because the seam allowance is wide and stitched securely before it’s ever clipped. And it feels thicker because the batting is quilted right into every single block, not just floated between two full-size layers the way a regular quilt is built.
I made my first rag quilt within the week. Those same three answers are really the whole method, so that’s how this guide is built — around the questions, not just the steps.
Question One: Why Do the Seams Go on the Outside?
In traditional quilting, seams are sewn right sides together and hidden inside the piece, with a separate binding covering the raw edges at the end. A rag quilt skips that entirely. The seams are sewn with fabric right sides facing out, using a wide seam allowance — usually ¾” to 1″. That extra fabric sitting exposed on the surface is exactly what gets clipped and frayed later. There’s no separate binding step because the frayed seams themselves become the finish.
What you’ll need for this stage:
- Fabric cut into squares (flannel is the most popular choice — it frays the softest)
- Batting cut to match your fabric square size
- Rotary cutter, mat, and ruler for clean, even squares
Question Two: Won’t It Just Fall Apart?
This is the question almost everyone asks first, and it’s a fair one — a quilt with intentionally frayed seams sounds fragile. It isn’t, as long as two things are done properly:
- The seam allowance is wide enough. A narrow seam doesn’t leave enough fabric to fray without compromising the actual stitch line.
- The clipping is careful, not careless. Every seam gets snipped every ¼ inch or so, cutting close to the stitching without ever cutting through it.
Done this way, the stitching underneath stays fully intact — only the extra fabric around it frays. The quilt gets softer with every wash, not weaker.
Question Three: Why Does It Feel So Much Thicker?
Unlike a regular quilt, where one continuous piece of batting sits between one continuous top and backing, a rag quilt builds its thickness block by block. Each individual square is its own mini-sandwich — batting layered between two fabric pieces — quilted and joined one at a time. That block-by-block construction is what gives a rag quilt its heavier, more textured feel from edge to edge, even in the seams themselves.
Putting It All Together: The Build Process
- Cut your squares. Decide on a finished size (8″–10″ is beginner-friendly), and cut two fabric squares plus one batting square per block, all the same size.
- Layer each block. Batting in the middle, fabric right side out on both sides, pinned or clipped through all three layers.
- Quilt each block individually. A simple X or a couple of straight lines through each square anchors the batting before joining anything.
- Sew squares into rows. Right sides out, wide seam allowance, seams facing outward the entire way.
- Sew rows together. Same method — outward-facing seams, generous allowance — until the full quilt top is assembled.
- Stitch around the outer edge. One final seam seals the whole perimeter before clipping begins.
- Clip every seam. Snip close to the stitching every ¼ inch, across every seam on the entire quilt.
- Wash and dry. This is where the fraying actually happens — a normal or heavy-duty cycle, not delicate.
What I’d Tell a Beginner Before Their First One
- Flannel is worth the extra cost for a first attempt. It frays fuller and softer than cotton, and the difference is noticeable the first time you pull it out of the dryer.
- Don’t rush the clipping stage. It’s the least glamorous part of the process and the most important one — every seam you skip is a seam that won’t fray properly.
- A walking foot is genuinely useful here, more than in most quilting projects, because you’re constantly sewing through three thick layers at once.
- The first wash will surprise you with lint. It’s normal, not a sign anything went wrong — check the lint trap partway through if you can.
- Wobbly stitching isn’t the setback it would be on a regular quilt. A little unevenness in a rag quilt just reads as texture once it’s frayed.
FAQ
Do I need a special sewing machine for a rag quilt?
No — a standard home sewing machine handles rag quilts fine. A walking foot helps feed the thicker layers evenly but isn’t strictly required.
Can I make a rag quilt without flannel?
Yes. Quilting cotton and fleece both work, though they’ll fray thinner and less full than flannel does.
How many times should I wash a rag quilt to get the full frayed look?
Usually one full wash and dry cycle is enough to see the fray fully develop, though some quilters run a second cycle for an even fuller texture.
Is a rag quilt as warm as a traditional quilt?
Often warmer, actually — because batting is quilted into every individual block rather than floated as one thin layer, rag quilts tend to feel noticeably thicker and cozier.
 Minty Mellon