

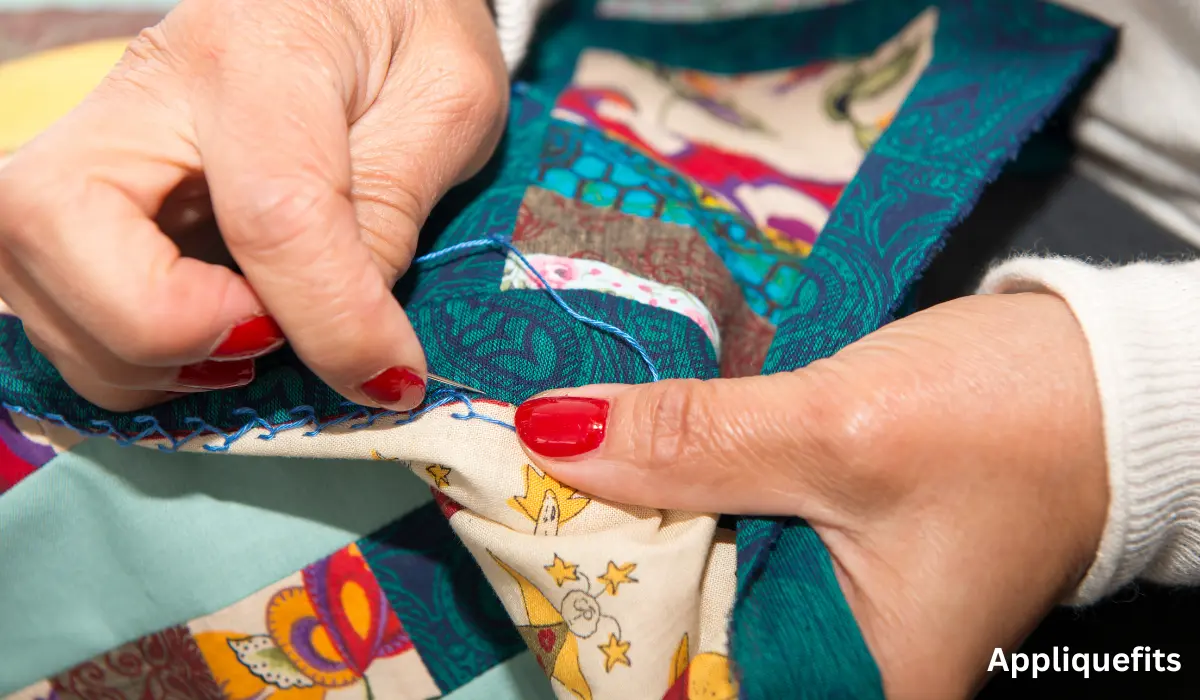
Sewing a quilt with batting means stacking your quilt top, batting, and backing fabric into what quilters call a “quilt sandwich,” then stitching through all three layers to lock them together. That stitching is the quilting itself, and it’s what gives a finished quilt its warmth, its loft, and honestly, its whole personality.
My first attempt at this went badly. I was in a hurry, so I skipped basting the layers and figured the batting would just stay put on its own. It didn’t. By the time I’d finished sewing, the backing had bunched up into these awful puckers running across the whole quilt, and there was no fixing it without ripping out half my stitching. I sat there staring at it for a good ten minutes before I accepted I’d have to start over. That’s the kind of lesson you only need to learn once, and it’s why I baste every quilt now, even the tiny ones I make for gifts.
Table of Contents
What You’ll Need
Before I sit down at the machine, I lay everything out on the table. Saves me from getting halfway through and realizing my basting spray is empty (it’s happened more than once).
- Quilt top, pieced or appliquéd, pressed with the seams lying flat
- Batting — cotton, polyester, wool, or a cotton-poly blend
- Backing fabric, cut a few inches bigger than the quilt top on each side
- Something to hold the layers together: curved basting pins, quilt basting spray, or fusible batting
- A walking foot for your machine
- Quilting thread and a needle sized for thicker layers
- Rotary cutter and a long quilting ruler
- Painter’s tape or clips
- Binding fabric for the edges
Step 1: Pick Your Batting
This is where a lot of new quilters get stuck, and I get it. There are more batting options than you’d think, and the one you choose really does change how the quilt feels and behaves once it’s finished.
Cotton batting has a low loft and breathes well, so it’s a good pick for bed quilts if you want that flatter, more traditional look. Polyester holds its puff over time and works nicely for throws or quilts that get tied rather than stitched all over. Wool has more loft and keeps you warmer, though it costs more and needs gentler washing. I mostly reach for a cotton-poly blend these days — it’s forgiving to sew through and drapes well once it’s done.
There’s also fusible batting, which bonds to your fabric with an iron instead of pins or spray. I haven’t used it much myself, but a friend of mine swears by it for smaller projects where basting pins feel like overkill.
Whatever you land on, check the label for the recommended quilting distance. It’ll tell you the maximum space you can leave between rows of stitching before the batting starts shifting inside the quilt.
Step 2: Get the Top and Backing Ready
Give your quilt top a good press, flattening every seam, and pick off any loose threads while you’re at it. I learned this one the hard way — held a finished quilt up near a window once and saw a handful of dark threads shadowing through the lighter fabric. Nothing ruins a clean-looking quilt faster.
Cut your backing so it overhangs the quilt top by at least a few inches on every side. That extra fabric gives you a little breathing room if things shift while you’re quilting, and it makes trimming everything square much less stressful later.
Step 3: Build the Quilt Sandwich
Lay the backing fabric right-side down first, on a table or a clean floor, whatever gives you the most space. Tape or clip the edges down so it’s smooth but not stretched tight — pulling it too taut will cause puckering once you release it.
Next comes the batting, smoothed out flat with no folds. Then the quilt top goes on right-side up, centered over the batting. Once it’s all stacked, run your hands from the middle outward to push out any air pockets or wrinkles hiding between the layers.
Step 4: Baste It
Basting is just a temporary way to hold the sandwich together so nothing slides around while you’re sewing. I know it feels like an extra step you could skip, but trust me on this one.
Pin basting means placing curved safety pins every few inches, working outward from the center. Spray basting is faster — you fold back a section, mist on some adhesive, and smooth the layer back down, repeating section by section. Hand basting uses long, loose stitches sewn in a rough grid across the quilt. And if you went with fusible batting, you’ll just press the layers together with your iron.
I switched over to spray basting a couple of projects ago and honestly wish I’d done it sooner — cut my prep time nearly in half. But pins work fine too, especially if the smell of spray adhesive bothers you (it bothers some people, no judgment).
Step 5: Do the Actual Quilting
Swap in a walking foot before you start. It feeds all three layers through evenly, which matters a lot once you’re dealing with something this thick — a regular foot tends to push the top layer forward faster than the backing, and that’s where puckers sneak in.
A few patterns worth trying as a beginner:
Straight-line quilting is exactly what it sounds like — simple parallel rows, and about as forgiving as it gets. Stitch in the ditch means sewing right along your existing seams so the stitches practically disappear. Grid quilting crosses straight lines to form a checkerboard or diamond pattern. Free-motion quilting drops the feed dogs and lets you sew curves and shapes freehand with a darning foot, though I’d say save that one for after you’ve got a few straight-line quilts under your belt. And if you’d rather stitch by hand, that’s an option too — slower, but there’s something satisfying about it.
Start in the center of the quilt and work your way out toward the edges. It sounds like a small detail, but it makes a real difference in keeping fabric from bunching in the middle.
Step 6: Trim, Square Up, and Bind
Once the quilting’s done, trim the excess batting and backing flush with the quilt top using a rotary cutter and ruler. Square up the corners so everything lines up before you move on to binding.
Binding covers those raw edges and gives the whole quilt a finished look. You can sew it on by machine if you’re short on time, or hand-stitch it down for a slower, more traditional finish. I do a bit of both depending on my mood and how close I am to a deadline.
Mistakes I See (and Made) Often
Skipping basting is the big one — I already told you how that went for me. Using a regular presser foot instead of a walking foot is another common trip-up; it just doesn’t handle the thickness well. Pulling the backing too tight while taping it down will bite you later when it relaxes and puckers. Ignoring the batting’s recommended quilting distance can leave the batting bunching up unevenly over time. And starting your quilting from one edge instead of the center tends to trap fabric and create little ripples you’ll notice too late.
A Few Extra Tips
Test your tension on a scrap sandwich made from the same fabric and batting before touching your actual quilt — five minutes of testing can save you hours of unpicking. Roll up the sides of a large quilt and clip them so it fits under your machine’s arm more easily. Stop every so often to smooth things out and check for shifting, especially on bigger projects. A slightly longer stitch length tends to move through thick layers more smoothly. And think about loft before you buy batting — lower loft for wall hangings, higher loft if you want something cozy for the bed.
Questions People Ask Me
What’s the best batting for someone just starting out?
A cotton-poly blend. It’s easy to work with and doesn’t demand much in the way of special equipment.
Do I really need a walking foot?
You can get by without one, but it’s a lot easier with it. It keeps all three layers moving together instead of one dragging behind the other.
How far apart can my quilting lines be?
Depends on the batting. Check the packaging — most list a max distance, usually somewhere between 4 and 10 inches.
Can a regular home sewing machine handle this?
Yes, for most projects. Table runners and baby quilts are especially manageable. Just make sure your machine can handle the bulk of all three layers stacked together.
How do I keep my quilt from puckering?
Baste properly, use a walking foot, and start stitching from the center. Those three things fix almost every puckering problem I’ve run into.
 Minty Mellon