

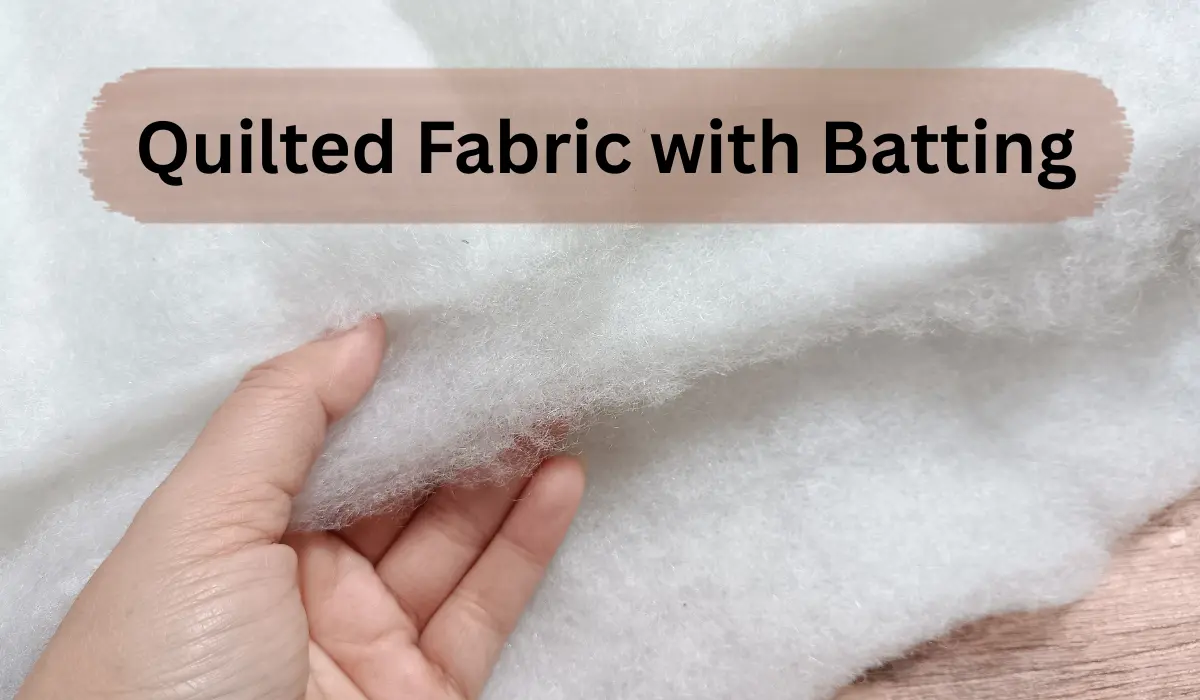
Quilted fabric with batting is fabric made by sandwiching a soft insulating layer (batting) between a top fabric and a backing fabric, then stitching all three layers together. This “quilt sandwich” is what gives quilted fabric its puffy texture, warmth, and structure. Below, you’ll learn what batting does, which type to pick, and how to quilt fabric correctly the first time — using the same layering and quilting techniques taught in patchwork, appliqué, and machine quilting classes.
In over a decade of teaching hand quilting and machine quilting workshops, I’ve found that most beginners struggle less with sewing skill and more with picking the wrong batting loft for their project. This guide walks through exactly what I teach new quilters in their first class, from choosing batting to binding the finished quilt top.
Table of Contents
What Is Quilted Fabric with Batting?
Quilted fabric always has three layers, often called a quilt sandwich:
- Top fabric – the fabric you see, often pieced, printed, or appliquéd.
- Batting – the middle layer that adds thickness, warmth, and loft.
- Backing fabric – the fabric on the underside.
Stitching (by hand quilting, machine quilting, or longarm quilting) passes through all three layers. This stitching, called quilting, locks the batting in place so it doesn’t shift or bunch up after washing.
Without batting, “quilted” fabric is really just two layers of fabric stitched together, and it will lie flat with no cushioning. Batting is what turns flat fabric into something with body, warmth, and dimension — the same structural principle taught by textile educators and referenced in fabric-care guidance from groups like the American Quilter’s Society.
From my own workshop experience, this is the single concept beginners misunderstand most: batting isn’t optional stuffing, it’s a structural fabric layer that determines the drape, weight, and warmth rating of the entire piece, whether you’re making a bed quilt, a throw quilt, or a small wall hanging.
Why Batting Matters
Batting isn’t just filler. It directly affects how your finished project looks, feels, and performs:
- Warmth – thicker batting traps more air, which means more insulation and a higher warmth rating.
- Loft (thickness) – controls whether your project looks flat and tailored or thick and cozy.
- Drape – some batting hangs softly; other types are stiffer and hold their shape, which matters for quilted garments and window treatments.
- Visibility of stitching – higher loft batting makes your quilting stitches and quilting patterns stand out more; low loft keeps the focus on the pieced fabric or appliqué design.
- Weight – matters for garments, wall hangings, table runners, and anything that needs to move or hang.
- Fiber content – natural fiber battings (cotton, wool, bamboo) and synthetic fiber battings (polyester) each affect breathability differently.
Types of Batting and When to Use Them
| Batting Type | Loft | Best For |
|---|---|---|
| Cotton | Low | Flat quilts, garments, a classic vintage look |
| Polyester | Medium–High | Puffy quilts, tied quilts, visible stitching |
| Cotton-Poly Blend | Medium | Everyday quilts, good balance of warmth and drape |
| Wool | Medium–High | Warm quilts, hand quilting, soft drape |
| Bamboo | Low–Medium | Eco-friendly projects, breathable summer quilts |
| Fusible | Low–Medium | No-baste projects, small crafts, bags |
Cotton batting is a beginner favorite because it’s low-loft, breathable, and easy to sew through on a home machine. It gives quilts a soft, slightly flat finish that many quilters consider the classic look.
Polyester batting is fluffier and lighter than cotton. It holds its loft well over time and works nicely for tied quilts or projects where you want the quilting design to really pop.
Wool batting is warm without being heavy, drapes beautifully, and is a popular choice among hand quilters because a needle passes through it easily.
Bamboo batting behaves a lot like cotton but comes from a faster-renewing plant fiber, so it’s often chosen by quilters who want a greener option.
Fusible batting has a light adhesive coating that lets you iron your layers together instead of pinning or basting, which is a huge time-saver for small projects like placemats or pouches.
Batting manufacturers typically list loft, fiber content, and shrinkage percentage right on the packaging — it’s worth reading this label closely, the same way experienced quilters and quilt guild instructors recommend, before buying batting in bulk for a large bed quilt.
How to Quilt Fabric with Batting: Step-by-Step
Tools and Materials
- Top fabric (pieced, printed, or appliquéd) — fat quarters work well for small projects
- Batting (cut a few inches larger than your top fabric on all sides)
- Backing fabric
- Curved safety pins or basting spray
- Walking foot or free-motion foot (for machine quilting)
- Quilting thread (cotton or polyester, matched to your batting fiber)
- Rotary cutter, cutting mat, and quilting ruler
- Binding fabric for the finished edges
Steps
1. Prepare your layers. Press your top fabric flat. Cut your backing fabric and batting so both are 2–4 inches larger than your top fabric on every side. This extra margin keeps everything aligned as you quilt.
2. Build the quilt sandwich. Lay the backing fabric right-side down, add the batting on top, then place your top fabric right-side up. Smooth out every layer as you go so there are no wrinkles or folds trapped underneath.
3. Baste the layers together. Pin every 4–5 inches using curved safety pins, or use basting spray to hold the layers in place. Basting keeps the batting from shifting while you stitch.
4. Quilt the layers. Stitch through all three layers using straight-line quilting, grid patterns, or free-motion quilting designs. A walking foot helps feed all three layers evenly through the machine so the top and backing don’t pucker. In my own practice, I always start quilting from the center of the piece and work outward — it’s a small habit that prevents the fabric layers from shifting toward the edges.
5. Trim and bind. Once quilting is complete, trim the excess batting and backing flush with the top fabric. Finish the raw edges with binding to protect the batting inside and give the quilt a clean, finished look.
Common Mistakes Beginners Make
- Skipping the basting step – this causes shifting, puckers, and folds trapped inside the layers.
- Using batting that’s too thick for a home machine – high-loft batting can be hard to push through a standard machine and may need a longarm.
- Not squaring up fabric before layering – uneven cuts lead to a warped, off-grain finished piece.
- Choosing loft based on looks alone – always match batting to function too; a wall hanging doesn’t need the same loft as a winter quilt.
- Forgetting to prewash cotton batting – unwashed cotton batting can shrink slightly after the first wash, giving the quilt a crinkled texture some quilters love and others don’t expect.
Tips for Better Results
- Test your batting choice on a small practice square before committing to a full quilt top.
- For quilted garments or bags, pick low to medium loft so the finished piece isn’t stiff or bulky.
- Use a walking foot for straight-line quilting and a free-motion foot for curved or decorative quilting patterns.
- Store leftover batting flat or loosely rolled to avoid permanent creases.
- Match your thread weight to your batting loft — heavier battings usually hold up better with a slightly heavier quilting thread.
FAQ
1. What’s the difference between batting and interfacing?
Batting adds thickness and warmth as a middle layer in a quilt sandwich. Interfacing is thinner and is used to add structure or stiffness to a single layer of fabric, such as a collar or waistband, not to insulate.
2. Can I quilt fabric without batting?
Yes, but it won’t have the puffy, insulated texture that defines a true quilted fabric. Stitching two fabric layers without batting mainly adds decorative topstitching, not warmth or loft.
3. What loft of batting is best for beginners?
Low to medium loft, especially cotton or a cotton-poly blend, is easiest to work with on a home sewing machine and forgiving of small technique mistakes.
4. Does batting need to be washed before use?
Cotton batting can shrink slightly, so prewashing is optional depending on whether you want a smooth or slightly crinkled finished look. Polyester and bamboo batting generally shrink very little.
5. How much extra batting should I cut for a project?
Cut batting and backing 2–4 inches larger than your top fabric on all sides to allow for shifting during quilting and to make trimming easier afterward.
About the Author
Sara McLean has spent 12+ years working with patchwork, appliqué, and machine quilting, teaching beginner and intermediate quilting classes and helping new quilters choose the right batting, fabric, and tools for their first projects. This guide reflects techniques she teaches hands-on in her own workshops, cross-checked against standard quilting references for accuracy.
 Minty Mellon