

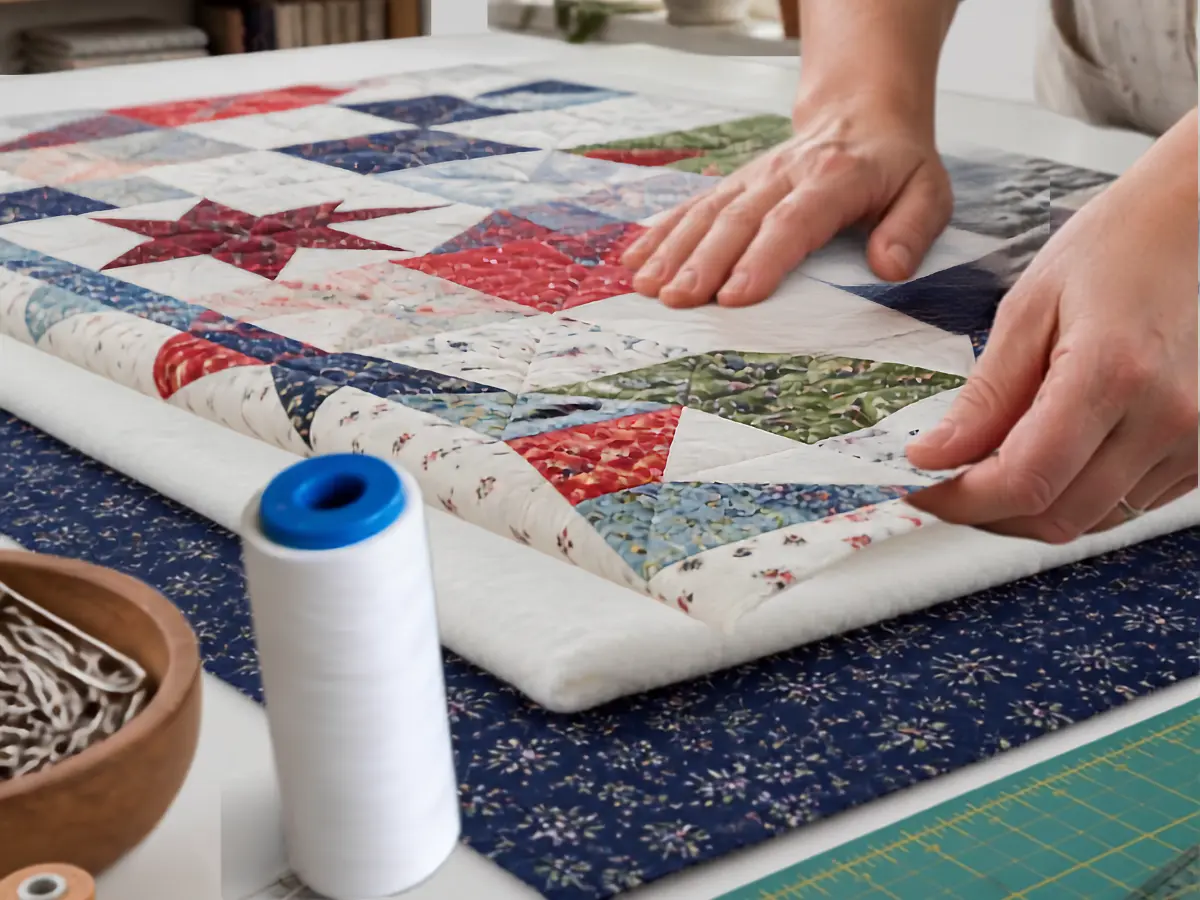
Assembling a quilt with batting comes down to building what quilters call a “quilt sandwich” — backing on the bottom, batting in the middle, and your pieced top on top — then securing all three layers with basting before you quilt them together. It sounds simple, and honestly it is, but the order you do things in and how carefully you smooth each layer makes the difference between a quilt that lies flat and one that puckers the first time it’s washed.
Table of Contents
Gather Everything Before You Start
You’ll want a clean, flat surface bigger than your quilt top — a large table, a clean floor, or a couple of pushed-together tables all work. Before you lay anything out, have these ready:
- Your pieced or appliqued quilt top, pressed
- Backing fabric, cut 4 to 6 inches larger than the top on every side
- Batting, cut to roughly the same size as your backing
- Curved safety pins or basting spray
- Painter’s tape, if you’re working on a table or floor instead of a frame
Pressing your top fabric before you start matters more than people expect. Wrinkles or unpressed seams get locked in permanently once you start quilting over them.
Building the Sandwich
- Lay your backing fabric right-side down first. If you’re working on a hard surface, tape the corners and edges down so it stays taut without stretching it out of shape.
- Smooth the batting on top of the backing. Batting wrinkles easily, so take your time working out any folds or bunched spots before moving to the next layer.
- Center your quilt top, right-side up, on top of the batting. Leave an even border of backing and batting showing around all four sides.
- Smooth from the center outward. Working from the middle out toward the edges helps push out any air pockets or shifting instead of trapping them in the center.
Basting: Don’t Skip It
Basting is what holds your three layers together while you quilt, and it’s the single most common step beginners try to shortcut.
- Pin basting – place curved safety pins every 4 to 5 inches across the entire surface. This takes a while, but it’s inexpensive and reusable.
- Spray basting – a temporary adhesive spray that bonds the layers together without pins, which is faster for larger quilts but requires good ventilation.
- Thread basting – a traditional hand-basting method using long stitches in a grid pattern, still preferred by some hand quilters for its reliability.
Whichever method you choose, baste generously. Skimping here is what leads to shifted batting, puckered backs, and folds trapped inside a finished quilt.
Quilting the Layers Together
Once basted, you’re ready to quilt through all three layers. A walking foot helps feed the layers evenly on a home sewing machine, since it grips the top and bottom fabric at the same rate instead of letting one layer creep ahead of the other. Straight lines, a simple grid, or free-motion designs all work, and the right choice mostly comes down to your batting’s loft and how visible you want the stitching to be.
Trimming and Finishing
After quilting, trim the excess batting and backing flush with the edges of your quilt top. Then finish the raw edges with binding, which protects the batting inside and gives the whole piece a clean, finished edge.
Common Mistakes to Avoid
- Skipping basting or basting too sparsely, which leads to shifting mid-quilt.
- Stretching the backing too tight while taping it down, which can cause puckering once the tape comes off.
- Trimming batting and backing before quilting is finished, leaving no margin for shifting.
- Ignoring wrinkles in the batting layer, assuming they’ll “quilt out” — they usually don’t.
FAQ
How much bigger should batting and backing be than the quilt top?
Cut both 4 to 6 inches larger than your top on all sides to allow room for shifting during quilting and easier trimming afterward.
What’s the best basting method for a large quilt?
Spray basting is usually fastest for bigger quilts, though pin basting gives you more control if you’re working without much table space.
Do I need a walking foot to quilt through batting?
It’s not required, but it helps feed all three layers evenly and reduces puckering, especially on straight-line or grid quilting.
Can I assemble a quilt sandwich on the floor?
Yes, a clean floor works well for larger quilts. Taping down the backing helps keep it flat and taut while you layer the rest.
Why does my quilt pucker after washing?
Puckering usually comes from insufficient basting, a stretched backing, or wrinkles left in the batting before quilting began.
Written By Sara McLean, Textile & Applique Specialist — 12+ years quilting experience
 Minty Mellon