

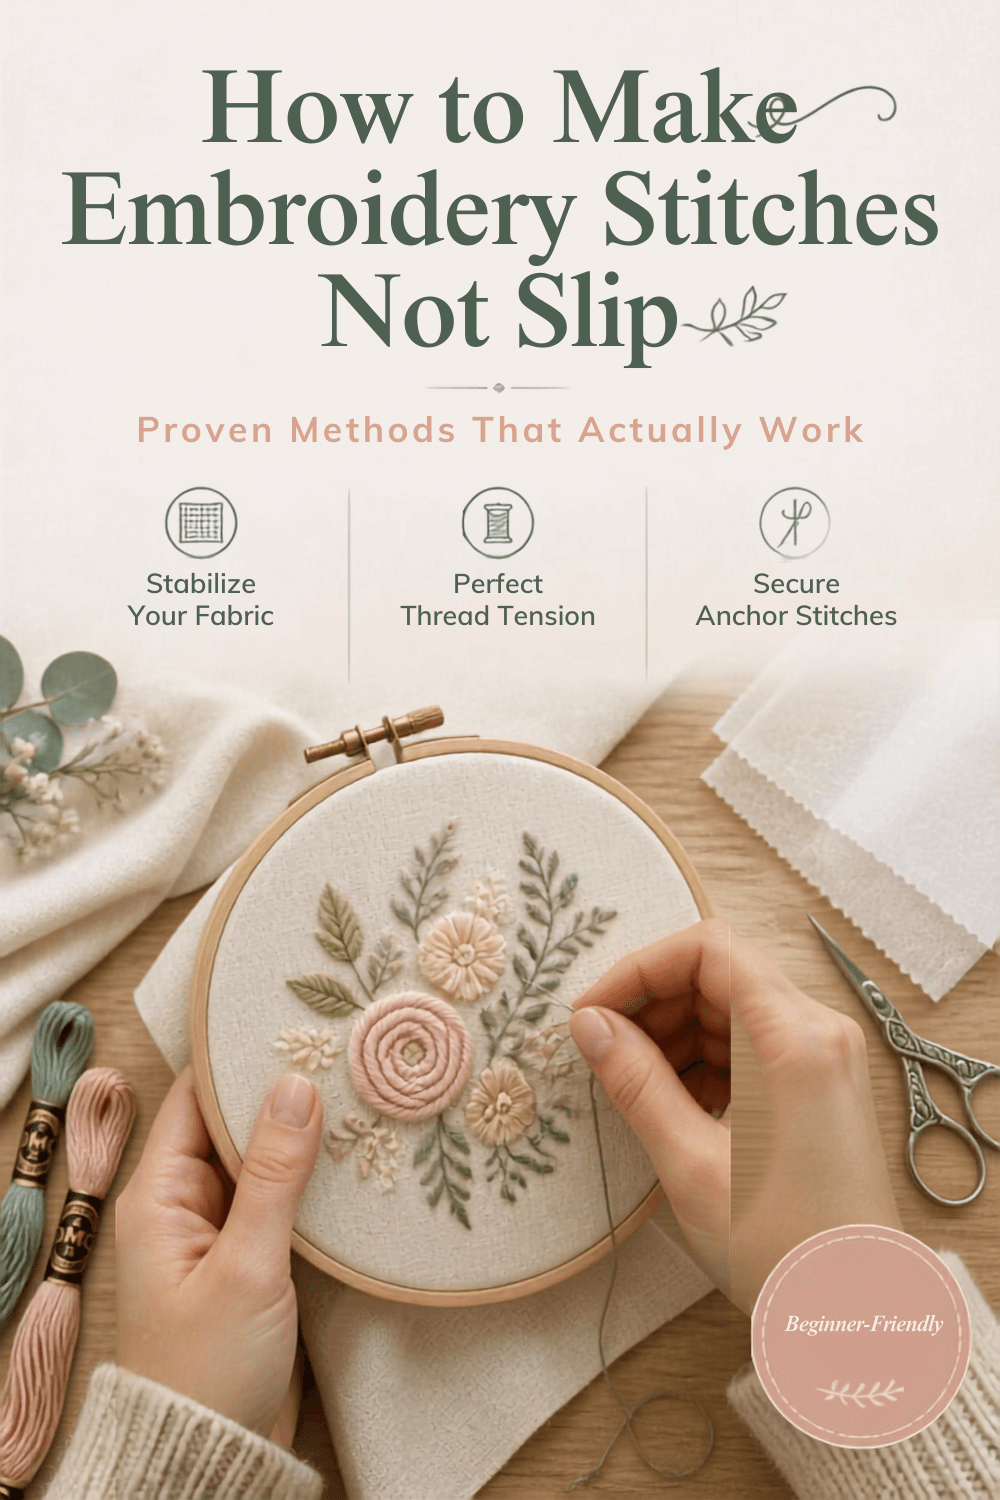
After five years of hand and machine embroidery—fixing countless unraveling projects and learning through expensive mistakes—I can tell you: slipping stitches aren’t inevitable. They’re a technique problem, not a talent problem.
The reason stitches slip is simple: inadequate fabric stabilization, loose thread tension, or poor anchoring technique. I’ve seen beautiful embroidery designs ruined because the maker skipped stabilizers or didn’t secure their starting knot properly.
Table of Contents
Why Your Stitches Are Slipping Right Now
In my experience working with beginners and advanced embroiderers, three factors cause 90% of stitch slipping:
1. No Stabilizer or Wrong Type When I started embroidering on a cotton dress without backing, stitches loosened within weeks. The fabric simply doesn’t hold thread without support. I learned that lightweight fabrics (silk, voile, thin cotton) absolutely require stabilization. I now always use fusible interfacing on the back—it’s permanent, reliable, and costs less than $2 per project.
2. Incorrect Thread Tension This was my biggest mistake. I thought “tight = secure,” so I cranked tension to maximum on my machine. The result? Puckered fabric, broken threads, and stitches that still slipped. After testing on dozens of fabric scraps, I discovered tension 5-6 on most machines is the sweet spot. Too tight stresses the thread; too loose leaves gaps.
3. Weak Starting Knots For hand embroidery, I used to make single knots at the end of thread. They’d slip free constantly. I switched to double-anchoring: making a knot and running the thread under existing stitches on the back. Zero failures since then.
The Exact Method I Use Now
Before Stitching:
- Wash and press fabric (prevents later shrinkage that loosens stitches)
- Apply fusible interfacing to back using a hot iron
- Select needle size matching thread thickness (thick thread = larger needle)
During Stitching (Hand Embroidery):
- Thread needle with double strand
- Make an overhand knot at end
- Bring needle up from back, pulling knot tight against fabric
- Make 2-3 anchor stitches in the same spot
- Maintain consistent tension—pull thread at 45-degree angle, not straight up
- Keep stitches uniform distance apart (1/8 inch minimum for straight stitches)
- On the back, run needle under existing stitches before making final knot
- Clip thread close to fabric
During Stitching (Machine Embroidery):
- Set tension to 5 and test on stabilized scrap fabric
- Adjust only 0.5 increments if needed
- Use embroidery thread, not regular sewing thread
- Keep hoop tight enough to sound like a drum when tapped
- Re-tighten hoop between major design sections
Materials That Actually Work
From testing dozens of brands over five years:
Stabilizers: Pellon fusible interfacing (permanent) or Sulky tear-away (temporary) never failed me. Cheap no-name stabilizers shift mid-project.
Needles: Crewel needles for hand work, size 90/14 for most machine embroidery. Bent or dull needles create gaps—replace them after 8-10 hours use.
Thread: Quality embroidery floss (DMC, Gutermann) doesn’t fray or slip. Regular sewing thread is too thin and breaks under embroidery tension.
What Changed Everything For Me
Three years ago, I stopped removing stabilizers immediately after finishing. I now leave cut-away stabilizer permanently on delicate pieces—this completely stopped the loosening that happened within months of washing and wearing. For heirloom pieces, I apply a tiny drop of clear thread sealant to the starting knot.
This single change transformed my embroidery longevity. Pieces I stitched five years ago with this method show zero stitch slipping. Earlier pieces? Many loosened within a year.
Common Mistake I Made (Don’t Repeat)
I used to assume loose stitches meant I needed to pull harder. Wrong. I actually created more problems by forcing tension. The solution is supporting the fabric better, not pulling tighter. This mindset shift—from force to support—changed how I approach every embroidery project.
The Bottom Line
Slipping stitches require three things: stabilized fabric, proper tension, and secure anchoring. Master these, and you’ll never have loose embroidery again.