

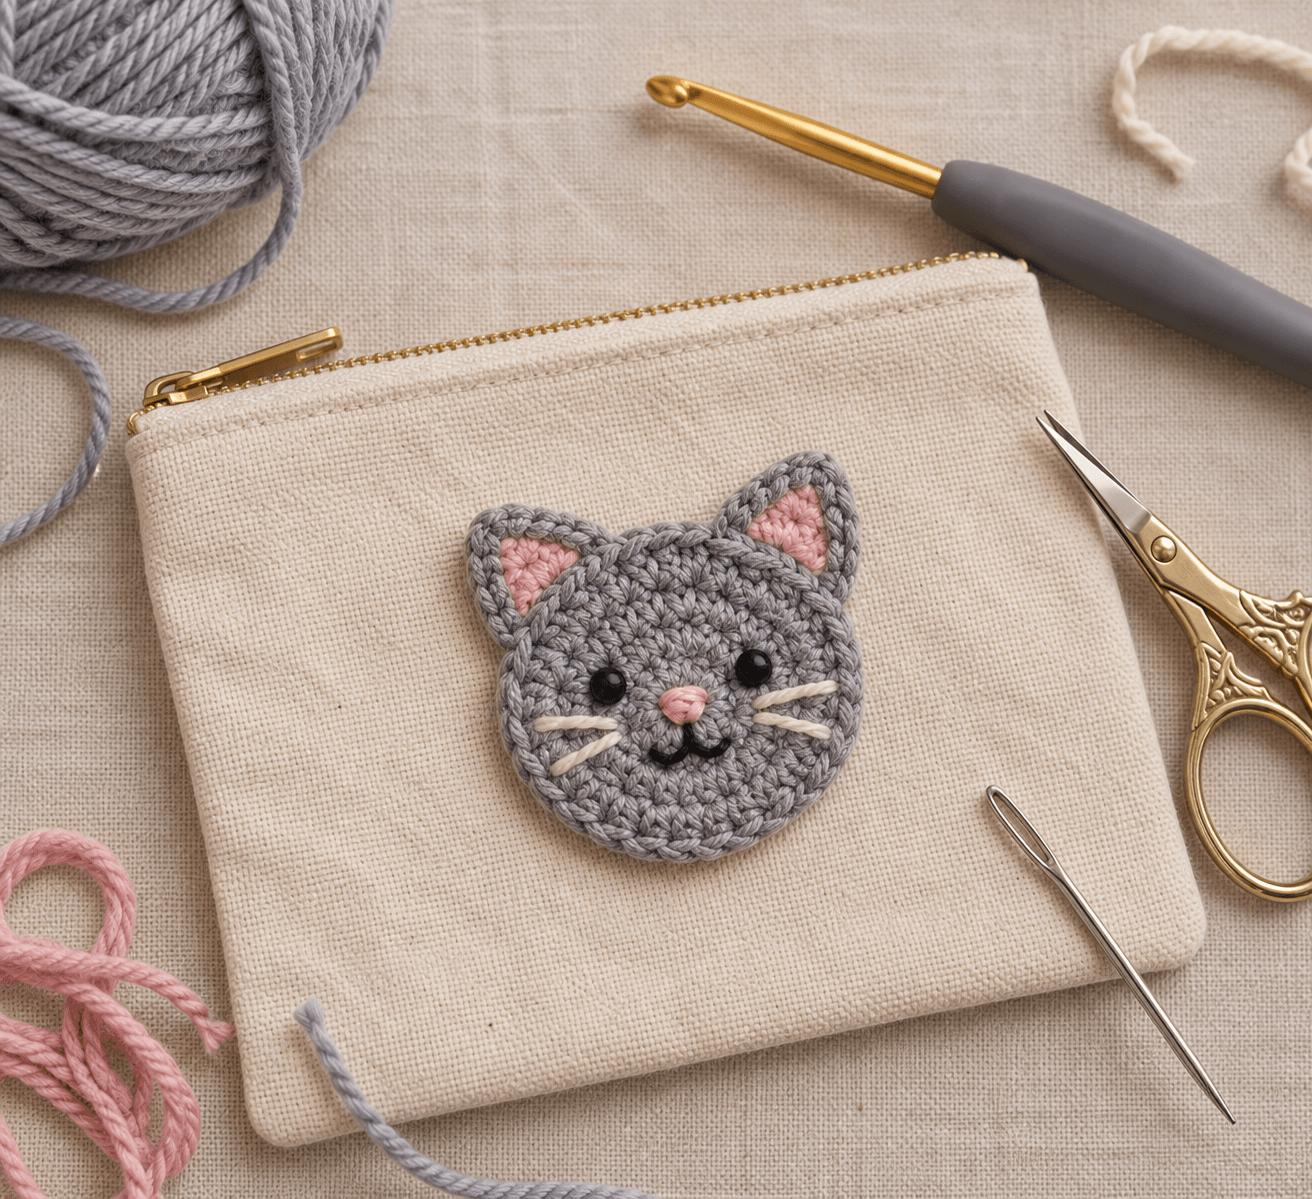
A crochet cat appliqué is a small flat cat face you make separately and sew onto bags, hats, or clothes. This crochet cat appliqué free pattern uses a round head and two tiny triangle ears. You only need scrap worsted yarn, and it takes about 20 minutes.
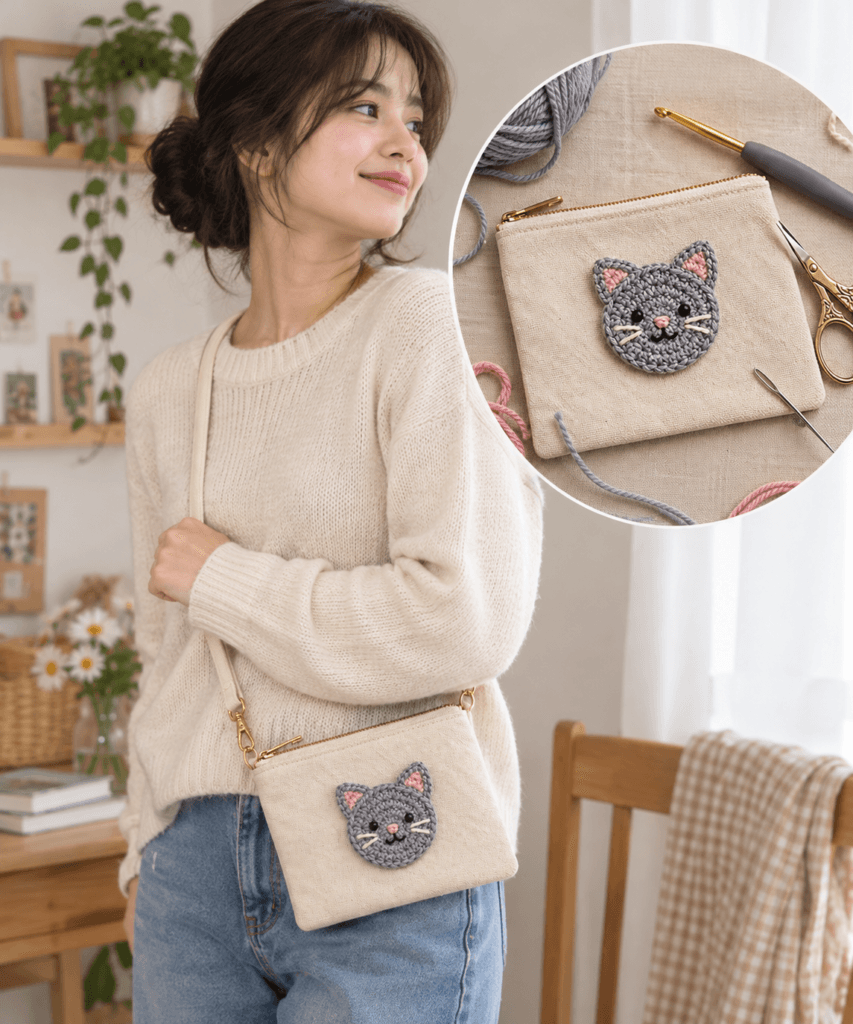
I had a canvas pencil pouch with a blue ink stain that wouldn’t wash out. I almost threw it away. Then I figured a cat sitting right on top of the stain would solve it. It did, and now that pouch is my favorite one. That’s when I realized appliqués aren’t only decoration. They rescue things.
Table of Contents
What You’ll Need
- Yarn: worsted weight scraps (Craft Yarn Council category 4). Gray, orange, or black all work.
- Hook: 3.5 mm. I size down so the stitches stay tight and neat.
- Yarn needle, scissors, and pins
- Pink yarn for the nose
- Cream embroidery thread for whiskers (optional, but it gives finer lines than yarn)
Abbreviations: ch = chain, sl st = slip stitch, sc = single crochet, inc = 2 sc in the same stitch, sc2tog = single crochet two stitches together
Step 1: Crochet the Cat Head
The finished head is about 1.75 inches (4.5 cm) wide.
- Make a magic ring. Ch 1, work 6 sc into it, pull tight, and join with a sl st. (6)
- Ch 1, inc in every stitch. Join. (12)
- Ch 1, sc in the next stitch, inc in the next. Repeat 6 times. Join. (18)
- Fasten off, leaving a 6-inch tail.
Step 2: Make Two Triangle Ears
- Ch 5. Sc in the 2nd chain from the hook and in each of the next 3 chains. (4)
- Ch 1, turn. Work sc2tog twice. (2)
- Ch 1, turn. Work sc2tog once. (1)
- Fasten off with a long tail.
Make a second ear. Pin both to the top of the head, tilted slightly outward, then sew them on.
Step 3: Stitch the Face
- Eyes: two short vertical stitches, about 3 stitches apart.
- Nose: a tiny pink triangle just below the eyes.
- Mouth: two small curved stitches under the nose.
- Whiskers: three straight stitches on each side.
- Tabby look (optional): three short vertical stripes on the forehead.
Tips From My Own Experiments
- Sew the cat on first, then stitch the face. The eyes stay straight on the finished piece.
- Do the whiskers last. Pull them a little wider than the head for a cat-like look.
- Tilt the ears outward. Straight ears look stiff.
- Block lightly. Pin it flat, mist with water, and let it dry.
- Whip stitch around the edge for hats and sweaters. Sew through the center only for bags.
Mistakes I’d Skip
- Ears too big. Small triangles look sharper and cuter.
- Eyes too close together. It makes the cat look cross-eyed.
- Long whiskers. They look like spider legs.
- Gluing onto clothes. Glue fails in the wash. Sew it.
- A loose magic ring. Pull the tail firmly so no hole shows.
- Not counting. Check for 6, 12, and 18 stitches at each round.
FAQs
Is this crochet cat appliqué free pattern good for beginners?
Yes. It uses a magic ring, single crochet, and one decrease. That’s all.
What yarn is best?
Worsted cotton for crisp shapes, acrylic for soft baby items. Match it to the item you’re decorating.
Can I wash something with a crochet cat appliqué on it?
Yes, if it’s sewn on securely. Use a gentle cycle in a mesh bag and air dry.
How do I make a different cat?
Switch the yarn color. Orange makes a tabby and black makes a classic.
Final Thoughts
If you’ve been hunting for a crochet cat appliqué free pattern that’s quick and forgiving, give this one a try. Make one this week and put it on something that needs rescuing. Mine saved a pencil pouch, and yours might save a favorite tote.
About the Author: Sara McLean is the creator of AppliquéFits.com and a textile designer who shares practical appliqué, sewing, and fabric-design ideas.