

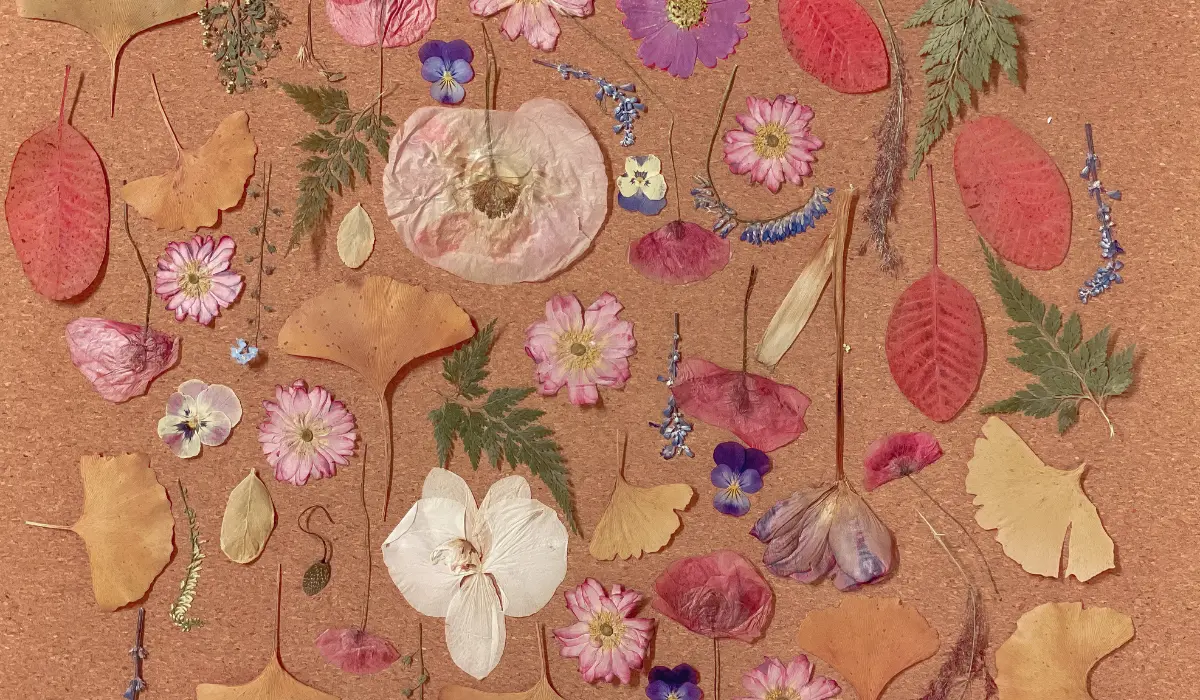
A quilt with stitched flowers is a quilt decorated with fabric flower shapes attached using applique — a technique where cut-out fabric pieces are stitched onto a background fabric to form a design. It’s one of the most popular ways to add color, texture, and a handmade look to quilts, cushions, and wall hangings.
If you’ve seen a quilt with raised, colorful flowers on it and wondered how it’s made, this guide walks you through everything: what Is Applique, what the technique is called, the tools you need, step-by-step instructions, and the mistakes that trip up most beginners — the same ones we ran into the first time we tried this ourselves.
Table of Contents
What Is a Flower Applique Quilt?
Flower applique quilting means cutting flower shapes out of fabric and sewing them onto a quilt top, either by hand or machine. Unlike pieced quilting (where fabric is sewn edge to edge to form patterns), applique layers shapes on top of a background, which is what gives the flowers their slightly raised, dimensional look.
Many quilters pair applique with a bit of extra stitching once the shape is secured — a line of thread down a petal, or a French knot at the flower’s center — to add fine detail that plain fabric alone can’t give.
Types of Flower Applique Techniques
There’s more than one way to get flowers onto a quilt, and the method you pick changes both the look and the time investment. Here’s how the three main approaches actually compare in practice.
1. Needle-Turn Appliqué (Hand-Sewn)
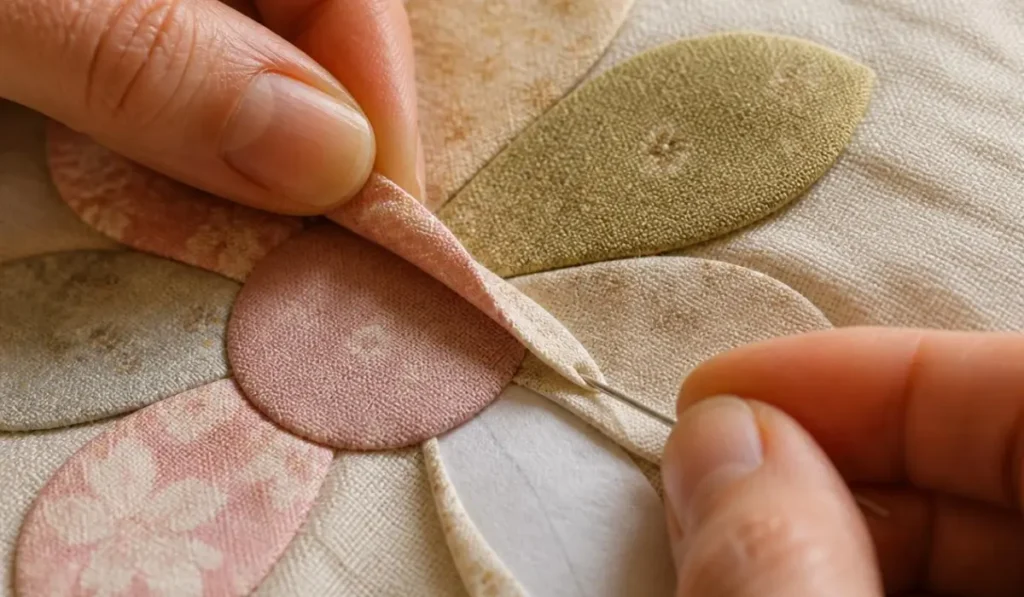
This is the traditional method, and it’s the slowest but gives the softest, most heirloom-style finish. A template — usually freezer paper — is pinned to the fabric, and the shape is cut with a small seam allowance beyond the paper edge. The seam allowance is then folded over the paper and pressed with an iron so the edge holds its curve before it’s hand-stitched invisibly in place. It takes patience, especially on tight curves like petal tips, but the payoff is a finish with no visible machine stitching at all.
2. Raw-Edge Appliqué (Machine-Sewn)
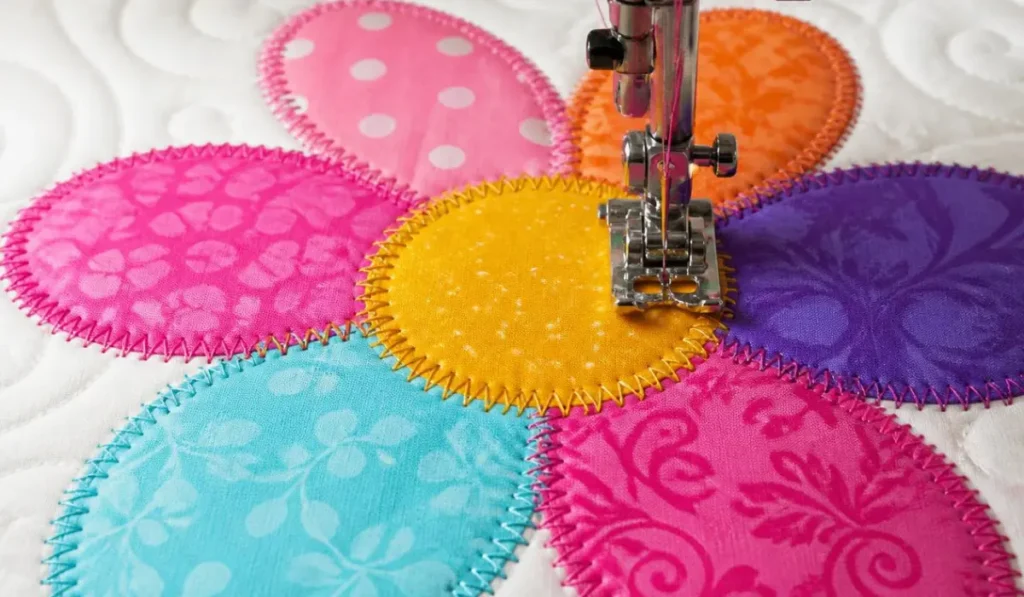
This is the fastest route and the one we’d recommend for a first project. Shapes are fused to the background using fusible web, then stitched around the edge by machine with a straight or zigzag stitch — no folding or turning required. Because the edge is left raw, it needs reinforcement: fusible interfacing, a fabric glue, or a tight satin/zigzag stitch around the perimeter keeps the fabric from fraying once the quilt is washed.
3. Fused Appliqué with Fine Zigza
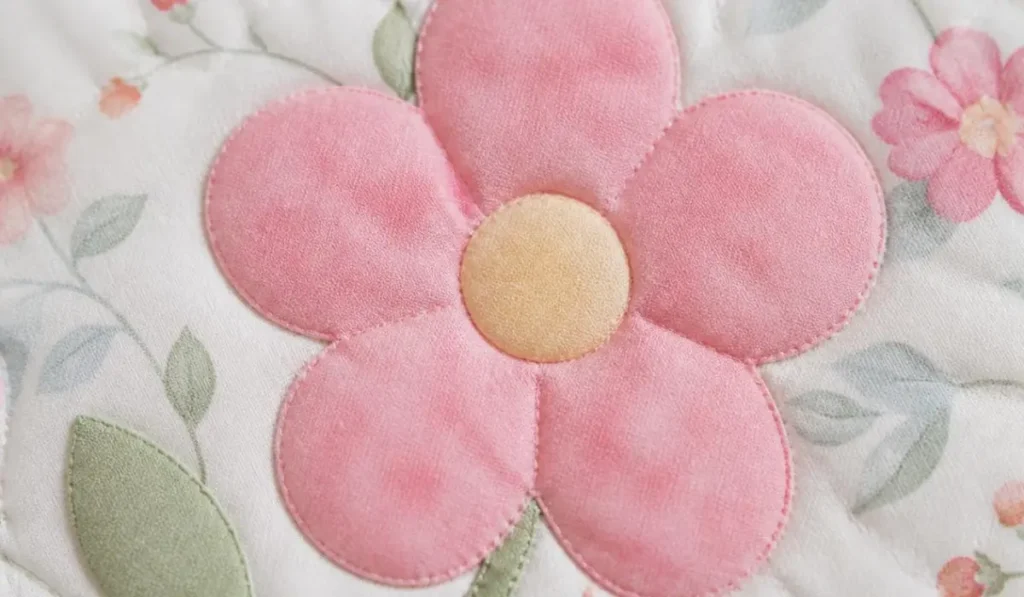
A middle-ground technique: the shape is fused down like raw-edge appliqué, but stitched with a very fine, narrow zigzag using thread that matches the fabric almost exactly, so the stitching blends into the shape rather than standing out as a visible outline. A finer top thread (around 80-weight) paired with a plain, neutral bobbin thread gives this near-invisible effect without hand-sewing.
Materials You’ll Need
- Background fabric (quilt top or block)
- Scrap or fat-quarter fabric in flower colors (petals, leaves, stems)
- Fusible web (for raw-edge/fused methods) or freezer paper (for needle-turn)
- Sharp fabric scissors
- Iron and pressing surface
- Sewing machine or hand sewing needle
- Coordinating or fine matching thread
- Embroidery thread (optional, for decorative centers like French knots)
- Batting and backing fabric (for the finished quilt sandwich)
How to Make a Flower Appliqué Quilt: Step-by-Step
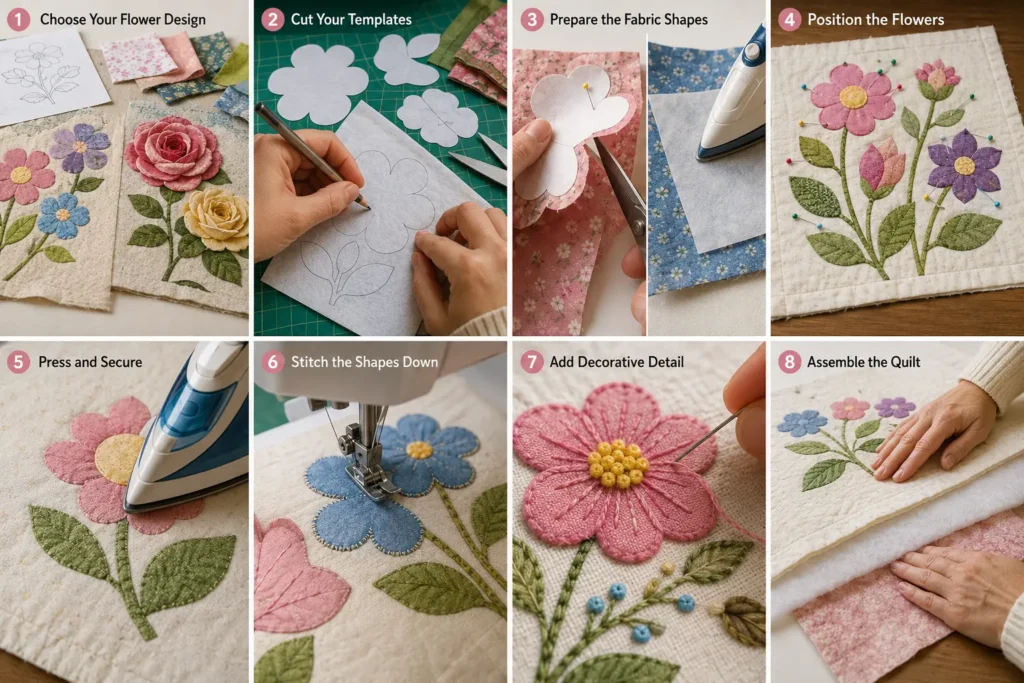
Choose your flower design. Simple rounded petals and circles work well for beginners; layered roses or pansies suit more advanced quilters.
Cut your templates. Trace flower, petal, and leaf shapes onto freezer paper or fusible web.
Prepare the fabric shapes. For needle-turn, pin the template to fabric and cut with a small seam allowance. For raw-edge, fuse the web to fabric, then cut directly on the traced line.
Position the flowers. Lay out petals, leaves, and stems on your background block before stitching anything down — this lets you adjust spacing and color balance first. This is the step most beginners rush, and it’s worth slowing down on, since it’s much easier to move a pinned petal than unpick a stitched one.
Press and secure. Iron fused pieces in place, or pin needle-turn pieces ready for stitching.
Stitch the shapes down. Use a straight stitch, zigzag, or hand blind stitch depending on your method.
Add decorative detail. Stitch a few lines into petal centers or add French knots for texture — a simple way to make flowers look more realistic.
Assemble the quilt. Layer your appliquéd top with batting and backing, then quilt and bind as normal.
Quilting Around Appliquéd Flowers
Once your flowers are stitched down, how you quilt the rest of the piece matters just as much as the appliqué itself. Free-motion quilting around each flower shape gives the appliqué a raised, puffy look and makes it the clear focal point — but it’s a genuinely advanced skill, so if you’re not yet confident with free-motion work, hand quilting around the shapes is a slower but far more forgiving alternative. Some experienced quilters go a step further and quilt the plain background first, whole-cloth style, before adding the appliqué on top — this way the flowers stay perfectly crisp and untouched by quilting lines, and stand out even more against the textured background around them.
Tips for Beginners
- Start with simple circle and oval petal shapes before attempting layered or pointed flowers.
- Shorten your stitch length when sewing curves or small petal points — it gives you far more control and a cleaner edge than a standard stitch length.
- Press pieces flat at every stage — it keeps flower shapes crisp and seams lying correctly.
- Practice on a scrap block first to test your color combinations and stitch tension before committing to your final fabric.
- Use thread that closely matches your fabric if you want the stitching to disappear into the design.
Common Mistakes to Avoid
- Skipping fusible interfacing or edge-finishing on raw-edge appliqué, which leads to fraying after washing.
- Stitching too fast around curves, causing puckering — slow down and pivot often.
- Overcrowding the quilt with too many flower sizes and colors, which can make the design feel busy instead of balanced.
- Not pre-pressing pieces before final stitching, resulting in uneven petal shapes.
- Ignoring the quilting design around the flowers — a plain quilting pattern can make appliqué disappear rather than pop.
FAQ
Q: What is the best fabric for flower appliqué on quilts?
100% quilting-weight cotton is the standard choice — it presses crisply, holds a shape well, and is easy to cut cleanly for petals and leaves.
Q: Do I need special thread for flower appliqué?
Not necessarily, but many quilters use finer thread (like 80-weight) for machine appliqué so stitching lines blend in rather than stand out.
Q: Can I appliqué flowers by machine if I’m a beginner?
Yes. Raw-edge appliqué with fusible web and a simple zigzag stitch is one of the easiest and fastest ways for beginners to start.
Q: How do I stop appliqué edges from fraying?
Use fusible web or interfacing to secure the edges before stitching, and finish the raw edge with a tight zigzag or satin stitch.
Q: What’s the difference between appliqué and embroidery on a quilt?
Appliqué attaches a separate piece of fabric onto the background to create a shape, while embroidery uses thread alone to stitch a design directly onto the fabric surface. Many flower quilts combine both — appliquéd petals with embroidered detail like French knot centers.
Written and reviewed by the AppliqueFits editorial team & Sarah McLean , based on hands-on testing of needle-turn, fused, and machine appliqué methods.