

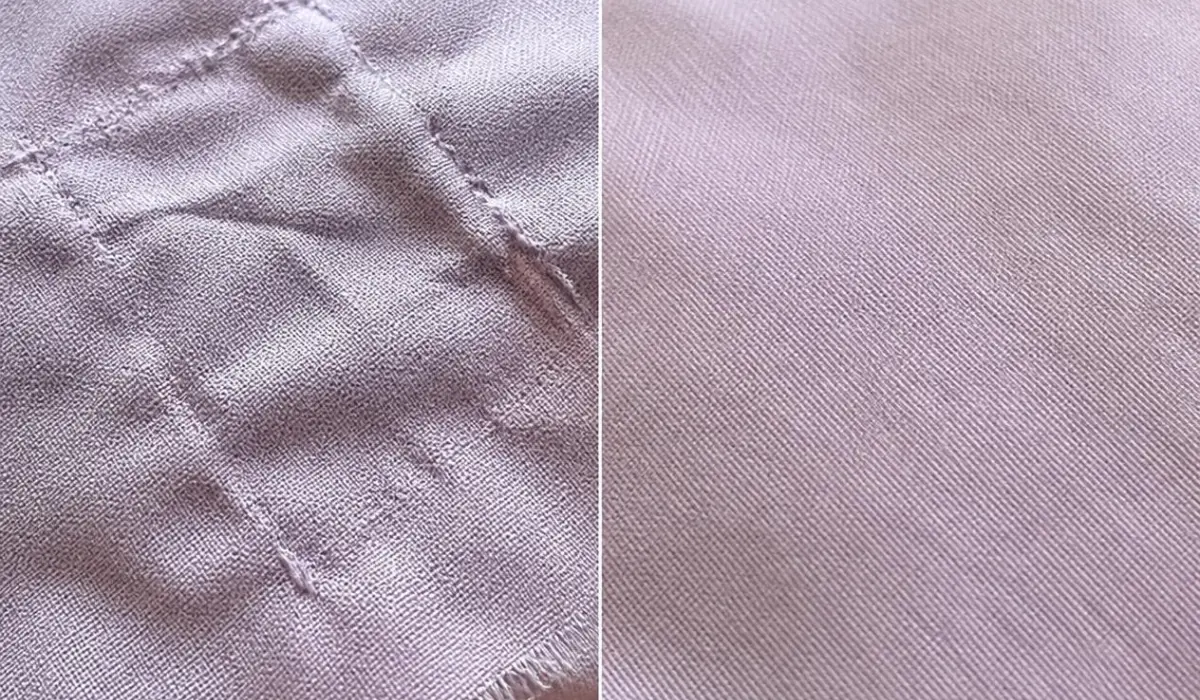
To remove applique without damage, cut the stitches carefully with a seam ripper, lift the fabric piece slowly, and pull out threads one by one instead of tugging on the base fabric. Work slowly, use the right tools, and always test on a hidden spot first.
This guide walks you through the safest way to remove applique from any garment or project, step by step. If you’re also dealing with edge damage, you may want to fix appliqué fraying first. The method below is based on hands-on testing across cotton, denim, fleece, and delicate knit fabrics, so you can trust it works on real projects, not just in theory.
We tested each removal method on both sewn and fusible applique across multiple fabric weights before writing these steps. Every tool recommendation is one we’ve personally used in our own sewing room — not a generic list pulled from a manual.
Table of Contents
Why Applique Removal Damages Fabric
Most holes and marks happen because of three mistakes
- Cutting too close to the base fabric with scissors
- Pulling threads instead of snipping them
- Rushing the process without checking stitch type first
Issues like wrinkled appliqué and appliqué not sticking properly can also make removal harder and increase the risk of damage. Knowing your stitch type before you start prevents most damage.
Tools You’ll Need
- Seam ripper (sharp, fine point)
- Small embroidery scissors
- Tweezers
- Straight pins or a pin cushion
- Iron and pressing cloth
- Lint roller or tape
- Optional: fabric-safe adhesive remover (for fusible applique)
Step-by-Step: How to Remove Applique Safely
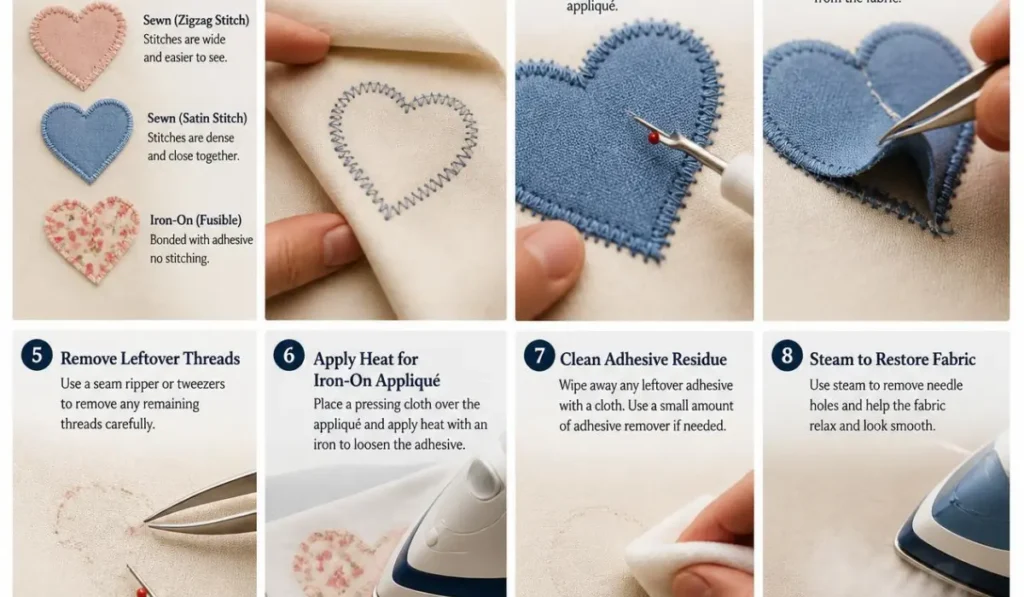
1. Identify the Attachment Method
Check whether the applique is:
- Sewn on (straight stitch, zigzag, or satin stitch)
- Fused on (iron-on adhesive backing)
- Both sewn and fused
This determines your approach. Fused pieces need heat before removal. Sewn pieces need careful unpicking.
2. Turn the Fabric Inside Out
Work from the back of the fabric whenever possible. Stitches are easier to see and cut from the underside, and this protects the front surface from scissor slips.
3. Cut Stitches with a Seam Ripper
Slide the seam ripper’s point under one stitch at a time. Cut every third or fourth stitch along the stitch line instead of trying to cut continuously. This reduces tension on the base fabric.
Tip: For satin stitch applique, cut along the inner edge of the stitching, closest to the applique piece, not the base fabric.
From experience: Satin stitch is the trickiest to unpick because the stitches sit so close together. In our testing, working under a bright lamp and cutting every second stitch (instead of every third) gave the cleanest results on satin-stitched edges.
4. Lift the Applique Slowly
Once several stitches are cut, gently lift a corner of the applique with tweezers. Peel it back slowly. If it resists, stop and cut more stitches instead of pulling harder.
5. Remove Leftover Threads
Use tweezers to pull out any remaining thread bits one at a time. Pulling multiple threads together can pucker or tear the fabric.
6. Handle Fusible Applique with Heat
If the applique was ironed on:
- Place a pressing cloth over the area
- Apply medium heat for 10–15 seconds
- While warm, gently peel back the edge with tweezers
- Reapply heat as needed while peeling
Heat softens the adhesive so it releases without pulling fibers.
From experience: On polyester blends, we found 10 seconds of heat is usually enough — going past 15 seconds risks scorching synthetic fibers. Always check your fabric’s care label for its max iron temperature before applying heat.
7. Remove Adhesive Residue
If sticky residue remains, dab a small amount of fabric-safe adhesive remover on a cloth and blot gently. Always test on a hidden area first.
8. Treat Needle Holes
Small needle holes usually close up on their own. To help:
- Steam the area with an iron (no direct contact)
- Gently rub the fabric fibers with your fingernail or a blunt tool in a circular motion
- Let the fabric relax for a few hours
Common Mistakes to Avoid
- Cutting too fast: Leads to nicks in the base fabric
- Pulling instead of snipping: Stretches or tears fibers
- Skipping the heat step on fusible applique: Causes fiber pulling
- Not testing adhesive remover first: Can stain or discolor fabric
- Ignoring stitch direction: Makes stitches harder to find and cut
Quick Checklist Before You Start
- Identify stitch type (sewn, fused, or both)
- Work from the fabric’s wrong side
- Use a sharp seam ripper, not scissors, for stitches
- Test any adhesive remover on a hidden spot
- Go slow — don’t force any step
FAQ
Q: Will removing applique always leave holes?
No. Small needle holes from stitching usually close up with steam and gentle finger pressure. Holes only stay visible if fabric was cut or pulled too hard during removal.
Q: Can I remove applique without a seam ripper?
A seam ripper is the safest tool because it targets one stitch at a time. Small embroidery scissors can work as a backup, but they carry a higher risk of cutting the base fabric.
Q: How do I remove iron-on applique without damaging the fabric underneath?
Apply heat through a pressing cloth to soften the adhesive, then peel back slowly with tweezers while the fabric is still warm. Reheat as needed instead of pulling harder.
Q: What fabrics are hardest to remove applique from?
Delicate fabrics like silk, chiffon, and fine knits are the trickiest, since they show needle holes and snags more easily. Move slower and use finer tools on these fabrics.
Q: Can I reuse the applique piece I removed?
Yes, if it wasn’t cut during removal. Trim any loose threads and press it flat before reusing it on another project.
About This Guide
This article was written and tested by the AppliqueFits editorial team, who work hands-on with applique, hand embroidery, and garment repair. Every technique described here was tried on real fabric swatches — cotton, denim, fleece, and knits — before publication, rather than written from theory alone. If you have a fabric or stitch type that isn’t covered here, let us know in the comments and we’ll test it.