

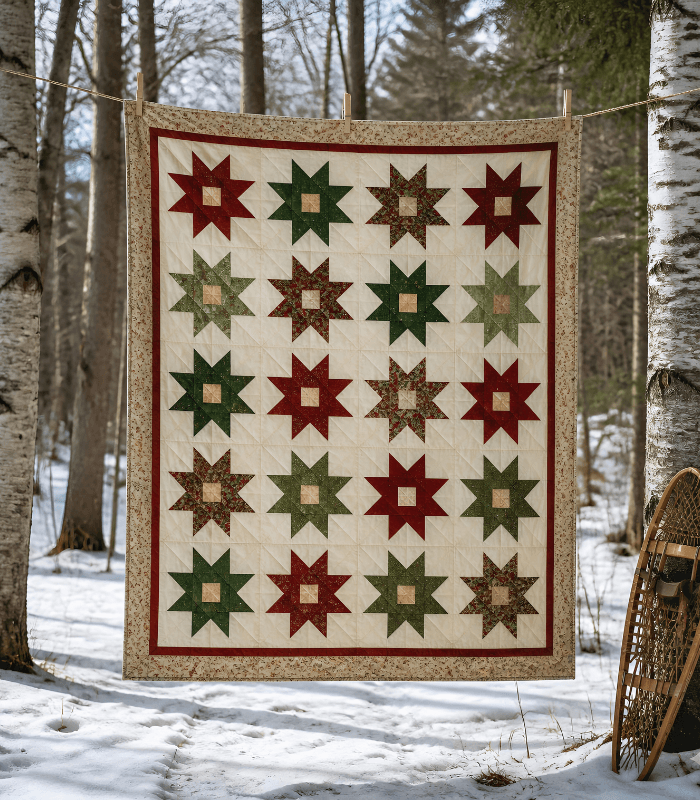
I’ve made star quilts as memorial gifts, as anniversary presents, and once for my own bed after a student convinced me I’d been avoiding diamonds for no good reason. Every time, the process teaches me something new about pressing and patience, even after all these years. The block itself doesn’t change — eight diamonds meeting at one center point — but the fabric, the scale, and the occasion always do. That’s what keeps it from ever feeling routine, even after making more of these than I can count.
Table of Contents
What You’ll Need
- Assorted quilting cotton for the star points (8 fabrics for a single star, or scraps for a scrappy version)
- Background fabric for the corners and setting pieces
- A rotary cutter, ruler, and mat
- A design wall or clear floor space
- Batting
- Backing fabric
- Quilting thread
How I Piece Mine Together
- Cut your diamonds using a 45-degree ruler — I always cut one extra of each fabric in case a point needs replacing later.
- Lay all eight diamonds out in order before sewing a single seam, so I can catch any fabric that reads wrong next to its neighbors.
- Sew the diamonds together in pairs first, working outward from the center.
- Join the pairs into two four-diamond halves.
- Sew the two halves together to complete the star, pressing the center seams open rather than to one side.
- Set in the background corner and side pieces to square off the block.
- Square up the finished block before moving on to your quilt layout.
- Arrange your blocks, sew rows, and join them into a finished top.
- Layer the top, batting, and backing, baste it, and quilt it however you like.
- Bind the edges to finish.
A Few Lessons From My Quilting Table
- Pressing the center seams open, instead of to one side, is the single biggest fix for a lumpy or bulky star center.
- Cutting diamonds slightly oversized and trimming after sewing gives you room to correct a stretched bias edge.
- A design wall catches value problems long before they become visible in a finished top — I never skip this step anymore.
- Chain-piecing the diamond pairs first speeds things up considerably before you get to the trickier center join.
Mistakes I’ve Made Along the Way
- Handling the diamonds too much before sewing let the bias edges stretch, which threw off my points more than once.
- I once pressed every seam to one side out of habit and ended up with a center so bulky it wouldn’t lie flat.
- Rushing the set-in corners without pinning carefully left me with small puckers I had to unpick and redo.
Questions I Get Asked
What size should a star quilt block be?
I most often work with 12″ to 18″ finished blocks, though a single oversized Lone Star can fill an entire quilt top on its own.
Do I need special tools to cut the diamonds?
A 45-degree diamond ruler makes this far easier and more accurate than cutting freehand, and I’d consider it essential for this pattern.
Why does my star center look bulky?
This almost always comes down to pressing. Press the center seams open instead of to one side, and it flattens out immediately.
Can I make a star quilt with scraps instead of a matched fabric set?
Yes, and I’ve done exactly that. Sort your scraps by value first so the star points still read clearly against the background.
How much fabric do I need for a queen-size star quilt?
For a single large Lone Star at queen size, I’d plan on roughly 6 to 8 yards total across your diamond fabrics and background, depending on your color layout.
By Sara McLean