

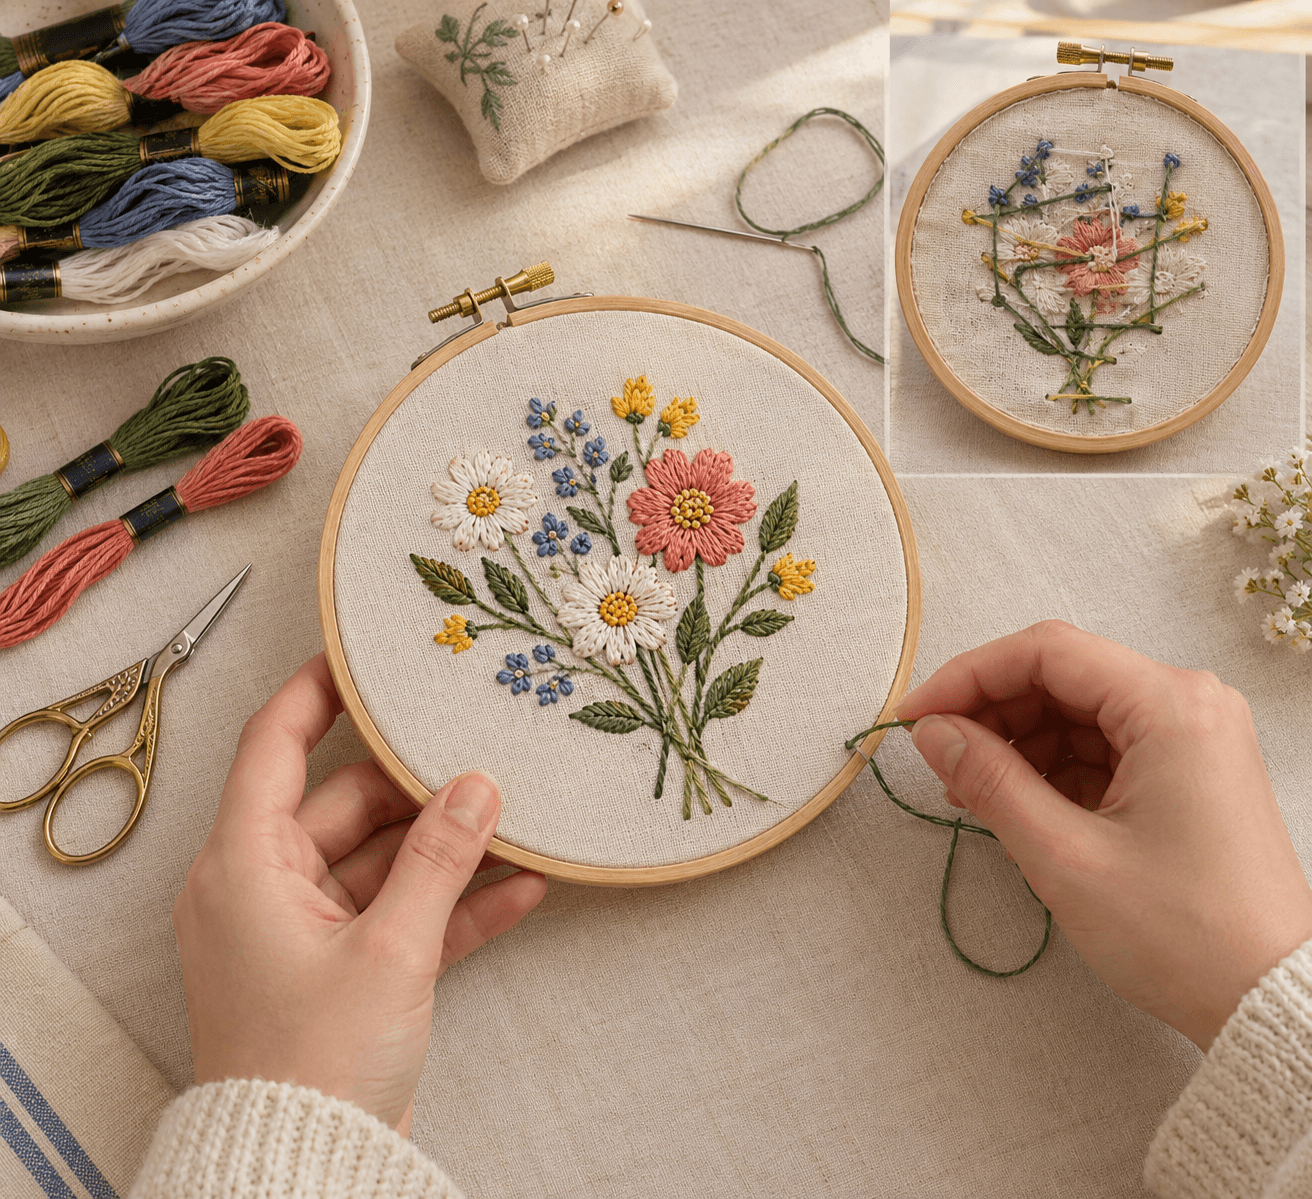
Keep your fabric tight in the hoop, use thread no longer than your forearm, anchor the start, and weave the end into the back of your work. Do those four things and your stitches will stay where you put them.
The hoop that fell apart on me
I still remember the first piece I truly loved. A little floral hoop, nothing fancy. I took it out of the frame, turned it over to admire my work, and a few stitches along the edge just sort of sagged. The front looked fine. The back was a sad pile of loose tails I’d never bothered to secure.
I was annoyed at myself for about a week. But it changed how I stitch, because it showed me that slipping almost never happens on the front. It happens behind the fabric, where nobody looks.
Tighten the hoop more than you think
For ages I hooped loosely because I was scared of stretching the fabric out of shape. Big mistake. Loose fabric moves while you stitch, and your tension changes with every pull, so the stitches end up uneven and a bit restless.
Now I smooth the fabric, tighten the screw, and tap it with a fingernail. If it sounds and feels like a small drum, I’m good. If it flops, I start over. I also take the fabric out of the hoop when I’m done for the day, because leaving it clamped overnight makes the tension strange and leaves ugly ring marks.
Cut your thread shorter
I used to pull off a huge length of floss because I hated rethreading. I paid for it with tangles, frayed thread, and knots on the back that looked like tiny bird nests.
These days I cut about fingertips to elbow, roughly 14 to 18 inches. Shorter thread is easier to control, so your stitches come out even. And I snip the end at a slight angle with sharp scissors. A ragged end splits, and then the needle slides off the thread right when you’re concentrating.
Anchor the start, and don’t skip the finish
Most beginners (me included) tie a quick knot and go. Sometimes that’s fine, like behind a French knot where the bump won’t show. But for most work I use a waste knot. I tie a knot in the thread, push the needle down from the front a few inches away from where I’ll start, and stitch toward my spot. The first stitches catch the thread on the back. Once it’s held, I snip the knot off. No lump under the fabric.
The finish matters even more. I flip the hoop over, slide the needle under four to six stitches on the back, loop back through the other way, and trim close. It takes maybe ten seconds. This is the step that stops stitches loosening weeks later, and it’s the one I ignored for far too long.
Don’t strangle your stitches
Tension is a feel thing, and it took me a while to get it. Each stitch should sit snug, not squeeze. If the fabric puckers around it, you’re pulling too hard. If the thread loops up, you’re too loose.
When I catch tight stitches early, I can sometimes ease them from the back with my needle. If that doesn’t work, I unpick them. It hurts, but a puckered piece bothers me forever.
When the thread itself is slippery
Silk, metallic and rayon threads are lovely and also a bit rebellious. They slide out of the needle and out of knots. Folding the thread in half and threading the loop through the eye helps a lot. A tiny knot near the eye works too. I also use shorter strands, and a swipe through beeswax calms the fraying.
A word on appliqué
Since I do a lot of appliqué, I’ll say this: the edges slip when the fabric underneath moves. I fuse or baste the piece down first, add stabilizer behind slippery fabrics like satin, and anchor the thread at both ends of every section.
FAQ
Why do my embroidery stitches keep coming loose?
Usually the thread wasn’t secured at the start or end, or the fabric was loose in the hoop.
How do I secure embroidery thread without a knot?
Use a waste knot or a few tiny anchor stitches, then weave the tail through the back when you finish.
Should embroidery stitches be tight or loose?
Neither. Snug against the fabric, without puckering it.
One last thing
Stitches don’t slip because of one big mistake. It’s usually a little slack in the hoop, a rushed finish, thread that was too long. Once I treated the back of my work as seriously as the front, everything lasted longer. Try it on a scrap first. You’ll feel the difference by the second row.
About the Author: Sara McLean is the creator of AppliquéFits.com and a textile designer who shares practical appliqué, sewing, and fabric-design ideas.