

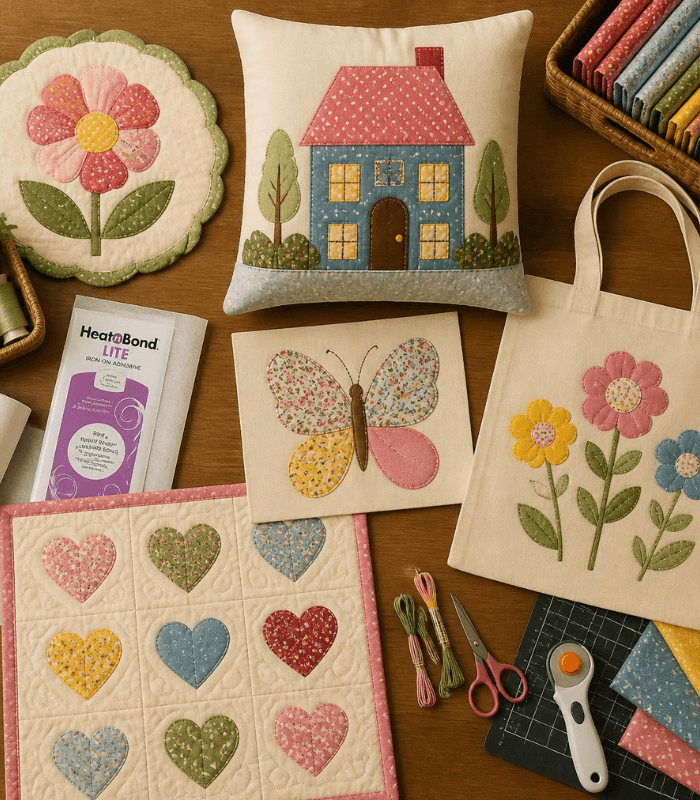
These 5 easy appliqué projects come from hands-on experience and practical learning. After testing different beginner methods, these ideas proved to be the most reliable and easy to follow. Each project focuses on simple techniques, trusted materials, and real results—so you can learn appliqué with confidence and avoid common mistakes from the start.
Table of Contents
Project #1: Flower Coaster Set ⭐ EASIEST
Time: 30 minutes per coaster | Skill Level: Complete beginner | Cost: $2–3 per set
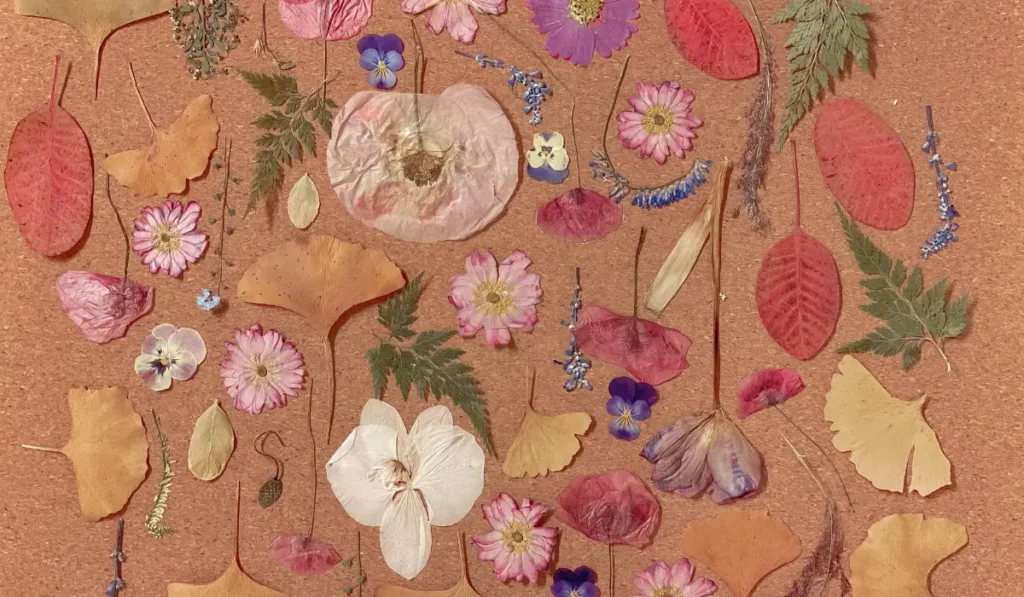
A flower coaster is the quickest win in appliqué. You’re creating a simple flower (5 petals) on a small 4×4 inch square. Perfect for practicing fusing and stitching without commitment.
Learn the Full Details: Quilt with Stitched Flowers
Project #2: House Pillow Design ⭐⭐ BEGINNER
Time: 3–4 hours | Skill Level: Beginner | Cost: $8–15
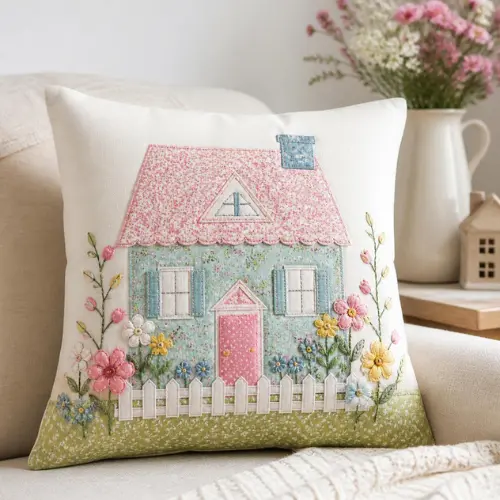
A simple house shape—square body, triangle roof, tiny door and windows—on a pillow cover. This is the project that taught me appliqué is actually manageable.
Learn the Full Details: House Pillow Design
Project #3: Butterfly Appliqué ⭐⭐ BEGINNER
Time: 2–3 hours | Skill Level: Beginner–Intermediate | Cost: $5–12
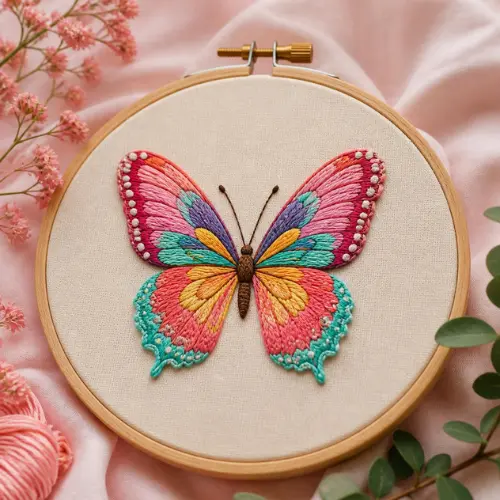
A butterfly—with wings, body, and antennae—stitched onto fabric. Works beautifully on pillow covers, quilt blocks, or clothing. The curved shapes teach you that appliqué doesn’t require straight lines.
Learn the Full Details: Butterfly Appliqué
Project #4: Tote Bag Design ⭐⭐⭐ INTERMEDIATE
Time: 4–6 hours | Skill Level: Intermediate | Cost: $12–20
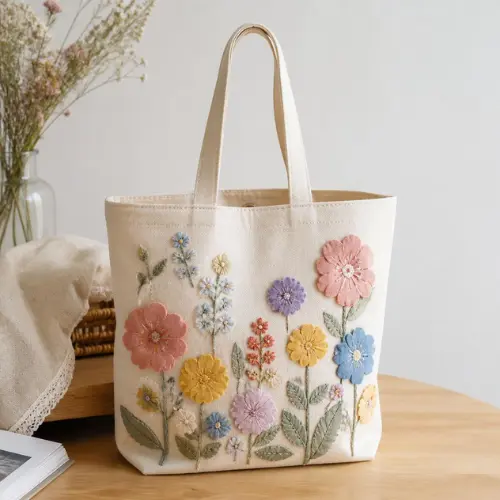
A personalized tote bag with an appliqué design. You’re combining bag sewing with appliqué—a complete beginner-to-intermediate project that teaches multiple skills.
Learn the Full Details: Tote Bag Design
Project #5: Heart Quilt Pattern ⭐⭐⭐ INTERMEDIATE
Time: 6–10 hours | Skill Level: Intermediate | Cost: $20–40
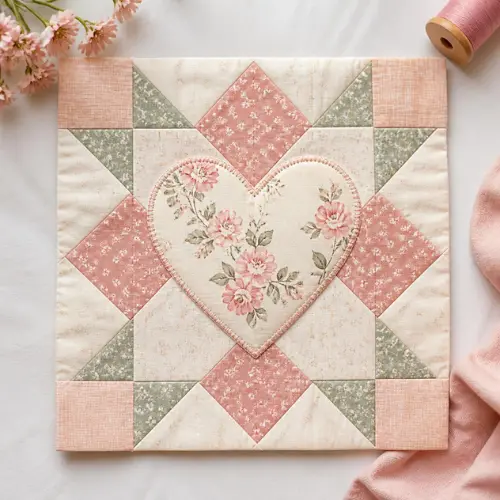
A quilt featuring heart appliqués. This is where appliqué becomes truly rewarding—you’re creating something that will last decades and become an heirloom.
Learn the Full Details: Heart Quilt Pattern
Essential Appliqué Techniques All Beginners Need
The Fusing Process (Foundation of Appliqué)
Fusible web is heat-activated adhesive that bonds two fabrics together.
How to Fuse Correctly:
- Trace pattern onto paper side of fusible web
- Rough cut around pattern (don’t need precision yet)
- Iron onto fabric at medium-high heat (5–10 seconds, no steam)
- Cool completely before peeling off backing
- Cut precisely along pattern lines now that web is adhered
- Peel away paper backing (some products have this, some don’t)
- Position on background and iron to fuse (15–20 seconds)
- Stitch immediately while still warm—adhesive is strongest then
Common Fusing Mistakes:
- Using too high heat (scorches fabric, weakens adhesive)
- Insufficient contact time (web doesn’t bond)
- Peeling backing too early (web separates from fabric)
- Waiting too long to stitch (adhesive cools and weakens)
Blanket Stitch vs. Zigzag: Which Finish?
Blanket Stitch:
- Creates decorative edge around appliqué
- Adds professional finished appearance
- Takes longer (15–20 minutes per piece)
- Works beautifully with hand sewing
- Shows your skill and effort
- Use contrasting thread for impact
Zigzag Stitch:
- Faster (10–15 minutes per piece)
- More casual appearance
- Works well for small pieces
- Less visible when using matching thread
- Perfect for beginners (more forgiving if uneven)
Whip Stitch (Hand Sewing):
- Invisible from front
- Takes patience but creates seamless look
- Best for projects where stitch shouldn’t show
- Gentler on delicate fabrics
Beginner Tips That Actually Make a Difference
✓ Press Everything: Wrinkled fabric doesn’t fuse cleanly. Press before AND after fusing.
✓ Use Quality Fusible Web: Cheap web separates over time. HeatnBond or Wonder Under are worth the investment.
✓ Start with Contrasting Fabrics: High contrast teaches you what’s working. Subtle colors come later.
✓ Don’t Rush the Stitching: A slower, cleaner blanket stitch looks more professional than fast, sloppy stitching.
✓ Keep Your Shapes Simple: Five-petal flowers, basic houses, simple butterflies. Save complex designs for after your 5th project.
✓ Practice Your Stitches: Do test stitches on scrap fabric before committing to your project.
✓ Use a Needle Threader: If hand sewing, save your eyes and use a needle threader. They’re $1 and life-changing.
✓ Thread Color Matters: Contrasting thread shows off your stitching and adds design interest. Match thread only if you want stitching to disappear.
Common Beginner Mistakes (And How to Fix Them)
| Mistake | Why It Happens | How to Prevent It |
|---|---|---|
| Fused pieces come unstuck | Insufficient fusing time or low heat | Press for 15–20 seconds on medium-high heat |
| Stitching puckers fabric | Tension too tight or fabric not stabilized | Loosen tension slightly, stabilize with tear-away |
| Edges fray after washing | Stitch too far from edge or weak stitch | Stitch ¼” from edge, use smaller stitch length |
| Shapes look lumpy | Insufficient pressing before fusing | Press every piece before fusing to background |
| Thread shows wrinkles | Not using enough thread tension | Use bobbin thread that matches too |
| Design feels unbalanced | Didn’t plan placement beforehand | Arrange all pieces before fusing anything |
| Colors run/bleed together | Using non-colorfast fabric | Pre-wash all fabrics in cool water first |
Choosing Which Project to Start With
If you have 30 minutes: Flower Coasters
- Quick confidence boost
- Learn basics without commitment
- Perfect gateway project
If you have 3–4 hours and want something useful: House Pillow
- Learn core techniques
- Create something you’ll keep
- Great for gift-giving
If you love nature and want to show off: Butterfly Appliqué
- Looks more advanced than it is
- Works on multiple project types
- Teaches curved shapes
If you want a functional project: Tote Bag
- Combines appliqué with bag sewing
- Daily usable item
- Showcases your skills to others
If you’re ready for a challenge: Heart Quilt
- Learn quilting basics
- Create a heirloom piece
- Most rewarding project for beginners
Tools & Materials Shopping List
For All Projects (Base Kit)
| Item | Quantity | Estimated Cost | Where to Buy |
|---|---|---|---|
| Fusible web (HeatnBond) | 1 package | $6–8 | Fabric stores, Amazon |
| Thread (basic colors) | 5–6 colors | $8–12 | Any craft store |
| Fabric scissors | 1 pair | $8–15 | Fabric stores (DON’T use paper scissors) |
| Fabric scraps | Varied | $0–5 | Thrift stores, friends, estate sales |
| Quilting cotton fabric | 2–3 yards | $10–20 | Fabric stores (Joann, local shops) |
| Needle/hand sewing kit | 1 | $3–5 | Dollar store or craft stores |
Total Startup Cost: $35–65
This gets you started on all beginner projects. You likely already have an iron at home.
FAQ: Appliqué for Beginners
Do I absolutely need a sewing machine?
No. Hand sewing with a needle and thread works perfectly for all these projects. It may take 30–50% more time, but the results are just as beautiful. Many appliqué artists actually prefer hand stitching for better control and a more relaxing process.
What thread color should I use?
It depends on your design style. Matching thread creates a clean, invisible finish, while contrasting thread highlights your stitches for a bold look. Metallic thread can add elegance but is harder to work with. Beginners should start with matching thread.
Can I use regular fabric from any store?
Yes, but fabric quality matters. Quilting cotton is the best choice because it has a tight weave and presses well. Linen blends and home décor fabrics also work. Regular cotton is okay, but avoid stretchy or synthetic fabrics as they are harder to sew.
How do I prevent fraying?
You can prevent fraying by stitching close to the edge, using pinking shears for zigzag edges, or applying a seam sealer like Fray Check. Washing finished items inside-out also helps protect the edges.
Can I add appliqué to clothing?
Yes, appliqué works great on clothing like T-shirts, jackets, jeans, hats, and baby clothes. Use lightweight fusible web and add stabilizer behind the fabric. Always wash garments inside-out to keep the design intact.
What if my stitching looks messy?
That’s completely normal, especially for beginners. Handmade pieces often look better with a personal touch. You can embrace it, cover imperfections with decorative stitching, or use contrasting thread to make it look intentional.
How do I trace patterns onto fusible web?
You can trace patterns using a light box, carbon paper, or even a window. The window method is simple—just tape the design to the glass and trace it onto your material.
Can I combine multiple appliqué projects?
Absolutely. You can mix designs like adding butterflies to a pillow, combining hearts on a tote bag, or creating quilt blocks with different patterns. Once you learn the basics, combining designs becomes easy and creative.