

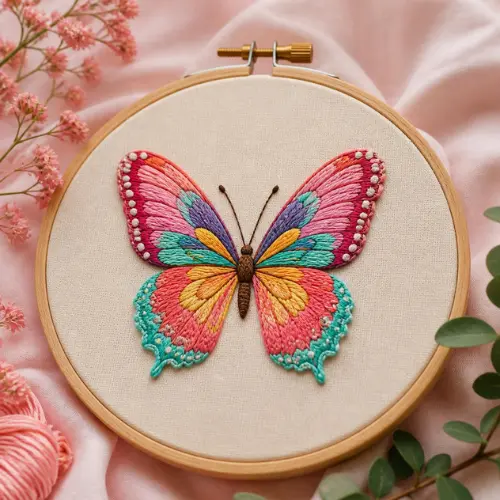
A butterfly appliqué is a fabric butterfly shape stitched onto a background — a quilt, a tote bag, a baby blanket, whatever you’re working on. It’s one of my go-to designs when I want to add something decorative without a big time commitment.
Table of Contents
Why This One’s a Favorite of Mine
There’s something about a butterfly that instantly softens a project. I’ve added them to quilts for new babies, tucked one onto the corner of a tea towel, even stitched a whole cluster of them across a jacket back for a friend. Because the shape is symmetrical, it’s also a nice, low-pressure way to practice sewing curves — which trips up a lot of beginners at first.
What You’ll Need
- Two coordinating fabrics for the wings
- One fabric for the body
- Fusible web
- Your background fabric
- Embroidery floss, if you want to add antennae
- A sewing machine, or a hand needle
How I Put Mine Together
- Start with a template. Draw or print a butterfly with symmetrical wings and a simple oval body.
- Trace the wing and body shapes onto fusible web, then fuse them to your chosen fabrics.
- Cut everything out carefully, paying attention to symmetry, especially if your fabric has a directional print.
- Lay the pieces out on your background fabric before ironing, just to make sure you’re happy with the placement.
- Fuse it all down with a hot iron.
- Stitch around each edge — I like a blanket stitch here, though a narrow zigzag does the job too.
- Add antennae with a couple of short hand-embroidered lines or a bit of narrow ribbon, if you want that extra detail.
Tips I’ve Picked Up Over the Years
- Use two different prints for the top and bottom wings — it adds so much more visual interest than one fabric alone.
- A lightweight, tear-away stabilizer behind your background fabric will save you from puckering, especially on curves.
- Slow your machine down around the curves. Rushing is where uneven stitching creeps in.
- A cluster of butterflies in a few different sizes almost always looks better than a single, isolated one.
Mistakes Worth Avoiding
- I’ve cut wings from a directional print without checking symmetry first, and ended up with two wings that clearly didn’t match. Double-check before you cut.
- Stitching too fast around tight curves is the fastest way to get a wobbly, uneven edge.
- Skipping the stabilizer on lightweight background fabric almost always leads to puckering you’ll notice later.
Questions I Hear Often
What fabric works best for a butterfly appliqué?
Lightweight quilting cotton, hands down. It’s easy to cut into small, precise shapes and fuses cleanly without bulk.
Do I really need a sewing machine for this?
Not at all. A hand blanket stitch or whip stitch gives the butterfly a soft, textured look that a machine sometimes can’t replicate.
How do I keep both wings symmetrical?
Fold your template in half, trace one wing, then flip it over to trace the second. It sounds fussy but it takes thirty seconds and saves a lot of frustration.
Can I use a butterfly appliqué on clothing?
Yes — I’ve done it on jacket backs and kids’ clothes plenty of times. Just add a stabilizer behind any stretch fabric first.
What’s an easy way to add more detail to the wings?
Layer two different-sized fabric shapes for each wing, or stitch a few straight lines across to suggest wing veins. Small touches like that go a long way
Before You Go
A butterfly appliqué is one of the fastest ways I know to practice fuse-and-stitch appliqué while ending up with something genuinely pretty. Once the curves feel comfortable, you can scale the design up for a quilt block or keep it small and delicate for something like a baby blanket.
By Sara McLean