

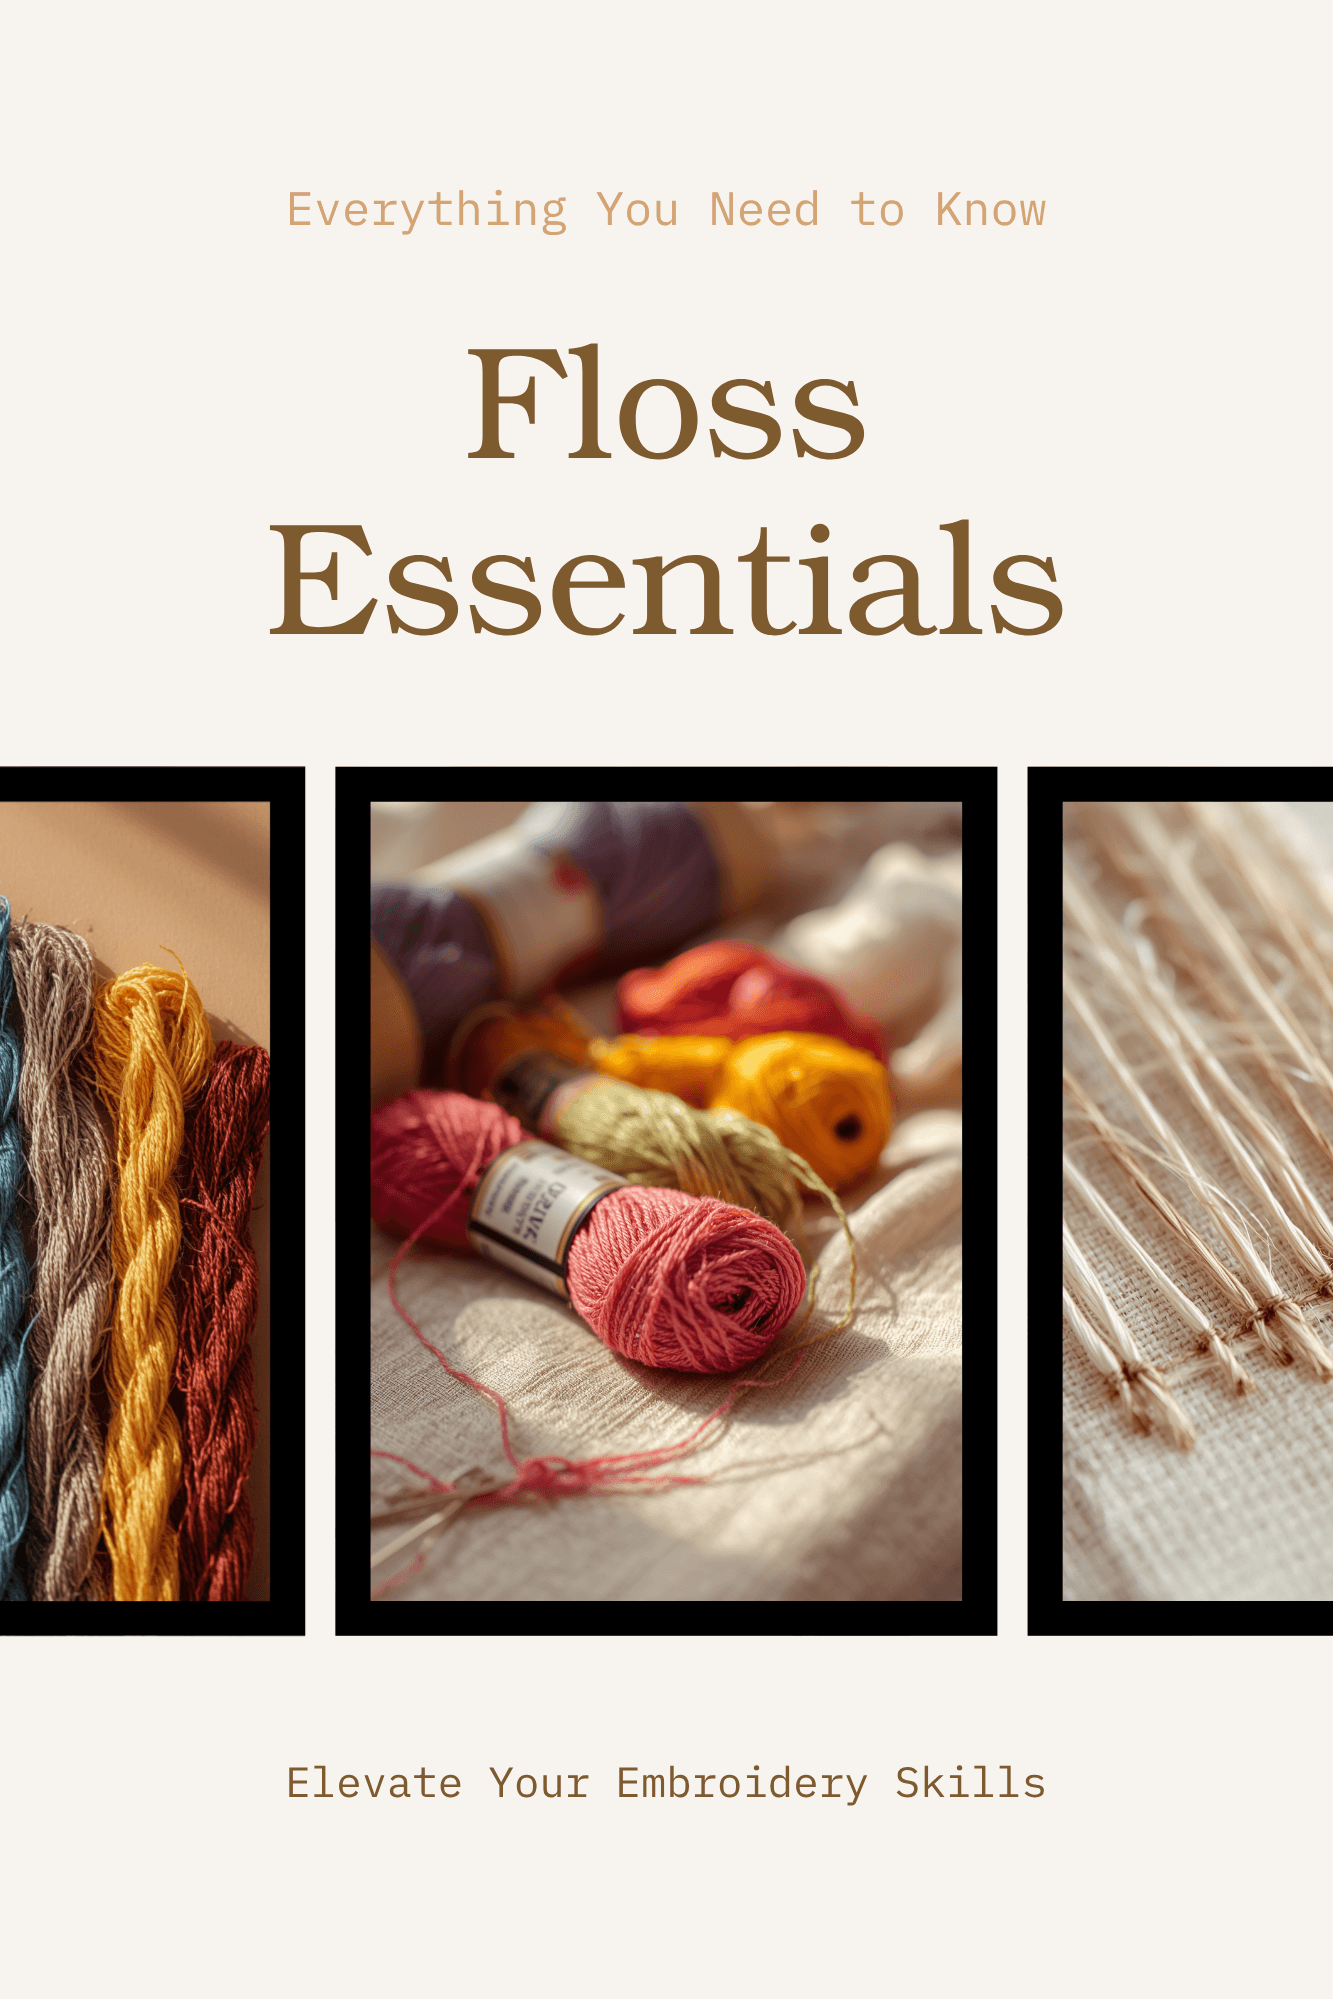
Six strands, one skein, hundreds of color numbers — embroidery floss looks simple until you’re standing in front of a wall of it trying to figure out what actually separates a DMC 310 from everything else on the rack. It isn’t complicated once you understand what floss is built to do: split apart, recombine, and change texture depending on how many strands you use. This guide covers the types, the prep work, and how to choose thickness on purpose instead of by accident.
Table of Contents
What Is Embroidery Floss?
Standard embroidery floss is a loosely twisted, six-strand cotton thread, meant to be pulled apart into individual strands so the stitcher controls exactly how thick and textured each stitch looks. Most floss ships wound into a small skein holding around 8 meters — roughly 8.7 yards — of thread.
Types of Embroidery Floss
Stranded cotton floss is the standard: affordable, available in hundreds of colorways, and easy to separate. It covers cross-stitch and general hand embroidery without complaint.
Pearl cotton, sometimes spelled perle cotton, is twisted and non-divisible, with a soft sheen. It’s sold in numbered weights from 3 to 12 — lower numbers meaning thicker thread — and it’s the standard for embellishment stitches like French knots and blanket stitch, where separating strands would only get in the way.
Silk floss drapes beautifully in finished work and costs more for the privilege; it’s also more slippery to handle than cotton.
Metallic floss adds sparkle for decorative accents but frays faster than cotton, which is why shorter working lengths pay off here specifically.
Variegated floss shifts gradually between shades within a single skein, producing natural-looking color blending without a single thread change.
Wool and crewel thread is thicker and more textured, the traditional choice for crewel embroidery on heavier fabric like linen twill.
Understanding Strand Count
Most patterns specify strand count for a reason — it directly changes both the thickness and the visual weight of a stitch:
- 1–2 strands: fine detail work, delicate outlines, lettering
- 3–4 strands: standard cross-stitch and everyday embroidery
- 5–6 strands: bold, textured stitches or filling larger areas
Fewer strands read as delicate; all six together read as bold. Adjusting strand count within a single design is one of the fastest ways to add real depth without changing anything else.
How to Prepare Floss for Stitching
- Cut a working length. About 18 inches (45 cm) is the sweet spot — longer lengths tangle and fray from being pulled through fabric repeatedly.
- Separate the strands. Pull individual strands out one at a time from the top of the cut length rather than all at once, which keeps them from twisting.
- Regroup only the strands needed. Line them up evenly, then thread them through the needle together.
- Skip the knot where possible. Techniques like the away knot or waste knot keep the back of embroidery work clean.
Organizing Your Floss Collection
A growing stash needs a system, not a shoebox:
- Wind floss onto small cardboard or plastic bobbins labeled with the color number.
- Use a floss organizer box, or a binder with divided compartments.
- Keep a reference chart of brand color codes (DMC, Anchor) so restocking an exact shade doesn’t come down to guesswork.
Choosing Colors for a Project
Value — how light or dark a shade reads — matters more than hue when picking floss. Strong contrast in value reads clearly from across a room; colors of similar value blur together up close, no matter how different the hues are on paper. A palette of three to five related shades per color family is the standard move for adding shading and dimension to finished embroidery.
Final Thoughts
Embroidery floss is forgiving and cheap, and it rewards anyone willing to learn strand count and thread type on purpose. Start with a basic stranded cotton set, practice separating and re-threading strands, and the feel for how floss behaves under a needle comes fast.