

When I started consulting with schools about their embroidery programs, I noticed the same problem everywhere: chaos. Tangled threads scattered across desks, students frustrated searching for colors, needles going missing. As a textile designer, I knew this didn’t have to be the reality.
My first week visiting a middle school art program, I watched a teacher spend 20 minutes untangling mouliné while students waited. That’s when I realized—how to organize embroidery thread isn’t just a storage question. It’s about whether your students actually get to create or spend class hunting for supplies.
Starting With Storage
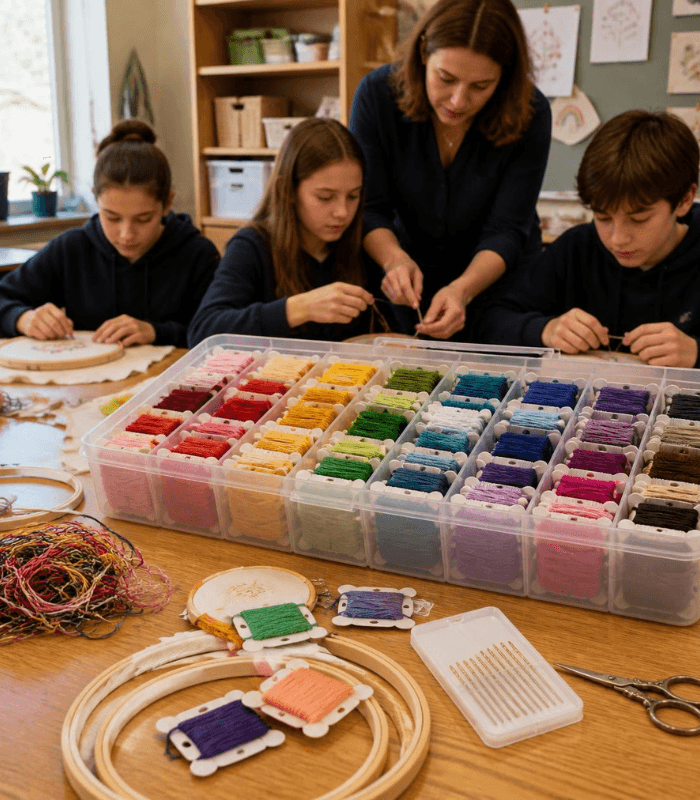
The foundation of any organized embroidery program is an embroidery storage box. I’m not saying you need an expensive system. I’ve seen brilliant programs using simple plastic containers with dividers. What matters is having one dedicated space where all your DMC embroidery floss, stranded cotton embroidery floss, and other threads live together.
I recommended a rolling cart system to one teacher, and she told me it changed everything. With compartmentalized drawers, she could organize embroidery thread by color family and keep supplies visible. When students could see available colors, their project ideas improved. They stopped asking “what colors do we have?” and started asking “can I blend these shades?”
The embroidery floss storage doesn’t need to be elaborate. What works: clear compartments, consistent labeling, and accessibility. One school uses labeled bins for different project types—beginners get limited color palettes, advanced students access the full range.
Keeping Needles Organized
I learned quickly that needle management separates good programs from overwhelming ones. I recommend giving each student an individual needle case at the start of the year. How to store needles matters because loose needles disappear. They fall, get lost, become safety hazards.
One teacher I worked with had students wrap their needles in felt scraps before storing them. It took two minutes, taught responsibility, and eliminated lost needles. I’ve since recommended this in several schools. It’s simple but effective—exactly what textile design teaches: small details create big results.
Thread Types Matter
Not all embroidery thread is the same. DMC floss is standard for schools because it’s affordable and works beautifully. The stranded cotton embroidery floss construction means six separate strands, which is perfect for varying thread thickness and creating detail. Some programs also use mouline (twisted threads that can’t separate), which is great for bold lines.
Understanding these differences changes how you store them. Stranded cotton needs protection from tangling—this is why organizing embroidery floss in compartments makes sense. Pearl cotton and metallic threads need different care. Even dental floss storage containers work surprisingly well for organizing small quantities.
What I’ve Learned From Schools
I’ve consulted with programs serving 30 students and 300 students. The organizing principle stays the same: keep embroidery thread accessible and protected.
The most successful classroom I visited had a simple system. Each student received a project card with their assigned thread colors wrapped and labeled. At the end of class, threads returned to the main embroidery storage box in labeled compartments. No mystery about where things go. No time wasted searching.
Another school used an embroidery thread holder system where students wound their own bobbins. This taught them care and responsibility while keeping threads organized. The teacher said students took pride in maintaining the system—it became part of their learning.
The Real Impact
What surprised me most was how organization affects creativity. When students waste time searching for supplies, they lose momentum. When threads are tidy and accessible, they focus on design and technique. I watched one hesitant student bloom once she could see color options clearly and start her project immediately.
Keeping embroidery thread tidy in schools isn’t about perfectionism. It’s about respect—for your materials, your students’ time, and the craft itself. As a textile designer, I know that how you treat your tools reflects in your work.
Start Simple
If you’re starting fresh, begin with one quality embroidery storage box and clear labeling. Teach students where everything belongs. Make it part of the routine. Review the system after the first month and adjust based on what’s actually being used.
The threads you organize this year might spark a lifelong maker. Good organization makes that possible.