

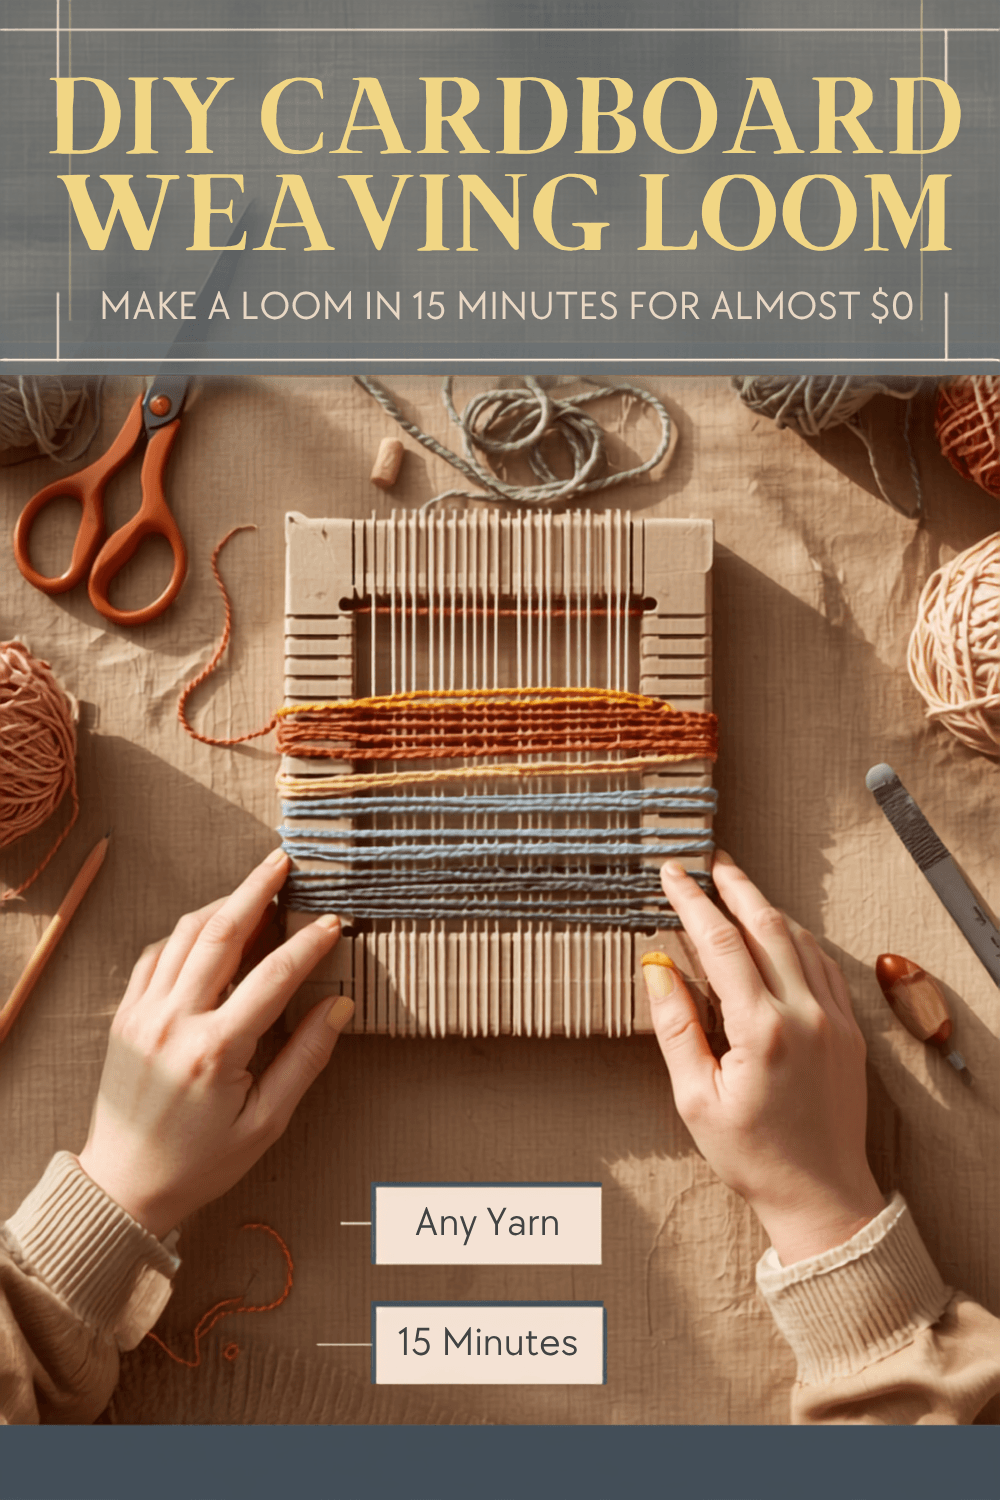
I was scrolling through a craft store five years ago when I saw a “beginner weaving loom” for $150. My jaw dropped. I had zero dollars for that. So I grabbed a cereal box from my pantry, some yarn from my junk drawer, and spent literally 15 minutes making a loom.
That homemade loom? It still sits on my shelf. And it’s created more beautiful woven pieces than I can count.
Here’s the truth they don’t want you to know: you don’t need fancy equipment to start weaving. A loom is just tension holding threads in place. That’s it. A cereal box does that job perfectly fine—and honestly, it teaches you way more than an expensive loom ever will because you have to understand why the tension matters.
Table of Contents
Why I Started Making My Own Looms
I was intimidated by textile crafts. Looked fancy. Looked expensive. Looked like something only “serious crafters” did. But then I realized: weaving isn’t about the equipment. It’s about understanding how threads work together.
The first time I sat down with my cardboard loom, something clicked. I could see how the warp and weft created structure. I could feel the tension. I could experiment without worrying about messing up a $200 investment.
After making 15+ woven pieces on homemade looms, I actually bought a professional loom. But honestly? I still use the cardboard ones because they’re perfect for quick projects, teaching friends, and just playing around without stress.
Here’s what my handmade looms cost me: usually under $5. Here’s what they’ve taught me: everything I know about weaving.
The Materials Are Literally Around You Right Now
The Cardboard Version :
Honestly, grab a cereal box from your kitchen. Or that Amazon package sitting by the door. Some cardboard. That’s 90% of the battle right there.
Then you need:
- A ruler (or measure by eye if you’re feeling adventurous—I do)
- A pencil
- Scissors or any sharp thing (I’ve used box cutters, craft knives, even the sharp corner of a butter knife once)
- Yarn—any yarn works. Grab that half-finished scarf project or leftover yarn from literally anything
That’s it. Seriously. You probably have all this already.
The Wooden Version :
If you want something that doesn’t get floppy after a few weeks, grab some scrap wood. I found mine in my garage. Two pieces, maybe 8-12 inches long. Some nails. A hammer. Same yarn situation.
The wooden loom takes 10 extra minutes to build but honestly lasts forever. I still have a wooden loom I made in college—that was years ago.
Building Your First Loom
Step 1: Cut Your Cardboard
Cut a piece of cardboard to whatever size feels right. I use 8×10 because it’s big enough to make something cool but small enough to finish in an afternoon. First time? Don’t overthink it. Bigger = longer project, smaller = faster results.
I literally just grab scissors and go. Smooth out the edges so they don’t cut your hands. That’s all.
Step 2: Make Those Little Notches
Here’s the part that feels weird the first time but is actually genius: mark tiny notches along the top and bottom edges of your cardboard. I space mine about 1/4 inch apart. Use a pencil and ruler, or honestly just eyeball it. Perfection is overrated.
Cut small notches—nothing fancy, just little grooves about 1/2 inch deep. These are going to hold your yarn in place. First time I did this, I was shocked how simple it was.
Step 3: Thread the Yarn
This is my favorite part because you immediately see your loom come to life.
Take your yarn and thread it through the notches. Start at the top left, pull down to the bottom left notch, come back up to the top (next notch over), and keep going. It’s like a rhythmic meditation.
Here’s the thing nobody tells you: don’t make it too tight. I learned this the hard way when my cardboard literally warped and bent. You want “comfortably snug” tension—like you’re playing a guitar string, not trying to break it. Loose yarn slips. Super tight yarn breaks your cardboard. The sweet spot is that gentle tension where it looks and feels right.
Step 4: Now You Have a Loom
Seriously. You’re done. Your warp (those vertical threads) is set. You can start weaving right now if you want. I usually get so excited at this point that I grab whatever yarn I have nearby and just start playing.
Actually Weaving
Once your warp is set, take a different color yarn—I like to grab something totally different from my warp color just so I can see what’s happening. Wind it onto a piece of cardboard or a shuttle if you’re fancy (I’m definitely not).
Then just… weave. Over the first string, under the second, over the third. Like you’re threading a needle a hundred times in a row. Honestly? It’s surprisingly meditative. I put on music, pour a coffee, and zone out. My brain needed this more than I realized.
After each row, gently push everything down using a fork or a comb. Don’t go crazy—just a little nudge so there’s no weird gaps. That’s it.
The magic moment is when you step back and realize you’ve created actual structure from nothing. You took loose threads and made them into real fabric. It’s wild. I still get excited every single time, even after dozens of projects.
What Patterns Actually Look Good
Here’s my honest advice: start with the simplest thing possible. Just go over-under-over in straight rows. That’s called plain weave and it looks surprisingly professional. Alternate colors every few rows if you want stripes—that looks really cool and is super easy.
Do that a few times and build confidence. Feel the rhythm. Enjoy finishing something.
Then explore textile patterns online if you want to get fancy. There are thousands of weavers sharing ideas—from simple to insanely complex. But honestly? Don’t pressure yourself first time. The goal is to finish something and feel proud. Not to create a museum piece.
Mistakes I Made
Mistake #1: Making Notches Too Tiny My first loom had notches the size of a toothpick. Threading yarn through them was torture. I kept breaking yarn and getting frustrated. Made bigger notches (like 1/2 inch) on my second loom and everything changed. Bigger is better. Seriously.
Mistake #2: Pulling Warp Yarn Way Too Tight This was the cardboard-warping incident I mentioned. I thought “tight = stable” and cranked the tension up like I was setting a bear trap. My beautiful cardboard loom bent in the middle. Felt like I broke something precious. Now I aim for “comfortably snug”—the tension feels right when the cardboard stays flat and the yarn doesn’t slip. That sweet spot exists, and you’ll feel it.
Mistake #3: Not Spacing Notches Evenly The lumpiest, weirdest woven piece I ever made was because I eyeballed the notches and got lazy. Woven piece looked drunk, like one side tilted. Measure it out. Seriously. Takes two extra minutes and saves you frustration later.
Mistake #4: Grabbing the Wrong Fabric Types I once tried to weave with thin, delicate yarn and chunky yarn at the same time. Disaster. The thin yarn got swallowed. Stick with medium-weight yarn (worsted weight) when you’re starting out. All one weight keeps things even and sane.
Questions People Actually Ask Me
How long before my cardboard loom falls apart?
My first cardboard loom lasted through 8-10 projects before getting soft and floppy. That’s not bad for something that cost me zero dollars and 15 minutes. By that point, I’d already fallen in love with weaving and got myself a wooden one. But honestly? Even if it fell apart tomorrow, I’d just make another. They’re basically free.
Can I go bigger?
Yeah, totally. Make it 16×20 inches if you want. But fair warning—bigger projects take way longer. My first large piece took three weeks of just… weaving. Which was meditative but also my hands got tired. Wooden frames work better for bigger sizes because cardboard gets unstable at larger dimensions.
Any yarn just work?
Medium-weight (worsted weight) is your goldilocks zone. Too thin and it disappears. Too thick and it won’t weave smoothly. Grab whatever you have that feels… medium. You’ll know it when you hold it.
Can I embellish my finished pieces?
Oh yes. After you finish weaving, you’ve got actual fabric. I’ve added decorative embroidery designs to finished pieces, sewn on beads, fringe, you name it. It’s like the weaving was just the base for more creativity.
Where do actual weavers find patterns?
Online weaving communities and textile pattern collections have thousands of free patterns. Also just… follow your instincts? Half my favorite weavings came from me just experimenting without a pattern. There’s no weaving police coming to arrest you.