
The best appliqué Christmas stocking patterns keep the design on a flat stocking front, attach shapes with fusible web, and finish the edges with a stitch you tested first. Do the appliqué before you sew and line the stocking. That order is the whole secret. Everything below is checked against the sources listed at the end.
Table of Contents
Pick Your Size Before Your Pattern
There is no standard stocking size. I found that out by laying patterns side by side. Embroidery Library’s free pattern comes in two sizes: about 21 x 11 inches and about 16 x 9 inches. Melly Sews’ stocking is 17.5 inches long from the folded cuff to the toe, 21.5 inches unfolded, and only 6.5 inches wide. Check whether the seam allowance is already included. Melly Sews says hers is, while Embroidery Library’s tutorial sews a ½-inch seam. Adding allowance twice gives you a wider stocking than you planned.
Stitch Settings That Stop Puckering
Puckering is the problem I fight most, so I trust numbers over guesses. QUILTsocial’s Kathy Wylie sets satin stitch length between 0.3 and 0.5, then stitches three passes: a narrow zigzag base, the satin stitch, and a straight stitch beside it. For the base pass she cuts the width by 0.5 to 1.0 and lengthens the stitch to 1.0 to 1.5. Her example turns width 2.0 and length 0.3 into width 1.5 and length 1.5.
Always add stabilizer. Elaine Theriault, also at QUILTsocial, says you must use one for satin stitch, and a light tear-away works for most jobs. Settings vary by machine; her default length is 0.8. New Mexico State University’s extension guide adds the limits: too long and edges ravel between stitches, too short and the machine can jam. Use a size 11 needle on light to medium fabric.
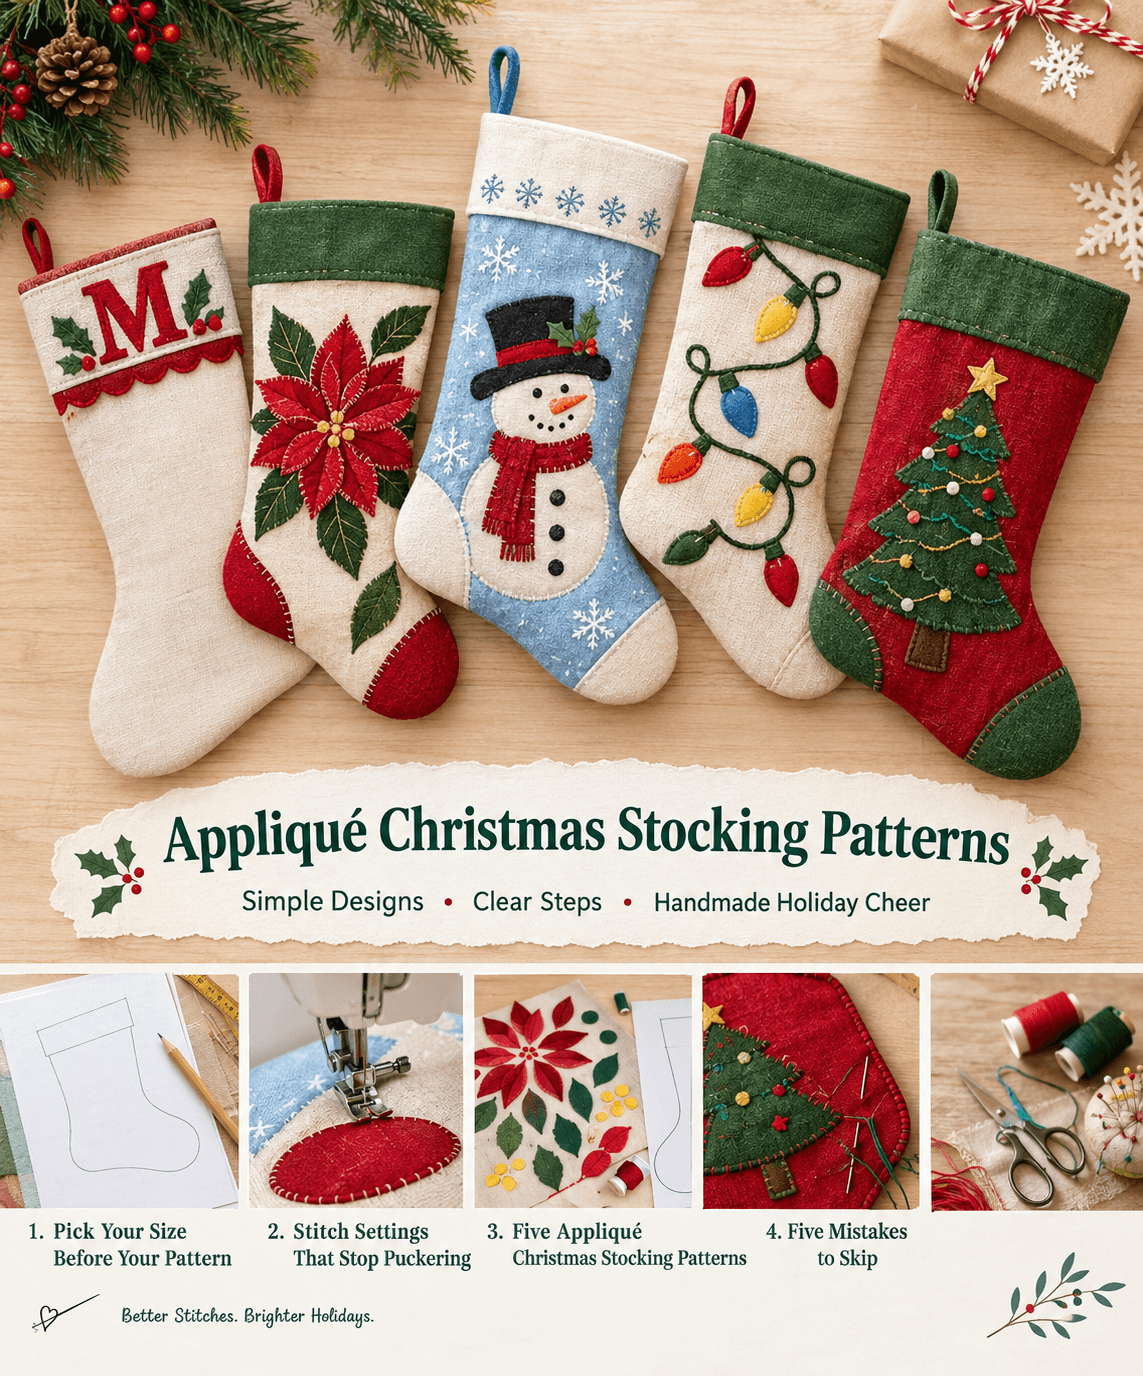
Five Applique Christmas Stocking Patterns
1. Initial Cuff Appliqué Christmas Stocking Pattern (Beginner)
Trace the letter in reverse on the paper side of the fusible web, not the glue side. Melly Sews places the letters 3/8 inch above the cuff fold so they sit centered when folded down. My tip: Keep the needle down and pivot around the outside of each curve for smoother stitching.
2. Poinsettia Appliqué Christmas Stocking Pattern (Confident Beginner)
This poinsettia design uses 20 petals (10 large, 5 medium, and 5 small) and five leaves (three large and two small). Fuse the shapes from the bottom layer up, then blanket stitch each layer with contrasting thread before adding the next. My tip: Arrange all the pieces before fusing and photograph the layout so you can recreate it accurately.
3. Machine Embroidery Snowman Christmas Stocking Pattern (Intermediate)
Hoop the stocking fabric and cutaway stabilizer together. Stitch the placement line, position the appliqué fabric inside it, and sew the tackdown stitch. Fold the cuff 3½ inches on the large stocking and 2½ inches on the small one. If the design extends beyond the bottom edge, leave extra fabric for hooping.
4. Felt Christmas Lights Appliqué Stocking Pattern (Beginner, No Machine)
Felt is non-woven, so its cut edges do not unravel. Hold each bulb in place with a small dab of glue stick, then stitch around it by hand. Shiny Happy World’s red stocking uses stacked felt circles; you can adapt the idea into colorful Christmas light bulbs arranged along a wire.
5. Christmas Tree Appliqué Stocking Pattern with Toe Patch (Beginner)
Fold the toe patch’s raw edge under by ½ inch, press it, and topstitch along the fold. Position the Christmas tree appliqué away from the stocking’s seam allowances to prevent stitching problems. Melly Sews also recommends keeping design elements clear of the seams.
Five Mistakes to Skip
- Tracing on the glue side of the web.
- Skipping a scrap test, which NMSU recommends before any real stitching.
- Skipping the pre-wash. Fabrics that shrink differently pucker the appliqué.
- Ironing fusible web without a press cloth.
- Placing shapes too close to seams.
My advice: start with pattern 1 or 4, finish one stocking, and write down the settings that worked on your machine. That note will be worth more than any tutorial next year.
About the Author: Sara McLean is the creator of AppliquéFits.com and a textile designer who shares practical appliqué, sewing, and fabric-design ideas.