

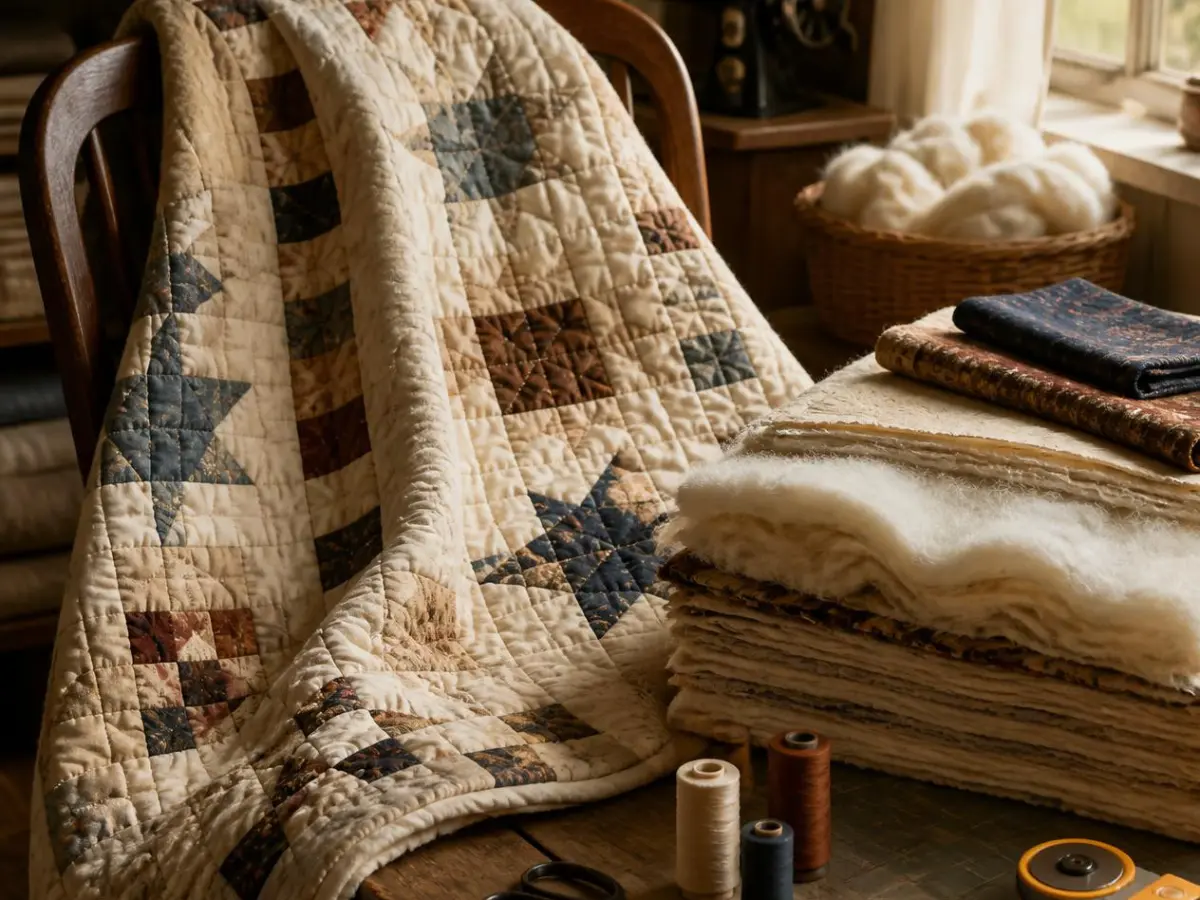
The first baby quilt I ever bound, I did it the way I bound every other quilt: batting run all the way to the edge, binding folded over the top, nice and plump. It looked lovely in photos. It also caught on literally everything. The car seat buckle. A stray fingernail. The corner of the crib rail. Every snag pulled at that thick, batting-filled edge until one corner started to look worn out before the quilt had even been washed twice.
A friend who’d made dozens of baby quilts for her local hospital’s donation program set me straight over coffee. “Baby quilts don’t need batting in the binding,” she said. “Trim it back before you bind. The quilt still stays warm — the edge just stays out of the way.” I felt a little silly not to have thought of it myself. The next quilt I made, I trimmed the batting back from the edge before binding, and the difference was immediate — flatter, softer, and it’s held up through years of washes without a single frayed corner.
Table of Contents
Why Skip Batting in the Binding for a Baby Quilt
There are a few good reasons this technique has become standard practice for baby quilts specifically:
- Softer, flatter edges — a baby’s face and hands are against that quilt constantly, and a thinner edge is gentler than a thick, batting-stuffed one
- Less bulk to catch or snag — thinner binding holds up better against car seat straps, crib rails, and general wear
- Easier to sew — binding without batting inside it is far easier to fold, miter at corners, and stitch evenly, especially by machine
- A flatter overall drape, which many crib and stroller quilts benefit from since they’re folded and carried far more than a bed quilt ever is
What You’ll Need
- Finished quilt top, batting, and backing, already quilted together (quilted through all three layers as normal)
- Binding strips, cut to your usual width (2.5″ strips are a common standard for double-fold binding)
- Fabric scissors or a rotary cutter and ruler
- Pins or binding clips
- Sewing machine or hand-sewing needle and thread, depending on your finishing method
How to Bind a Baby Quilt With No Extra Batting
1. Finish Quilting First
Complete all your quilting stitches — straight lines, stippling, whatever pattern you’ve chosen — through all three layers (quilt top, batting, backing) before you touch the edges at all.
2. Trim the Batting Back From the Raw Edge
This is the key step that makes the whole technique work. Instead of trimming batting flush with the fabric edges, trim it back about ¼” to ⅜” from where your final quilt edge will be. The fabric top and backing will still extend to the true edge — only the batting is pulled back.
3. Square Up the Quilt
Trim your quilt top and backing fabric evenly along all four sides, keeping the batting’s trimmed edge tucked just inside that line. This gives you a clean, straight edge to bind around.
4. Prepare Your Binding Strips
Cut and piece your binding strips as usual, then press them in half lengthwise, wrong sides together, the same way you would for any double-fold binding.
5. Attach the Binding to the Front
Sew the raw edge of your folded binding strip to the front of the quilt, working your way around and mitering the corners as you go — because there’s no batting bulk at the very edge, corners fold and miter noticeably more easily than on a batting-filled quilt.
6. Fold the Binding to the Back and Finish
Fold the binding over the trimmed edge to the back of the quilt, covering your stitch line, and either hand-stitch it down or machine-stitch in the ditch from the front. Because the edge itself has no batting inside it, this fold sits flat and even without extra bulk to fight against.
7. Press the Entire Binding
Once your binding is fully attached, give the whole edge a light press. A flatter edge without batting inside presses crisp and stays that way, unlike a bulkier bound edge that tends to spring back.
Tips for a Cleaner Finish
- Trim batting back evenly on all four sides, not just the corners, so the whole binding has a consistent thinness.
- Use a walking foot when machine-stitching the binding down — it helps feed the layers evenly even without much bulk to grip.
- Pre-wash your fabrics before starting, so the quilt won’t shrink unevenly at the edge after the binding is already attached.
- Choose a soft, breathable fabric for binding, since it will be the part of the quilt in most direct contact with a baby’s skin.
- Double-check corners are secure, since a baby quilt goes through more handling and washing than most other quilts in the house.
Common Mistakes to Avoid
- Trimming batting flush with the fabric edge out of habit. This defeats the whole purpose of the technique and brings back the bulky edge you’re trying to avoid.
- Cutting the batting back too far. If you trim more than about ⅜”, you risk a visible gap or dip right at the quilt’s edge.
- Skipping a press after binding. Without it, even a thin binding can look slightly uneven in photos or on display.
- Using a heavily textured fabric for the binding. Baby quilts benefit from soft, smooth binding fabric more than any other quilt type.
- Rushing the corners. Mitered corners are easier without batting bulk, but they still need care — rushed corners are the first spot to unravel with repeated washing.
Why This Small Choice Makes a Real Difference
Binding without batting isn’t a shortcut — it’s a deliberate choice that makes a baby quilt genuinely better suited to its job. A crib quilt gets washed constantly, dragged along car seats, chewed on at the corners, and stuffed into diaper bags in a way a bed quilt never will. A thinner, batting-free edge holds up to all of that instead of wearing out at the first sign of real use — which, if my own first quilt is any indication, happens a lot faster than you’d expect.