

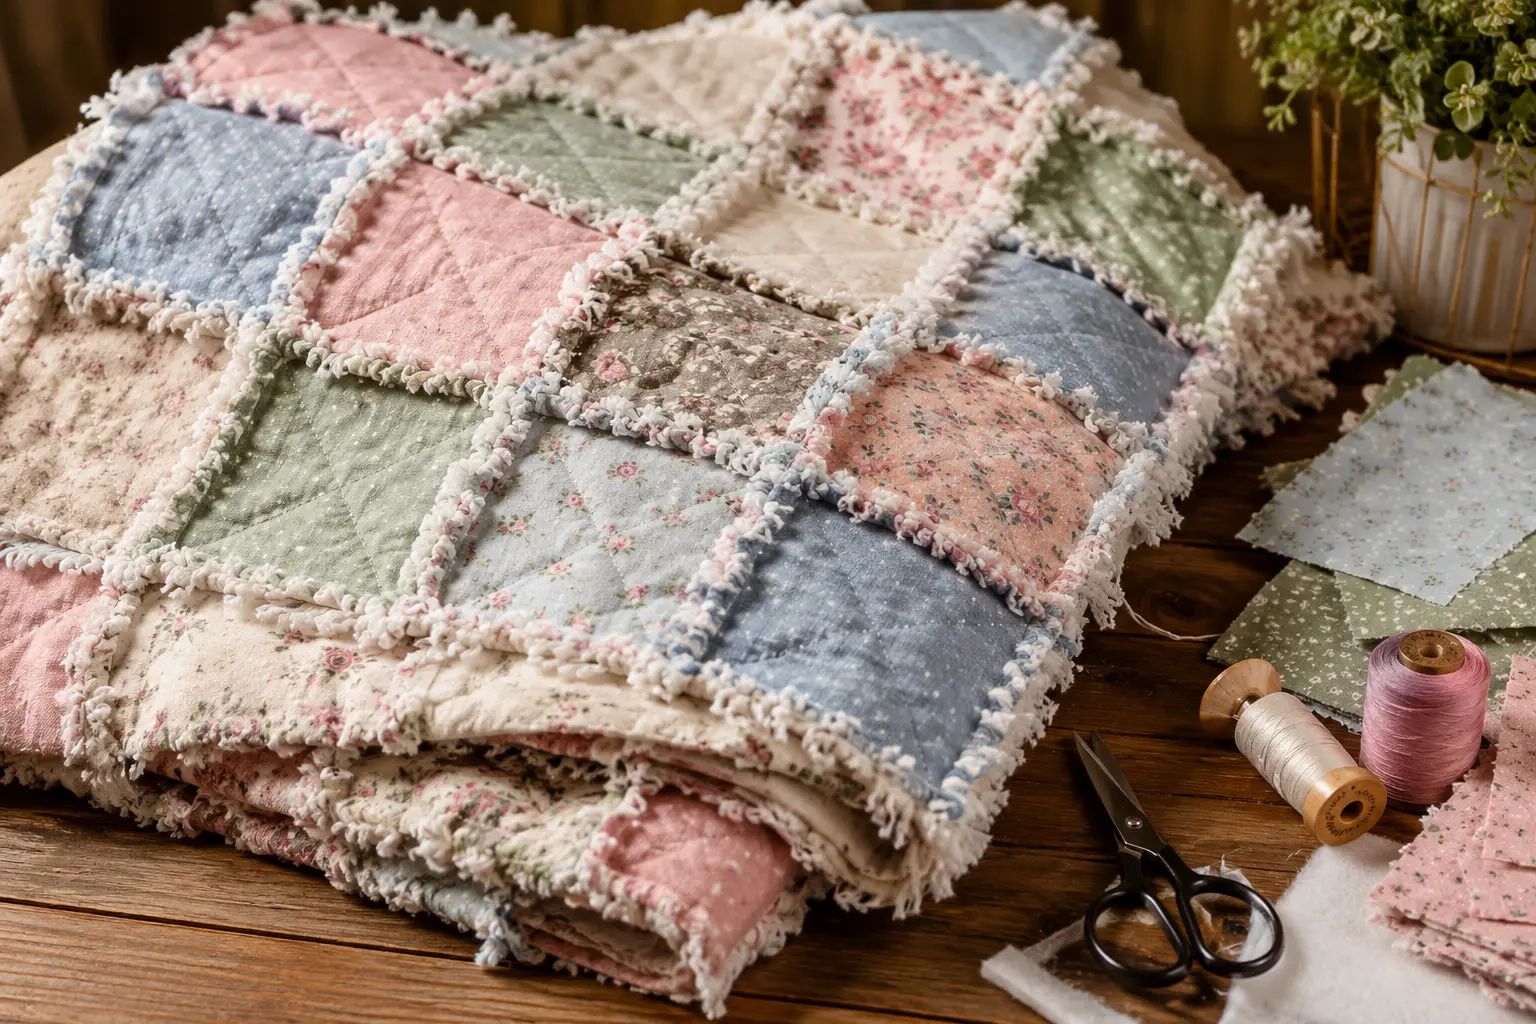
To make a rag quilt with batting, you sandwich a layer of batting between two fabric squares, sew the seams on the outside of the quilt with a wide seam allowance, clip every seam, then wash and dry the quilt so the edges fray into a soft, textured finish. No binding, no hidden seams — just straight lines and a washing machine doing the final, best step for you.
Table of Contents
The Quilt I Almost Gave Up On Halfway Through
I was three rows into my first rag quilt when I nearly quit. I’d sewn the squares together the “normal” way — right sides facing in, like every other sewing project I’d ever done — and the whole thing looked wrong. Flat. Stiff. None of the soft, chunky texture I’d seen in photos.
I almost boxed it up and called it a failed experiment. Then I actually reread the pattern instructions, and there it was, in a sentence I’d skimmed past twice: sew with the right sides facing out. Not in. Out.
I ripped out three rows of stitching, flipped my whole approach, and started over. That one correction changed everything. By the time I clipped the seams and pulled the finished quilt out of the dryer, it had exactly the texture I’d been chasing — thick, soft, a little wild at the edges. It’s the reason I walk through every step below in the order I do, including the one I got backwards the first time.
Step 1: Choose Your Fabric
Flannel is the go-to fabric for rag quilts because it frays the fullest and softest in the wash. Quilting cotton and fleece work too, but they’ll fray thinner and less fluffy. Whatever you choose, wash and dry it once before cutting — pre-shrinking now avoids uneven puckering later.
Step 2: Cut Your Squares — Fabric and Batting
Pick a finished square size (8″–10″ squares are the easiest to start with), then cut everything to that same size:
- Two fabric squares per block (one for the front, one for the back)
- One batting square per block, cut to match
Because rag quilts use a generous seam allowance — usually ¾” to 1″ — you don’t need to add extra to your cutting size the way you might for a bound quilt. The seam allowance comes out of the square itself.
Step 3: Layer Each Square Into a Sandwich
For each block, place the batting between your two fabric squares with the fabric right sides facing outward — this is the step that trips up most beginners coming from traditional quilting, so it’s worth double-checking before you sew. Pin or clip through all three layers to keep them from shifting.
Step 4: Quilt Each Individual Square
Before joining anything, stitch a simple X or a couple of straight lines across each layered square. This anchors the batting inside so it can’t bunch up or slide around once the quilt is finished and being washed repeatedly over the years.
Step 5: Sew Your Squares Into Rows
With right sides still facing out, sew two squares together along one edge, using your full seam allowance. Keep adding squares until you have complete rows of the length you want.
Step 6: Sew the Rows Together
Join your finished rows the same way — seams on the outside, generous seam allowance, right sides out — until your entire quilt top comes together as one piece.
Step 7: Stitch Around the Outer Edge
Once the whole quilt is assembled, sew one final seam around the entire outer perimeter. This closes off any raw fabric edges so nothing is left unsecured before washing.
Step 8: Clip Every Single Seam
This is the step that actually creates the “rag” look. With sharp scissors or spring-loaded snips, cut into every seam allowance about every ¼ inch, snipping close to the stitch line without cutting through it. Go over every seam — front, back, and the outer edge — before moving to the wash.
Step 9: Wash and Dry to Finish
Put the finished quilt through a full wash and dry cycle. The agitation is what actually frays the clipped seams into soft, fluffy ridges — this is the whole reason the earlier steps used a wide seam allowance and close clipping. Expect noticeably more lint than usual on this first wash, and clean out the dryer’s lint trap partway through if you can.
A Few Things That Make the Difference
- Don’t skimp on the seam allowance. A narrow seam won’t have enough fabric to fray properly.
- Clip close but never through the stitching. Snips that nick the seam itself can cause it to come apart entirely in the wash.
- Use a walking foot if your machine has one. It helps feed the thicker, three-layer sandwich evenly instead of bunching under the needle.
- Wash on a regular or heavy-duty cycle, not delicate. The agitation is doing real work here — a gentle cycle won’t fray the seams fully.
- Expect the quilt to look “unfinished” before washing. The frayed texture only shows up after that first wash and dry — don’t judge the quilt before it gets there.
Why This Method Works So Well for Beginners
A rag quilt forgives almost everything a traditional quilt wouldn’t. Slightly wobbly seams just add texture instead of standing out as mistakes. There’s no binding to miter around corners, and no hand-finishing required. It’s a project where the “final” step is largely handled by your washing machine — which, if you’re anything like me on that first attempt, is a pretty forgiving way to learn.