

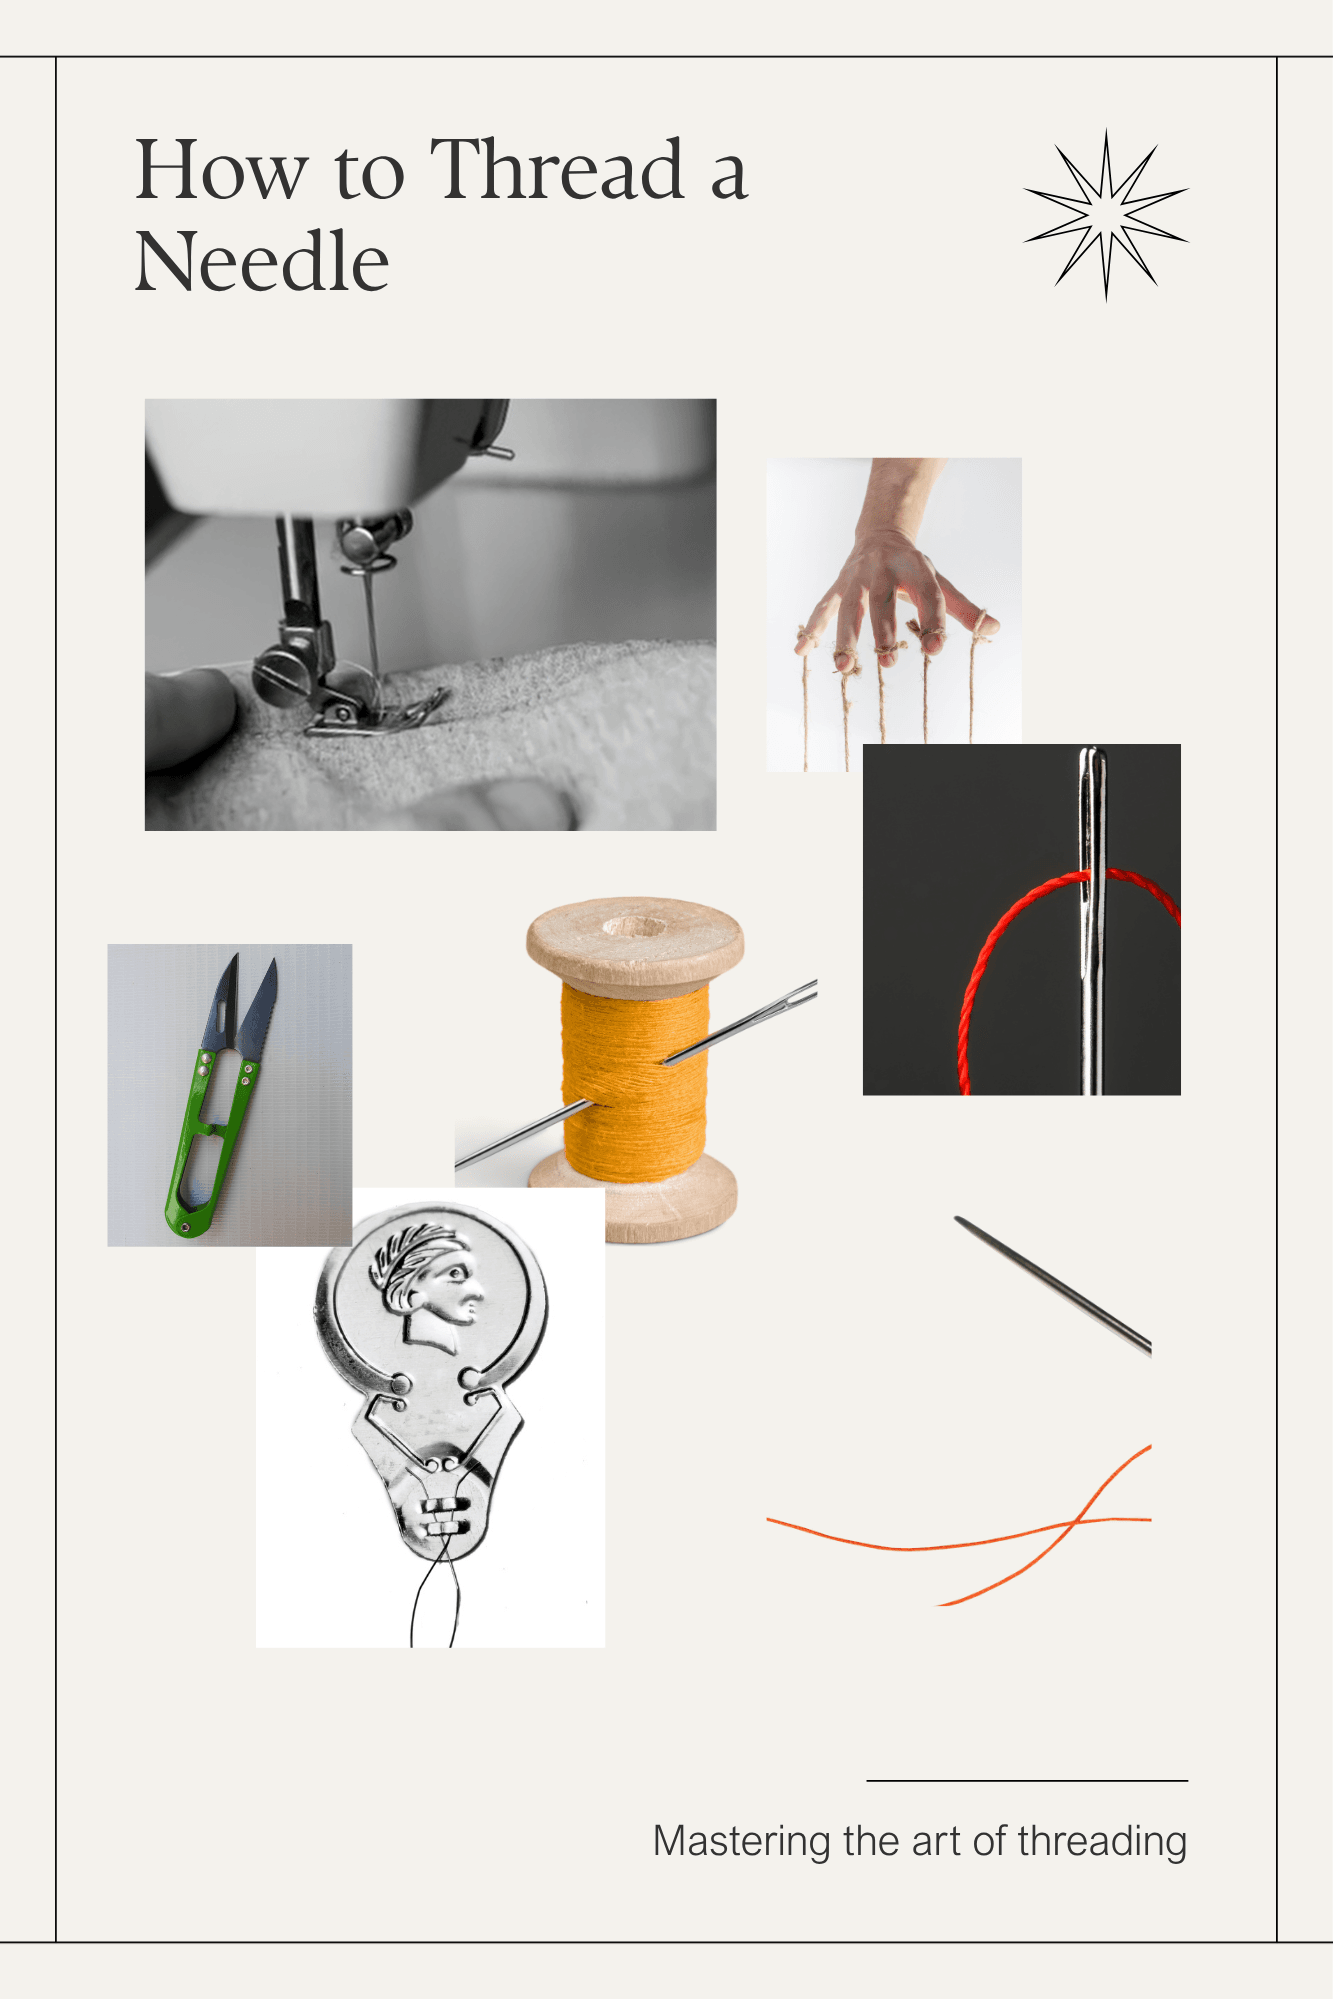
The eye of a needle is a small enough target that even experienced sewers occasionally lose ten minutes to it. The fix isn’t better eyesight — it’s a cleaner cut, better light, and knowing when to reach for a threader instead of fighting it by hand. Here’s how to thread both a hand needle and a machine needle without the usual fumbling.
Table of Contents
Threading a Hand Needle
Step 1: Cut a Clean Thread End
Cut at an angle, not straight across, with sharp scissors. An angled cut leaves a narrower point that clears the eye far more easily than a blunt, torn end that’s already starting to fray.
Step 2: Moisten or Stiffen the Tip (Optional)
A light dab of moisture — lips or a damp sponge — flattens stray fibers. Thread conditioner or a light spritz of hairspray does the same job if stiffening the tip works better.
Step 3: Find Good Light and a Contrasting Background
Hold the needle against a light-colored surface for dark thread, a dark surface for light thread. Daylight, specifically, makes the eye far easier to find than most indoor lighting manages.
Step 4: Guide the Thread Through
Hold the needle steady and bring the thread to it — not the reverse — since that keeps the thread’s angle consistent. Push the flattened tip through in one smooth motion.
Step 5: Pull Through and Even Out
Pull the thread partway through for a manageable tail, then knot the end before hand-sewing begins.
Using a Needle Threader
A wire needle threader turns threading into a near-instant task, especially on small-eyed needles:
- Push the diamond-shaped wire loop through the needle’s eye.
- Slip the thread through that wire loop.
- Pull the wire loop — and the thread with it — back through the eye.
- Remove the threader, leaving the thread pulled cleanly through.
It’s a small tool that solves a real problem, particularly for sharps, betweens, and anyone dealing with reduced fine motor control or eyesight.
Threading a Sewing Machine Needle
Machine needles thread front to back on most models — check the manual, since the exact direction shifts by brand:
- Raise the needle to its highest point using the handwheel.
- Raise the presser foot to release the tension discs.
- Guide the thread through the machine’s built-in thread guides and tension disc, following the numbered path printed on the machine.
- Thread the needle itself — an automatic needle threader if the machine has one, a magnifier and a steady hand if it doesn’t.
- Pull a few inches of thread through and tuck it under the presser foot before sewing starts.
Using a Built-In Needle Threader
Plenty of modern machines include an automatic threader lever:
- Lower the lever until the small hook lines up with the needle’s eye.
- Loop the thread around the hook.
- Release the lever slowly — it pulls a loop of thread through the eye automatically.
Troubleshooting Common Threading Problems
- Thread keeps fraying at the tip: recut at a sharper angle, or run it through thread conditioner.
- Can’t see the eye clearly: a magnifying glass, a threader, or better lighting solves this almost every time.
- Thread won’t lie flat: a slight twist between the fingers before pushing it through usually fixes it.
- Needle eye too small for the thread: switch to a larger-eyed needle, or drop the strand count if it’s embroidery floss.
Final Thoughts
Threading a needle is a small skill built almost entirely on a handful of habits — a clean angled cut, decent lighting, a threader on hand when it’s needed. Get those right, and a task that used to eat five minutes takes five seconds.
By Sara McLean