

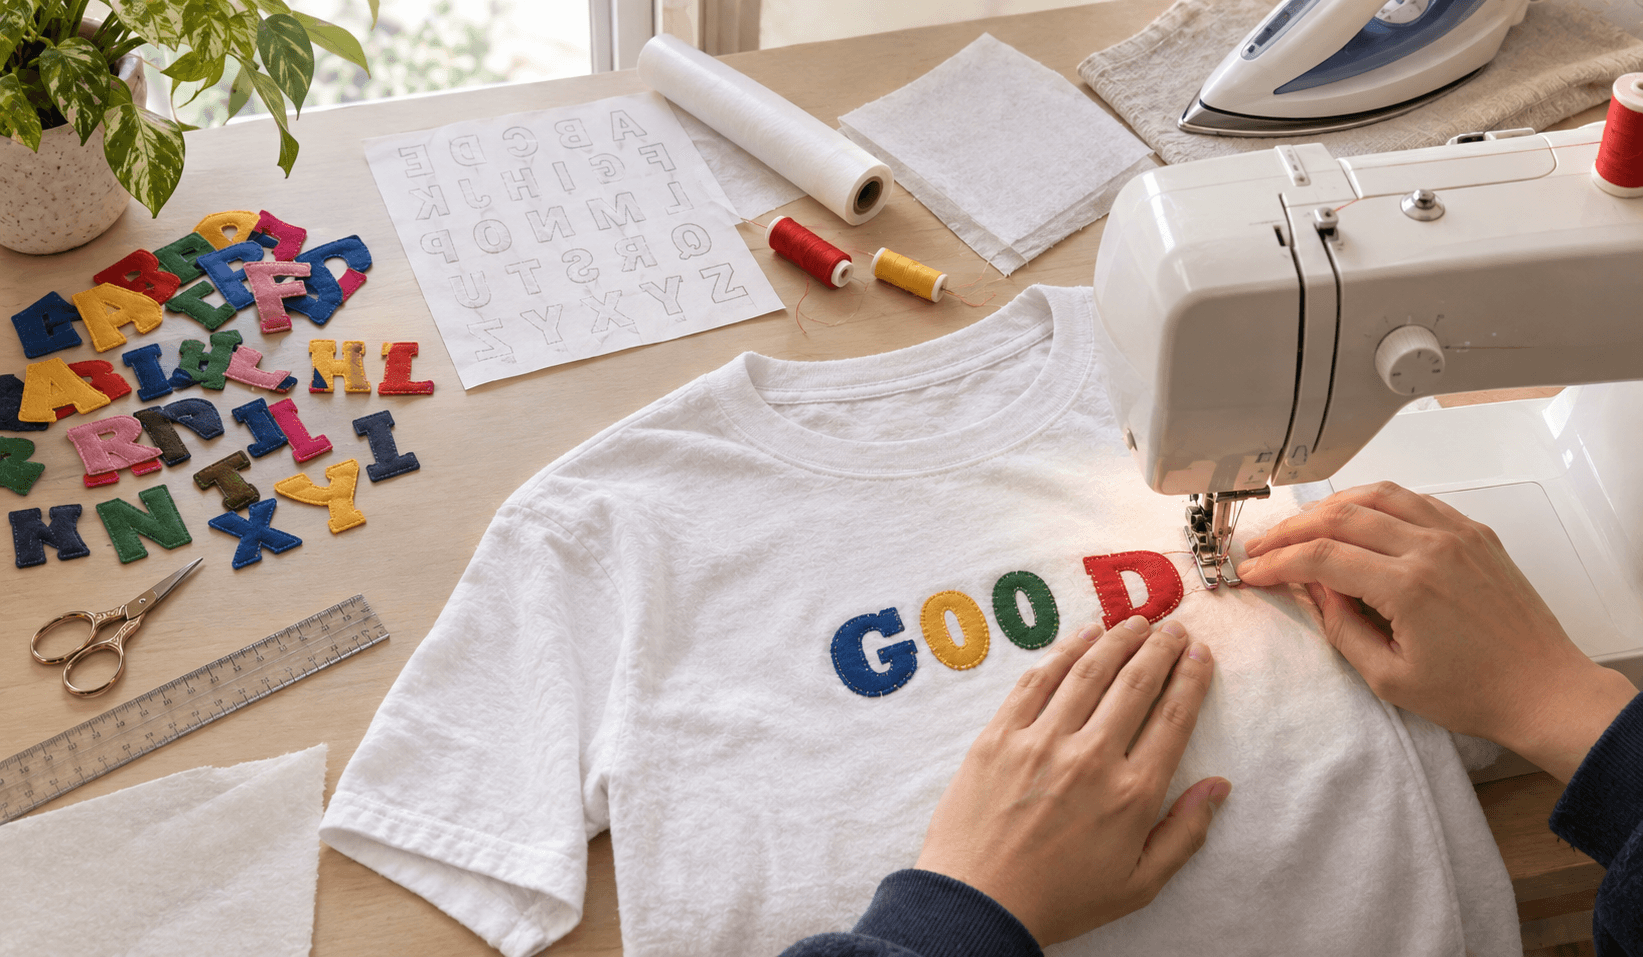
To applique small letters on a shirt, trace mirrored letters onto fusible web, fuse them to cotton fabric, cut them out, and press them onto the shirt. Put stabilizer behind the fabric, then stitch around each letter with a narrow satin stitch. Keep letters at least 1 inch tall, and sew slowly.
Why Small Letters Are So Tricky
My first attempt was a one-inch word on a plain cotton tee. The “O” came out lumpy, and the “E” lost its middle arm under all that thread. I blamed my machine for weeks. The real problem was prep.
Small letters leave no room for sloppy cutting, wide stitches, or a stretchy shirt with nothing supporting it. After a few ruined tees, I settled on a routine that works every time.
What You’ll Need
- A prewashed cotton t-shirt
- Quilting cotton for the letters
- Lightweight, paper-backed fusible web
- Tear-away stabilizer
- A stretch or ballpoint needle, size 75/11
- Small, sharp embroidery scissors
- An iron and a pressing cloth
- All-purpose polyester thread
Step-by-Step: How to Applique Small Letters on a Shirt
- Pick a bold font. Thin script letters fall apart once they’re cut small. Thick block letters keep their shape and give the stitching something to hold.
- Trace in reverse. Draw the mirror image on the paper side of the web. I once fused a name backwards onto a birthday shirt, so now I check twice before cutting.
- Fuse and cut. Press the web onto the wrong side of your fabric, then cut right on the line. Turn the fabric, not the scissors, around curves.
- Place and press. Fold the shirt in half to find the center. Line the letters up with a ruler, step back to judge the spacing, then press with a cloth so nothing shifts.
- Add stabilizer. Turn the shirt inside out and place tear-away stabilizer behind the lettering. Knit stretches as you sew, and stabilizer stops the puckering.
- Stitch slowly. I use a satin stitch about 2 to 2.5 mm wide and 0.3 to 0.4 mm long. Test it on a scrap of the same shirt first. At corners, stop with the needle down on the outside edge, lift the foot, pivot, and continue.
- Finish neatly. Tie off the thread tails, gently tear away the stabilizer while holding the stitches, and press from the back.
Tips From My Sewing Table
- Prewash everything. Shrinkage after the first wash will pucker tight stitching.
- Match your thread to the letter. It hides tiny wobbles that contrast thread would show.
- Change your needle. A dull needle skips stitches on knit fabric.
- Go smaller carefully. Below 1 inch, switch to a raw edge straight stitch or embroider by hand.
- Wash gently. Use cool water, skip fabric softener, and hang dry or tumble on low.
Common Mistakes to Avoid
Most failures I’ve seen come down to five things: skipping stabilizer, forgetting to reverse the letters, using a stitch that’s too wide, choosing a thin font, and pressing too long.
FAQ
What is the best stitch for small applique letters? A narrow satin stitch gives the cleanest edge. A blanket stitch is a good alternative for a handmade look.
Do I need stabilizer on a t-shirt? Yes. T-shirt knit stretches, and stabilizer keeps it flat so the stitches sit neatly.
Can I do this without a sewing machine? Yes. Fuse the letters on with web, then sew around the edges by hand with a small blanket stitch.
How small can applique letters be? For a satin stitch finish, I stay at about 1 inch tall or larger. Anything smaller is better embroidered.
Final Thoughts
Learning how to applique small letters on a shirt cost me a few tees and a lot of unpicking. Once I slowed down, used stabilizer, and picked a bold font, everything clicked. Practice on a scrap first and keep your first word short.
About the Author: Sara McLean is the creator of AppliquéFits.com and a textile designer who shares practical appliqué, sewing, and fabric-design ideas.