

Okay, confession time. For the first few years I sewed, I basically ignored the running stitch. It felt too basic to bother writing about — up, down, up, down, the end. What’s there to say?
Turns out, a lot. The more projects I’ve worked through over the years, the more I’ve realized this “beginner” stitch is quietly doing more heavy lifting than almost anything else in my sewing kit. Basting, quilting, mending, full-on decorative embroidery — it’s all running stitch underneath, just dressed up differently. So I figured it was finally time to give it the write-up it deserves.a
Here’s everything I know about it, including how to actually sew one properly (there’s a wrong way, trust me, I did it for years), the variations worth trying, and why an entire Japanese embroidery tradition is basically built on nothing but this one stitch.
So, What Is a Running Stitch, Exactly?
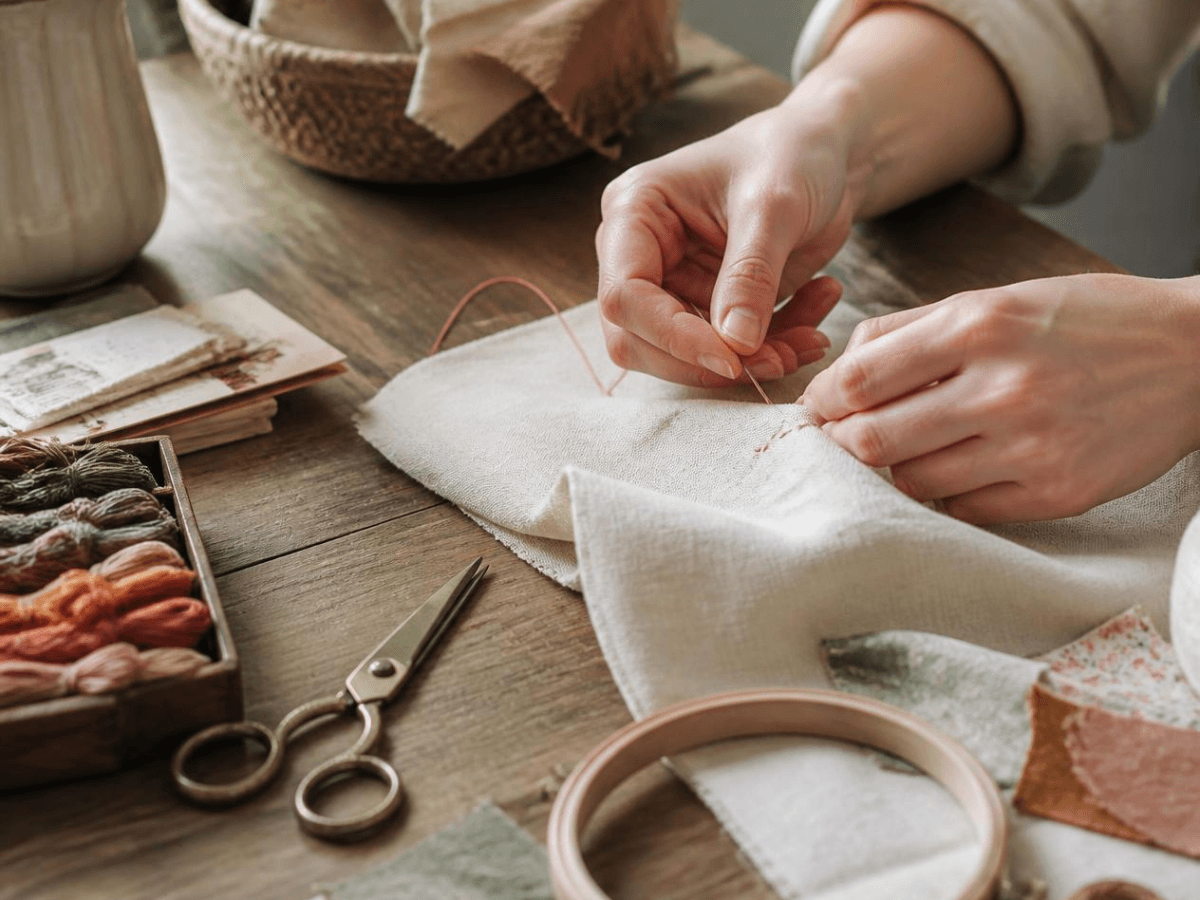
Strip away all the fancy names and the running stitch is just this: you weave a threaded needle in and out of the fabric in a line, leaving a little dashed pattern behind. Stitch, gap, stitch, gap. That’s it. That’s the whole trick.
The “running” part of the name comes from how the needle moves — it kind of glides along, in and out, rather than stopping to go back down the exact hole it just came out of (that’s more of a backstitch move). It’s the first stitch a lot of us are taught as kids, usually on some scrappy piece of felt, and honestly? It never really stops being useful, even once you’ve “graduated” to fancier stuff.
How to Actually Do a Running Stitch (The Right Way)
I’ll be honest, for a while I was just sort of stabbing fabric and calling it a running stitch. It worked, technically. It just didn’t look great. So here’s the version that actually holds up:
Thread your needle and knot the end. Bring the needle up from the back of the fabric to the front — pull until that knot catches and stops you. Now push the needle back down a little ways away, maybe an eighth of an inch, give or take, depending on how delicate or bold you want the line to look. Bring it back up the same distance further along. And just keep going like that, in a straight line or a curve, trying to keep your stitches and the gaps between them roughly even.
That “roughly even” part is honestly the whole game. It’s not about being perfect — it’s about being consistent enough that the eye reads it as a clean line instead of a scribble.
One trick that speeds things up a lot, especially if you’re basting or hand quilting: load a few stitches onto your needle before pulling the thread all the way through. Instead of pulling taut after every single up-and-down, gather two or three passes first, then pull. It feels a little clumsy the first time you try it and then suddenly it clicks and you’re moving twice as fast.
Can You Do a Running Stitch on a Sewing Machine?
Sort of. If you set your machine to its longest straight stitch, you’ll get something that acts like a running stitch — great for basting a seam or gathering fabric fast when you’re in a hurry. It won’t have that same slightly imperfect, handmade texture though. For anything decorative, I’d still reach for a needle.
What’s a Running Stitch Actually Good For?
This is honestly the part that changed how I think about the stitch. It shows up basically everywhere:
Basting is probably the big one — holding layers of fabric together temporarily before you run them through the machine, instead of wrestling with a dozen pins. It’s also the backbone of hand quilting, where it stitches through all the layers and gives that classic puckered, textured quilt look. Appliqué leans on it too, either to tack pieces down invisibly or, if you go bigger with your stitches, as a visible decorative outline. Beyond that, it’s the go-to for gathering fabric into ruffles, for mending small tears, and for good old-fashioned darning.
And then there’s the decorative side, which is where things get genuinely fun.
Turning Running Stitch Into a Pattern
Here’s the thing that surprised me most when I really got into this stitch: a single row is nice, sure, a clean little dashed line. But stack rows of it and suddenly you’ve got texture. Real, filling-in-a-shape texture.
A really common way to do this is the “brick” method — stitch a row, then start the next row so the stitches fall into the gaps of the row above, kind of like bricks stacking. Do that a few rows deep and you get this woven look that’s made entirely of straight lines and empty space. And the lines don’t even need to be straight in the first place — I’ve filled shapes with running stitch worked in spirals, in wobbly circles, in loose waves. It doesn’t have to be rigid to look good. Honestly, some of my favorite results happened when I stopped trying to keep everything perfectly parallel.
A Cousin Worth Knowing: Double Running Stitch
Quick mention because it trips people up — double running stitch (you might see it called Holbein stitch) is basically running stitch done twice. You sew a row, then go back over it and fill in all the gaps you left the first time. End result: a solid, unbroken line that looks the same on the front and the back of the fabric. Great if you’re working on something reversible, or anything where the back of your work is going to be seen.
Sashiko: When Running Stitch Becomes Art
If you want to see just how far this “basic” stitch can go, look at sashiko. It’s a traditional Japanese embroidery technique, and the name roughly translates to “little stabs” — a nod to the small, even running stitches that make it up.
It didn’t start as decoration, either. Sashiko began as a practical way to mend and reinforce worn-out clothing, especially heavy work garments that needed to survive tough winters. Somewhere along the way, the mending itself turned into something beautiful — stitchers started arranging their running stitches into deliberate patterns. Waves. Diamonds. Interlocking circles. Grids that look almost architectural up close.
What gets me every time is how restrained it is. Deep indigo fabric, plain white thread, and that’s it — no embellishment, no extra flourishes, just geometry doing all the talking. And even though the finished patterns can look intricate enough to make your head spin, they’re built from one stitch, worked slowly and carefully, over and over.
These days sashiko has wandered well past mending — it turns up in quilting, home décor, clothing, standalone embroidery art. But it’s still the best proof I know that a “simple” stitch is only as simple as you let it be.
A Few Things I’ve Learned the Hard Way
Keep your stitch length consistent — this is the single biggest thing separating a clean-looking line from a messy one. Pick your needle to match your fabric; something fine for delicate material, something sturdier if you’re working with heavier fabric that fights back a little. Don’t pull too tight, especially on lighter fabrics, or you’ll end up with puckering you can’t iron out. And if you’re trying sashiko-style patterns or anything curved, practice on scrap fabric first. I promise your first attempt at a spiral will look nothing like your fifth.
Final Thoughts
I used to think of running stitch as the thing you learn before you learn the “real” stitches. Now I think it might just be the most important one — quietly holding together basting, quilting, appliqué, mending, and entire embroidery traditions like sashiko. Get comfortable with it and honestly, most of what you’ll ever want to stitch becomes a little easier.