

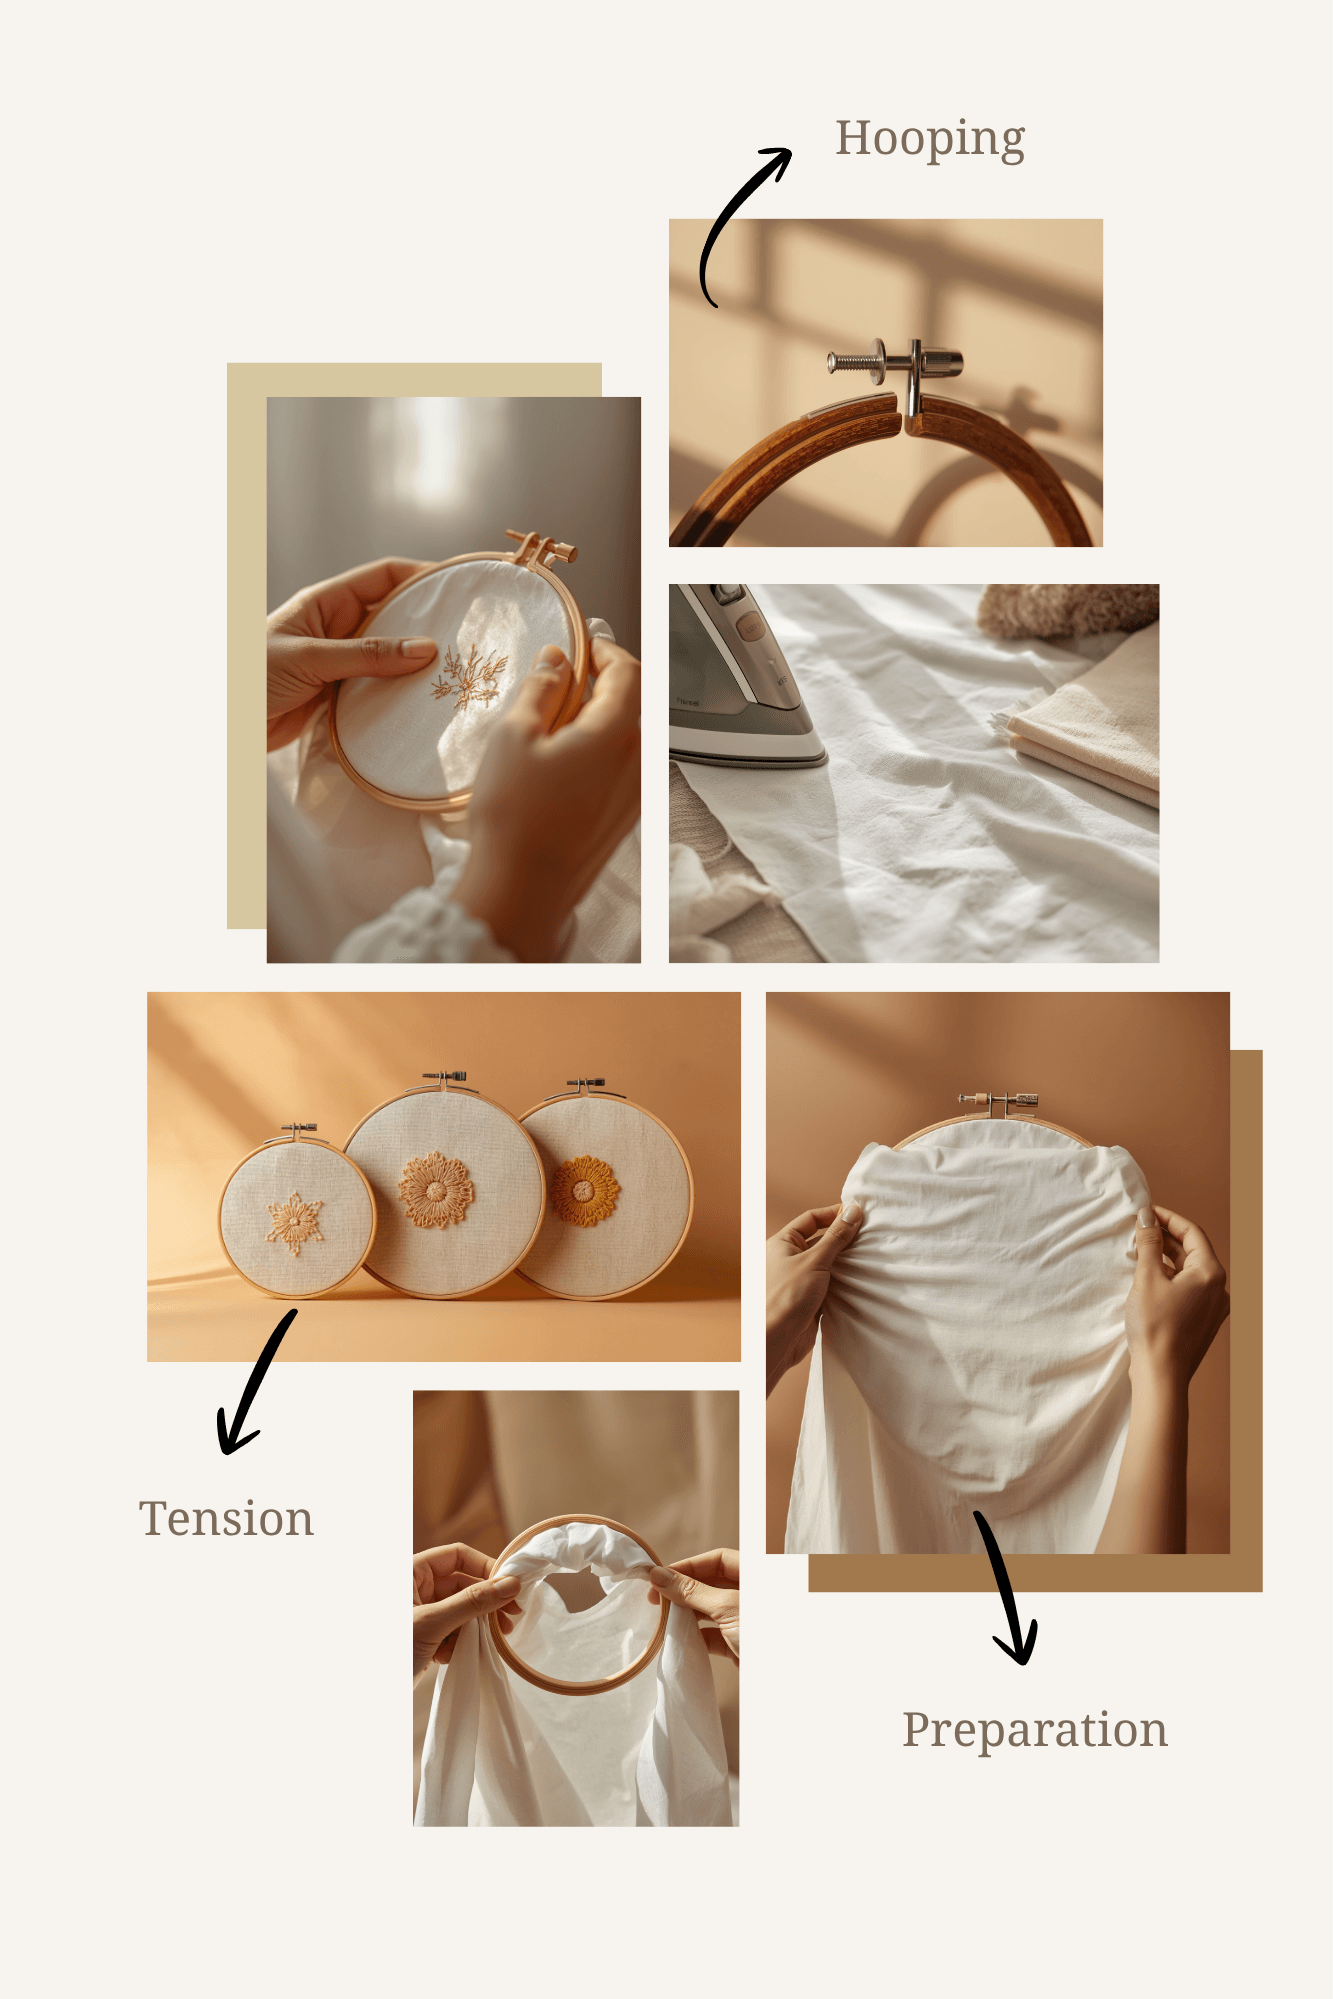
Two rings and a screw don’t look like they’d matter much, but hoop tension is the difference between crisp, even embroidery and a piece that puckers the moment it comes off the frame. A hoop’s entire job is stability: fabric pulled drum-tight, held in place, ready for a needle to move through it predictably. Here’s how to set one up correctly, from first stretch to storage.
Table of Contents
What Is an Embroidery Hoop?
An embroidery hoop consists of two rings — wood, plastic, or bamboo — that nest inside one another, with an adjustable screw on the outer ring locking everything down. Fabric sandwiched between the two rings and pulled taut becomes a firm, even surface instead of loose, shifting cloth.
Choosing the Right Size
Hoops run from about 3 inches up to 12-plus. As a general guide:
- Small hoops (3–6 inches) suit detailed work, small motifs, portable projects.
- Medium hoops (7–9 inches) fit most standard embroidery designs and are the size most stitchers reach for first.
- Large hoops (10+ inches) handle bigger designs but get unwieldy, and center fabric can sag if it’s left hooped too long.
Choose a hoop slightly larger than the design itself, so repositioning mid-project isn’t a constant interruption.
Preparing the Fabric
- Cut fabric with extra margin. At least 2–3 inches beyond the hoop’s edge on every side, enough to actually grip.
- Iron out wrinkles first. Flat fabric hoops evenly; creased fabric doesn’t.
- Wrap the inner ring, optionally. Bias tape or twill tape improves grip and cuts down on slipping — worth doing for delicate or slippery fabric especially.
Hooping the Fabric
- Loosen the screw on the outer ring until it opens wide enough to slide easily over the inner ring.
- Lay the inner ring flat on a table, fabric over it, design area centered.
- Press the outer ring down over the fabric and inner ring, sandwiching everything together.
- Pull the fabric edges evenly in every direction — work around the hoop like spokes on a wheel, not one side at a time.
- Tighten the screw until the fabric is drum-tight. Tap it; the sound should be taut, not floppy.
- Check tension against the weave itself. Straight grain lines should stay straight and parallel to the hoop’s edge, not skewed diagonally.
Stitching in the Hoop
Hold the hoop in the non-dominant hand, or set it into a hoop stand, freeing both hands for stitching. Re-tighten the screw periodically — fabric loosens slightly as thread gets pulled through it, stitch after stitch.
Avoiding Hoop Marks
Fabric left hooped too long, delicate fabric especially, picks up a visible ring impression. To prevent it:
- Remove fabric from the hoop between sessions rather than leaving it hooped indefinitely.
- Steam out any hoop marks afterward with a press cloth and a cool iron.
- Try hooping a scrap or stabilizer first, then basting the project fabric on top — a “hoop with backing” trick that takes direct pressure off the good material.
Caring for Your Hoop
Wooden hoops warp or splinter under poor storage. Keep them:
- Loosened when not in use, so the wood isn’t sitting under tension for weeks
- Stored flat or hung, away from humidity
- Lightly sanded if rough spots start snagging fabric
Final Thoughts
An embroidery hoop is a small investment that pays for itself immediately in stitch quality. Hoop the fabric properly, retighten as the work progresses, and the difference shows up both in how the needle moves and in how finished the embroidery piece looks.