

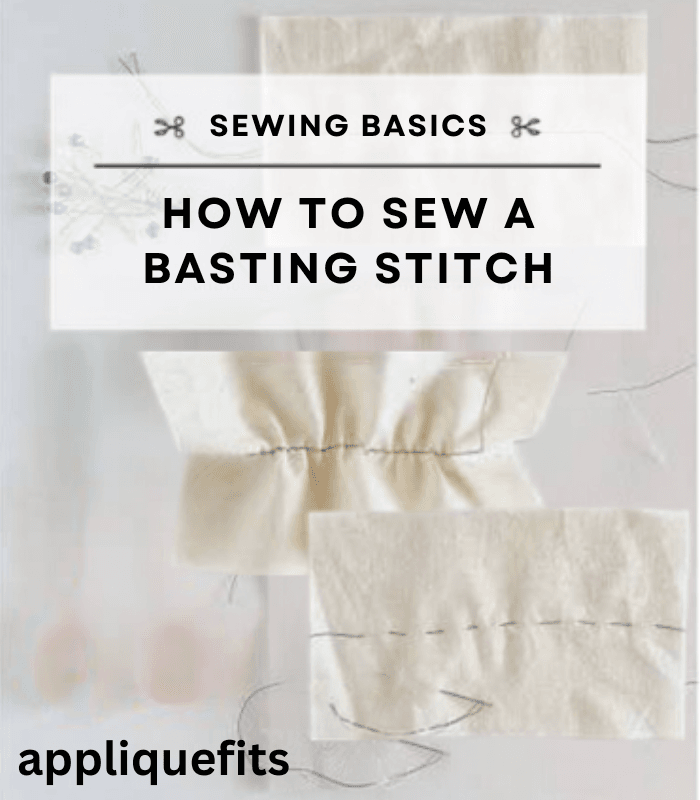
If you’ve ever followed a sewing pattern and hit the instruction “baste first,” you might have paused and wondered what that actually meant. Basting is one of the most genuinely useful steps in sewing — and also one of the most commonly skipped. This article explains what a “basting stitch” actually is, why it’s worth the extra minute, and how to do it well.
Table of Contents
Definition of a Basting Stitch
A basting stitch is a long, loose, temporary stitch used to hold layers of fabric together before you commit to permanent sewing. It’s not meant to bear any real load — its whole job is to keep fabric in place while you check fit, adjust positioning, or get ready for a more secure seam, and then get removed once it’s done its job.
Basting stitches are noticeably longer than regular sewing stitches, usually somewhere around 4–6mm, or even longer for hand basting, which makes them easy to spot and quick to pull out later.
Why Basting Matters
Basting can feel like an unnecessary extra step, especially when you’re eager to get to the “real” sewing, but it solves a handful of genuinely common problems:
- Prevents shifting: fabric layers can slide out of alignment under a machine’s feed dogs; basting locks them in place first.
- Allows fitting checks: basted garment seams can be tried on and adjusted before you commit to anything permanent.
- Keeps slippery or tricky fabric under control: silky or stretchy material is notorious for shifting mid-seam; basting keeps it aligned.
- Holds multiple layers for quilting: basting secures the quilt top, batting, and backing before any quilting stitches go in.
- Secures zippers and trims: basting a zipper or piping in place before the final stitch keeps it from shifting out of position while you sew.
Methods of Basting
Hand Basting
Using a needle and thread, sew a long running stitch by hand along your seam line. This is the most controlled method, and it’s often preferred for delicate fabric, tailoring, or precise fitting, since it’s easy to adjust and remove without leaving a trace behind.
Machine Basting
Set your sewing machine to its longest stitch length, usually 4–5mm, and loosen the top tension slightly. Sew along the seam line as you normally would, but leave long thread tails at each end so the stitches pull out easily afterward.
Pin Basting
Instead of stitching, fabric layers get held together temporarily with straight pins placed perpendicular to the seam line. It’s fast and common for simple seams, though it’s less secure than thread basting for fabric that shifts around easily.
Basting Spray
A temporary adhesive spray applied lightly to one fabric layer, commonly used in quilting to hold the quilt sandwich together without a single pin or stitch involved.
Fusible/Iron-On Basting Tape
A thin strip of fusible adhesive that temporarily bonds two layers of fabric with a hot iron, often used for hems or appliqué placement before you sew anything permanent.
When to Use Basting
- Before setting in a sleeve, to check ease and overall fit
- Before sewing a zipper, to keep it perfectly aligned
- When working with slippery fabric like silk or satin
- Before quilting, to hold all three quilt layers together
- When gathering fabric for ruffles or waistbands
- Before topstitching, to keep pressed seams or trims exactly in place
How to Remove Basting Stitches
Once the permanent seam is sewn, it’s time to take the basting out:
- Find the loose thread tail and gently pull.
- For long basting lines, use a seam ripper to snip a few stitches every couple of inches, then pull the thread free.
- Check the fabric for stray fibers or leftover marks, and give it a press if needed.
Final Thoughts
A basting stitch is simply a temporary, easy-to-remove stitch used to hold fabric in place before permanent sewing takes over. Skip it, and you risk shifted seams, misaligned zippers, or fabric layers bunching up under the presser foot. Taking a few extra minutes to baste — especially on tricky fabric or fitted garments — usually saves far more time than it costs.