

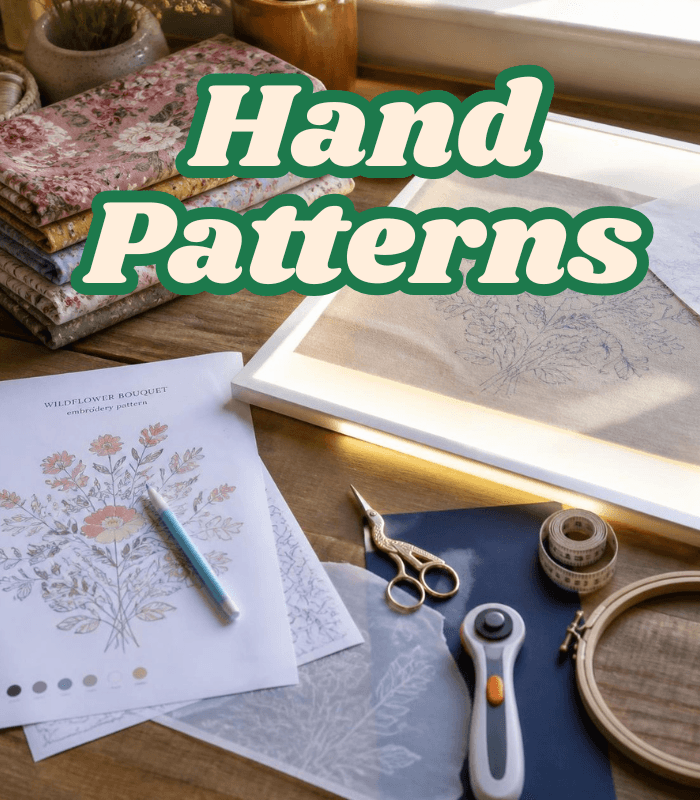
I saved a pattern on Pinterest three years ago. It was this gorgeous embroidered flower design—delicate, intricate, perfect for a pillowcase I wanted to make. Then it sat there. For three years.
You know why? Because I had no idea how to get it from my phone onto actual fabric.
That’s the thing nobody talks about with hand patterns. You find something gorgeous online, you love it, you save it… and then total confusion sets in. How do you transfer it? Can you resize it? Will it work for your project?
I’m going to walk you through all of it. Because finding the perfect pattern is only half the battle.
Table of Contents
What Are Hand Patterns
Here’s the simple truth: hand patterns are your blueprint. They’re the design you’re going to trace or transfer onto your fabric before you start embroidering or creating appliqué shapes.
Hand patterns aren’t for machines—they’re for your needle and your hands. Clean lines, clear designs, something you can actually follow while you stitch.
The best part? Good patterns save you hours of guessing. Instead of freestyling and hoping it looks good, you follow a guide. Even with a guide, you’ll make it uniquely yours. But at least you know where you’re going.
Where to Find Free Hand Patterns (Without the Sketchy Downloads)
Okay, real talk. The internet is full of pattern websites. Most of them are either locked behind subscriptions, full of ads, or just… not very good.
Here’s what actually works:
Best Free Pattern Websites:
- Etsy (yes, free patterns exist there—search “free embroidery patterns PDF”)
- Creative Fabrica (free tier has patterns, just download before the page times out)
- Craftsy (free embroidery pattern library)
- Floss & Fly (amazing free hand embroidery patterns)
- Needle’s Repository (vintage patterns, actually beautiful)
Download them as PDFs. Screenshot them. Save everything offline because websites disappear and links die.
Pro move: Print your pattern before you start your project. Don’t wait until you’re ready to stitch. Print it, look at it, make sure it’s actually what you want.
How to Transfer Hand Patterns to Fabric
This is where most people get stuck. They have the pattern but don’t know how to get it onto fabric without destroying either the pattern or their sanity.
Light Box Method (My Favorite) Tape your pattern to a light box. Tape fabric on top. The light shines through and you can see the pattern clearly. Trace with a water-soluble pen. Done in 5 minutes. Buy a light box for $20-30. Worth every penny.
No Equipment? Use Carbon Paper Old school but reliable. Tape your pattern to fabric. Slide carbon paper underneath. Trace with a regular pen. Remove paper. Your design transfers to the fabric. Takes longer than a light box but actually works.
Tracing Paper Trick Print your pattern. Tape it to a sunny window. Hold fabric behind it. Trace what you see through the fabric. Sounds weird. Honestly works great.
Water-Soluble Pen Hack Lightly draw directly onto fabric using a water-soluble pen. It disappears when you wash the finished piece. Sketch freehand if you’re confident, or follow a pattern underneath.
The key with any method? Go light. You can always darken the line. But heavy marks don’t fully disappear.
Scaling Patterns to Your Exact Size
You found the perfect pattern but it’s too small. Or too big. Welcome to Pattern Reality.
Make It Bigger Without Distorting It: Use a photocopier or print at a larger percentage on your home printer. If your pattern is 3×3 inches and you need 6×6, print it at 200%. Math is your friend.
Make It Smaller: Same process. Print at 50% or 75%. Test print on regular paper first—it saves ink and heartbreak.
The Grid Method (Foolproof): Draw a grid over your original pattern (light pencil). Draw a larger or smaller grid on your fabric. Transfer the pattern square by square. Old art class trick that works perfectly.
Hand Patterns for Embroidery vs. Appliqué
Here’s my favorite secret: you can use the exact same pattern for both techniques.
For embroidery, you trace the outline and follow it with thread.
For appliqué, you trace it, cut it out as a template, and use it to cut fabric shapes.
Same pattern. Different execution. It’s genius.
Sometimes you’ll combine both—use appliqué for the main shape and embroider details on top. That’s where patterns truly shine. One design, two techniques, one stunning finish.
Common Pattern Mistakes
Transferring too faintly. You’re going to stitch for hours following this line. Make it visible. Dark enough that you can see it clearly but light enough that it disappears.
Picking patterns way too complicated. That 47-stitch sampler looks amazing. It’s not a beginner project. Start with simple 5-stitch patterns. Build up.
Ignoring seam allowances. For appliqué especially, your pattern line isn’t where you cut—it’s where you fold. Leave room.
Never testing first. Transfer a pattern to a scrap of fabric. Try it. Make sure you actually like how it feels and looks. Don’t commit to a pillowcase until you’ve tested your pattern.
Sara’s Pro Tips
Keep a pattern folder. I save everything. Printed patterns in a file. Digital versions in a folder. Screenshots. I flip through them constantly for inspiration and reference.
Mark your patterns for future use. Write notes: “too small for hoops,” “works better in backstitch,” “good for appliqué.” Future you will thank present you.
Quick Pattern Questions
Can I trace from Pinterest directly?
Technically yes, but screenshot first. That link might disappear.
What if the transfer is too faint?
Go over it again with a darker pen. It’s fixable.
Can I reuse patterns?
Absolutely. Laminate them if you use them constantly.