

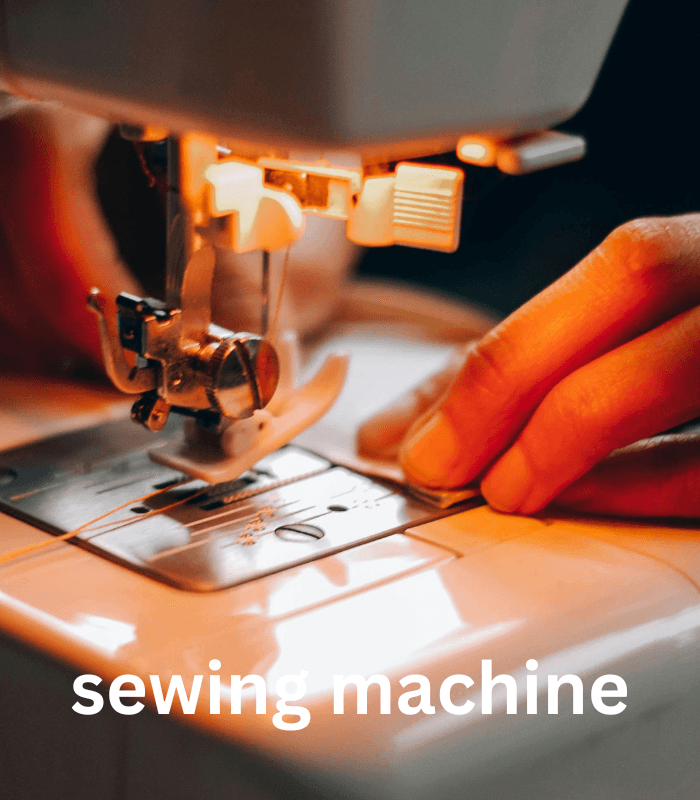
A “sewing machine” can look intimidating the first time you sit down at one — all those dials, levers, and moving parts. But once you understand the basic anatomy and the setup process, most machines follow the exact same underlying logic. This guide walks new sewers through the essentials, so the whole thing feels a lot less mysterious.
Table of Contents
Basic Parts of a Sewing Machine
- Spool pin: holds the thread spool in place at the top of the machine.
- Bobbin: a small spool holding the bottom thread, tucked beneath the needle plate.
- Tension dial: controls how tightly the top thread pulls, balancing it against the bobbin thread.
- Presser foot: the metal piece that holds fabric flat against the feed dogs as you stitch.
- Feed dogs: small teeth under the needle plate that pull fabric forward with each stitch.
- Needle plate: the flat metal surface under the needle, often marked with seam allowance guides.
- Handwheel: the dial on the machine’s side used to manually raise or lower the needle.
- Stitch selector: a dial or digital screen for choosing stitch type, length, and width.
- Foot pedal: controls sewing speed — press harder, sew faster.
Setting Up Your Machine
1. Wind and Insert the Bobbin
Follow your machine’s manual to wind thread onto an empty bobbin with the bobbin winder, then load it into the bobbin case, making sure the thread pulls in the correct direction (usually shown in a small diagram near the bobbin compartment).
2. Thread the Top of the Machine
Set your thread spool on the spool pin, then guide it through the machine’s thread path — typically a series of guides, down through the tension disc, up and over a take-up lever, and finally through the needle itself. Most machines have numbered arrows printed right on the body showing the exact order to follow.
3. Bring Up the Bobbin Thread
Hold the top thread gently, then turn the handwheel toward you to lower and raise the needle once. This catches the bobbin thread and pulls a small loop of it up through the needle plate. Pull both threads back and off to the side, tucked under the presser foot.
Choosing a Stitch
Most beginner projects lean on a straight stitch, the default choice for the majority of seams. A zigzag stitch comes in handy for finishing raw edges or sewing stretchy fabric. Explore the other built-in stitches gradually, as new projects call for them.
Adjusting Basic Settings
- Stitch length: around 2.5mm is standard for medium-weight fabric — shorter for delicate material, longer for basting or heavier fabric.
- Tension: start at the default setting (often marked 4 or 5) and only adjust if stitches look loose or puckered on a test swatch.
- Presser foot pressure: some machines let you adjust this for thicker or thinner fabric, though a lot of beginner machines have it fixed.
Practicing Your First Stitches
- Grab a fabric scrap — cotton is easiest to control while you’re learning.
- Lower the presser foot before starting; sewing with it raised tangles the thread almost instantly.
- Position the fabric under the needle, leaving a few inches of thread tail behind it.
- Press the foot pedal gently and guide the fabric with light pressure, letting the feed dogs do the pulling rather than shoving the fabric through yourself.
- Practice straight lines first, then gentle curves, to build up steady control.
Common Beginner Mistakes
- Sewing with the presser foot up: always double-check it’s down before you start.
- Pulling fabric through too fast: let the machine feed it naturally — forcing it can bend the needle or cause skipped stitches.
- Using the wrong needle for the fabric: a universal needle handles most basics fine, but always check needle-to-fabric compatibility for anything specialty.
- Skipping the backstitch at start and end: this locks your seam in place and keeps it from unraveling later.
- Ignoring thread tension issues: loops or puckering almost always mean the tension needs adjusting — test on a scrap before touching your actual project.
Basic Maintenance
- Brush lint out from around the bobbin case regularly.
- Swap the needle after roughly 8–10 hours of sewing, or sooner if it’s bent or dull.
- Oil the machine if your manual calls for it (many newer machines are self-lubricating and skip this step entirely).
- Keep the machine covered when it’s not in use, to keep dust out.
Final Thoughts
Every sewing machine, no matter the brand or price tag, runs on the same basic principles: thread the top, load the bobbin, dial in your settings, and practice steady, guided stitching. Spend some real time on fabric scraps before diving into your actual project, and the mechanics will start to feel intuitive faster than you’d expect.