

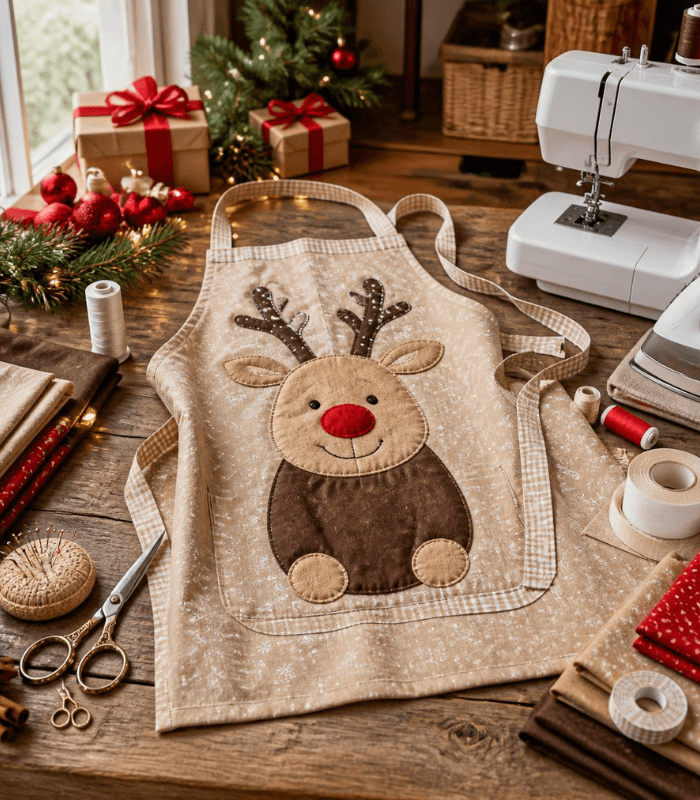
You know that feeling when you want to add a little Christmas magic to your kitchen without spending hours on a complicated project? That’s exactly what this DIY reindeer apron is all about.
I’m going to walk you through creating an adorable Christmas apron with a charming appliqué reindeer design in just 2–3 hours. Honestly, if I can do it, you can too. No fancy sewing skills needed—just the basics and a little creativity. Plus, you’ll have the most unique holiday gift that actually shows you care (and makes everyone jealous about their store-bought aprons!).
Table of Contents
What You’ll Actually Need
Don’t worry—you probably have most of this stuff lying around:
- 1 yard of any cotton fabric you like for the apron body
- Small scraps of brown, tan, and red fabric for the reindeer (leftover materials are perfect)
- 1/2 yard of twill tape or ribbon for the straps
- Fusible webbing (the magic ingredient that makes appliqué easy)
- Thread that matches your colors
- Basic scissors, needle, and a sewing machine
That’s it! Seriously, you don’t need anything fancy.
Let’s Make Your Christmas Apron (The Easy Way)
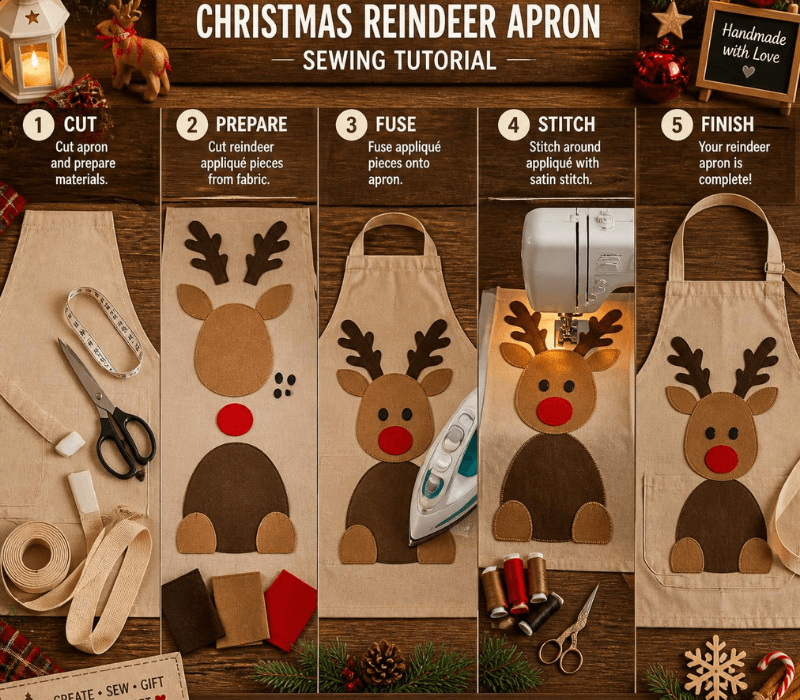
Step 1: Cut and Prep Cut your main fabric into a rectangle—about 20 inches wide and 24 inches tall. Round the top corners for comfort. Cut a small neck hole so it slips over your head. Attach your twill tape straps along the sides and sew them down twice for durability. Done!
Step 2: Create Your Reindeer Magic Here’s where the magic happens. Cut out these shapes from your fabric scraps:
- One brown oval for the body (about 6×4 inches)
- A tan circle for the head (3 inches)
- Two small tan triangles for ears
- One tiny red circle for that Rudolph nose
Step 3: Fuse Everything Apply fusible webbing to the back of each piece, then use your iron to stick them onto the apron. Start with the body, then add the head, ears, and nose on top. Iron for about 15 seconds per piece. (This is seriously the easiest part—no needle required!)
Step 4: Stitch the Edges Use a zigzag stitch (or even a simple backstitch by hand) around each piece. It not only holds everything down but also looks adorable and finished. Add two little stitches for eyes and a tiny smile if you want—your reindeer will have personality!
Step 5: Hem the Bottom Fold the bottom and sides inward 1/2 inch, press with an iron, and sew it down with a straight stitch. That’s it—you’re done!
Real Talk: Why You Should Make This
Honestly? Handmade gifts are incredible. Everyone can buy an apron online, but you’re making one by hand. Your mom, sister, or friend will treasure this far more than anything store-bought. Plus, it costs maybe $10 in materials, which is crazy for how cute it is.
And between you and me, this project builds confidence. Once you finish your reindeer apron, you’ll feel like you can sew anything. You’re not using complicated techniques—just basic stuff that every beginner can master.
Quick Tips From Experience
- Match your thread colors to the fabric. Mismatched thread looks sloppy, even if your stitching is perfect.
- Take your time positioning the reindeer before ironing. It’s impossible to move once it’s fused!
- Use quality fusible webbing. Cheap stuff peels off in the wash and ruins your hard work.
- Don’t skip reinforcing the straps. Aprons get tugged, so double-stitch those straps.
- Press everything as you go. A well-pressed apron always looks professional.
FAQs People Actually Ask
Can I hand-sew this instead of using a machine?
Absolutely! It takes a bit longer (4–5 hours), but hand-sewn aprons often feel more special. Just use a basic backstitch.
What if I’ve never sewn before?
You’re in the right place! This project only requires straight stitches and following simple steps. Thousands of beginners have made this successfully.
How long does it really take?
Start to finish? About 2–3 hours. You can even break it into smaller sessions over a couple of days.
Is this a good gift?
It’s literally the perfect gift. Homemade, useful, and completely unique. People actually use aprons, so your gift isn’t just sitting on a shelf.