

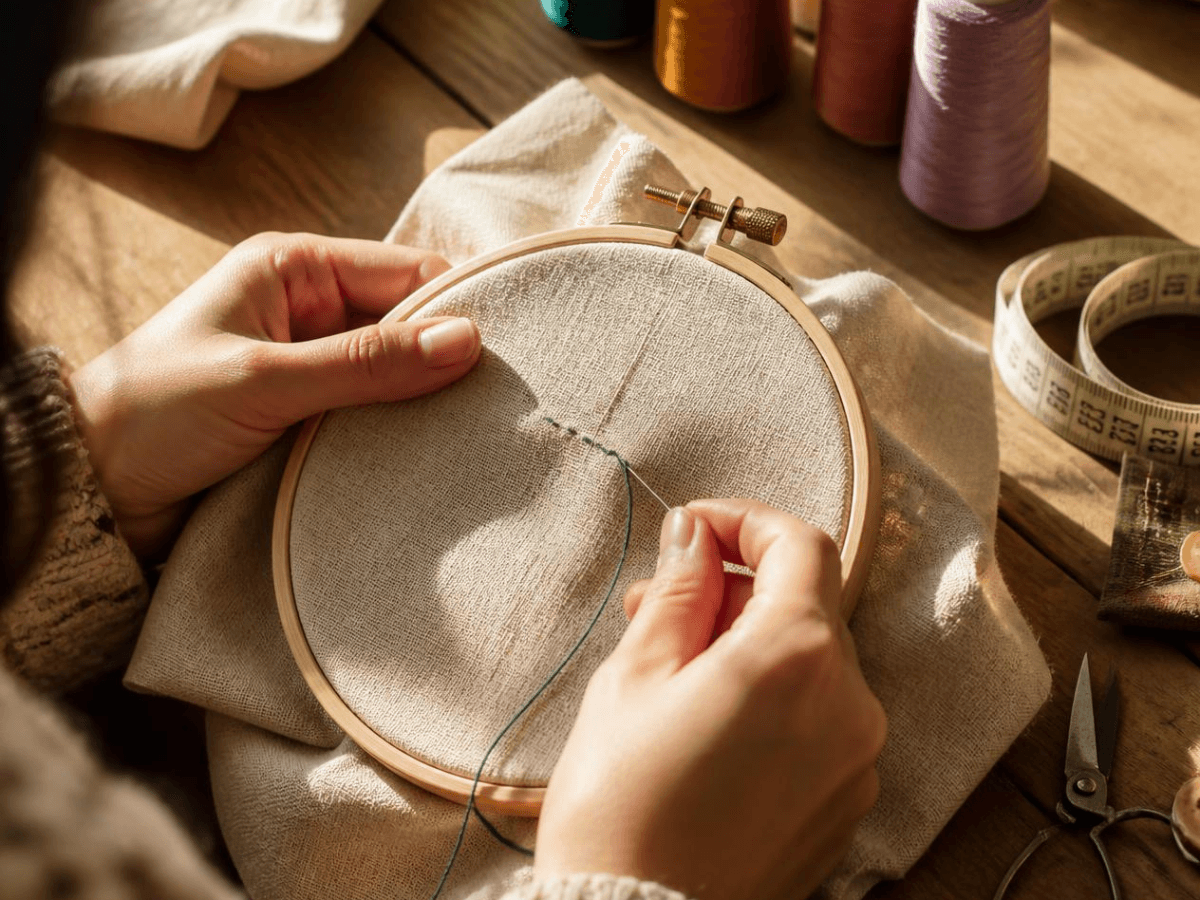
I’m going to be straight with you — I spent way longer than I’d like to admit doing running stitch “wrong.” Not wrong in a way that broke anything, but wrong enough that my lines looked uneven and a little sloppy for years before someone actually walked me through it properly. So here’s the version I wish I’d been shown from the start.
Table of Contents
What You’ll Need
Nothing fancy here, which is part of why this stitch is so great for beginners:
- A needle (embroidery needle for decorative work, general sewing needle for basting or repairs)
- Thread — embroidery floss for decorative pieces, regular sewing thread for practical uses like basting
- Fabric
- Scissors
- Optional: an embroidery hoop, which makes keeping tension even a lot easier
Step-by-Step: How to Do a Running Stitch by Hand
1. Thread your needle and knot the end. Nothing complicated here — just make sure the knot is big enough that it won’t slip through the fabric weave.
2. Bring the needle up from the back of the fabric. Push it through from underneath so it comes out on the front, and pull the thread all the way through until the knot catches against the fabric.
3. Insert the needle back down a short distance away. This is your first stitch. How far you go depends on what you’re going for — smaller stitches (around 1/8 inch) look neater and more delicate, larger stitches (up to 1/4 inch or more) work faster and read more casual or rustic.
4. Bring the needle back up further along the line. Skip roughly the same distance as your stitch length before bringing the needle back up. This gap is what creates that signature dashed look.
5. Repeat the up-down motion in a steady rhythm. Keep going along your line — straight, curved, whatever your project calls for — trying to keep your stitch length and the gaps between stitches as consistent as you can. This is genuinely the whole secret to a clean-looking running stitch: not speed, not perfect technique, just consistency.
6. Finish and secure your thread. When you reach the end of your line, either tie a small knot on the back of the fabric or weave your needle back through the last few stitches to lock the thread in place without a visible knot.
A Shortcut That Speeds Things Up
Once you’ve got the basic motion down, try “loading” your needle — instead of pulling the thread through after every single stitch, weave the needle in and out two or three times first, gathering multiple stitches onto it, then pull the thread through all at once. It feels awkward the first couple of tries and then suddenly clicks. This is the trick most experienced hand-quilters and basters use to move fast without sacrificing evenness.
Running Stitch on a Sewing Machine
If you’re in a rush and just need something basting adjacent, set your sewing machine to its longest straight stitch length. It’s not a true running stitch, but it mimics the same loose, easy-to-remove quality that makes running stitch so useful for temporary seams.
Common Mistakes (I’ve Made All of These)
- Pulling too tight. This puckers your fabric, especially on lighter materials. Keep your tension relaxed.
- Uneven stitch length. This is the number one thing that makes a running stitch look messy rather than intentional. Slow down until the rhythm feels natural.
- Using thread that’s too thick or thin for your fabric. Mismatched thread weight can make even a well-sewn running stitch look off.
- Not practicing on scrap fabric first. Especially true if you’re trying anything patterned or curved, like sashiko-inspired designs — give yourself a low-stakes trial run first.
That’s Really It
The running stitch isn’t complicated to learn, but it does take a bit of repetition before it starts looking clean and consistent instead of shaky. Give yourself permission to practice on scrap fabric for a while before you commit to a real project — every hand-sewer I know, myself included, went through that exact same stretch of slightly wonky stitches before it clicked.
By Sara McLean